Introduction[]
A nut with 6mm steel axle works pretty well for crossbows that draw 150 pound or maybe a little more. At these draw weights a simple wooden socket works well. A reinforced wooden nut socket is more than adequate for 300 pound crossbows. For very heavy crossbows making a proper metal socket as described below is worth the effort.
Process step by step[]
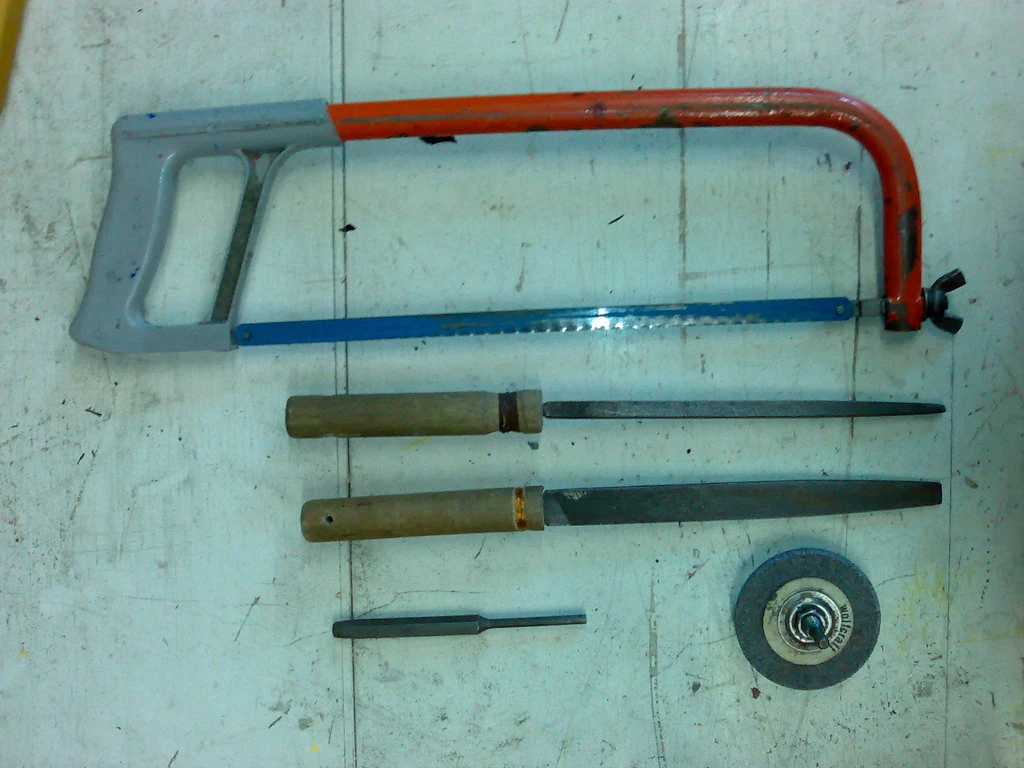
The process of making the socket for the nut is not especially easy, but it's definitely doable with relatively few tools. Some of the tools are shown in below picture:
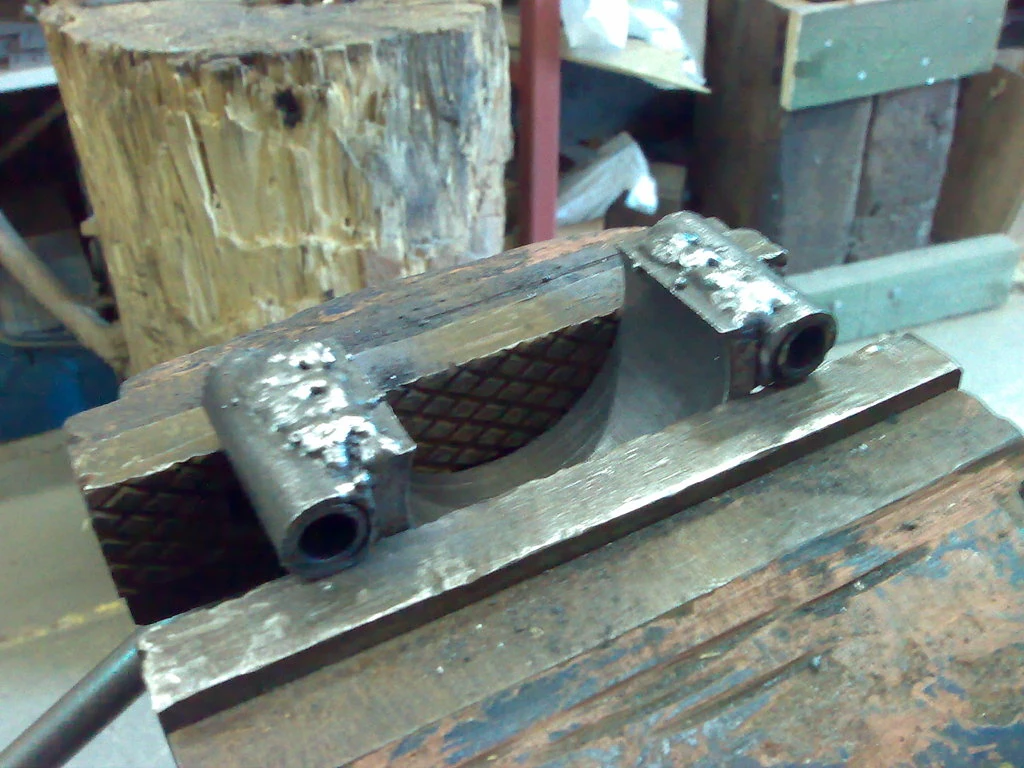
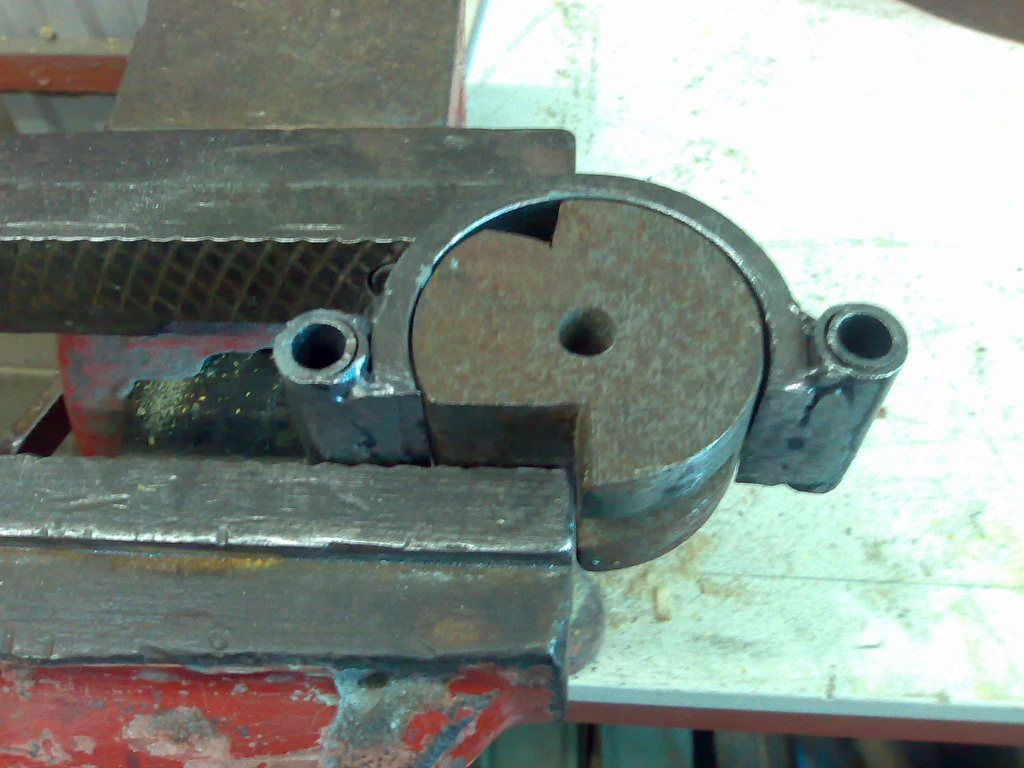
First get a piece of steel pipe into which your nut just fits and cut away it's top at appropriate place (see picture below). Next take a length of thick-edged steel pipe with 10-12mm outer diameter. Alternatively you can use two pipes that fit closely together, as in below picture. The edge of the pipe has to be thick enough not to melt away when being welded. The socket will be attached to the crossbow's stock with rivets or bolts going through these pipes, so make sure their inner diameter is correct. Weld the base of the socket and the pipes together.
NOTE: if you don't have steel pipe of appropriate thickness then you can take a piece of flat steel, heat it in a forge or with a blowtorch and hammer it around the nut, thus forming the base of the socket. If you're good enough at forging, you can use the same piece of steel to form the "ears", This will allow you to skip a couple of steps later on.
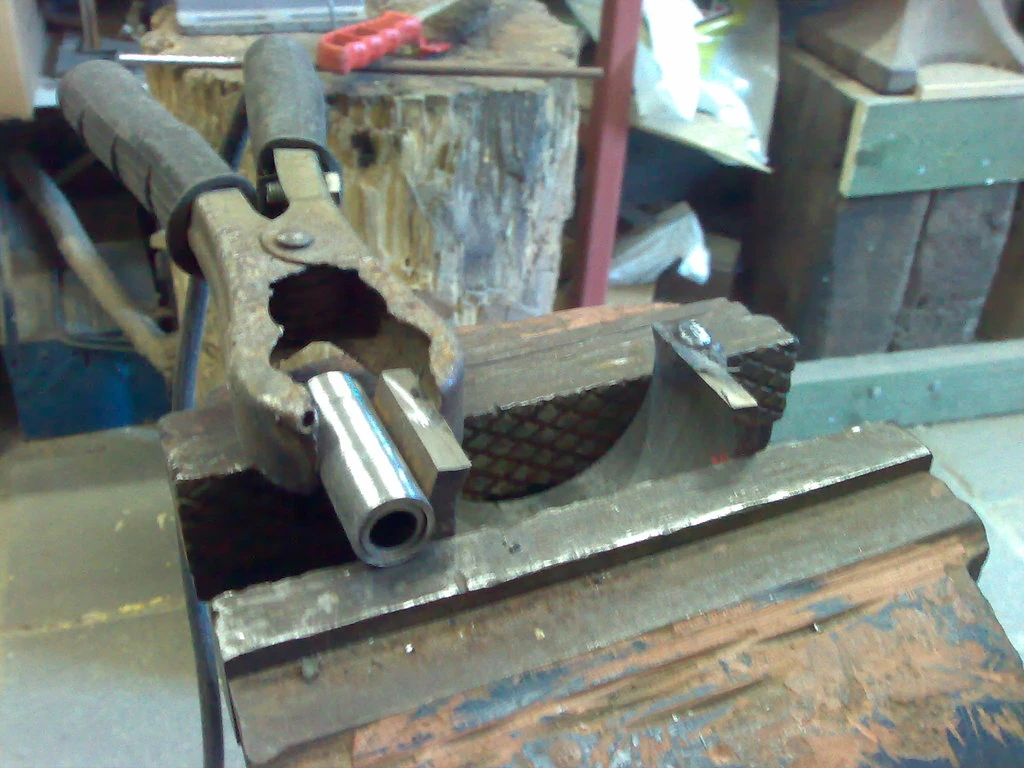
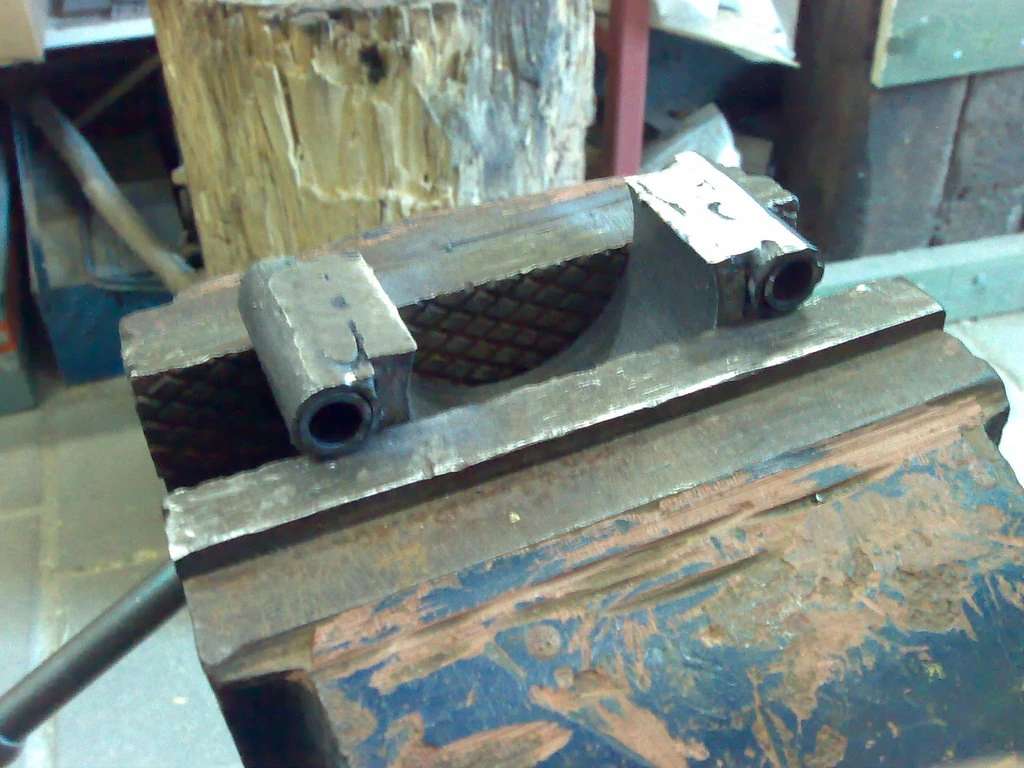
Next insert the nut into the socket as in below pictures. This makes it easier to mark the correct place for the trigger hole.
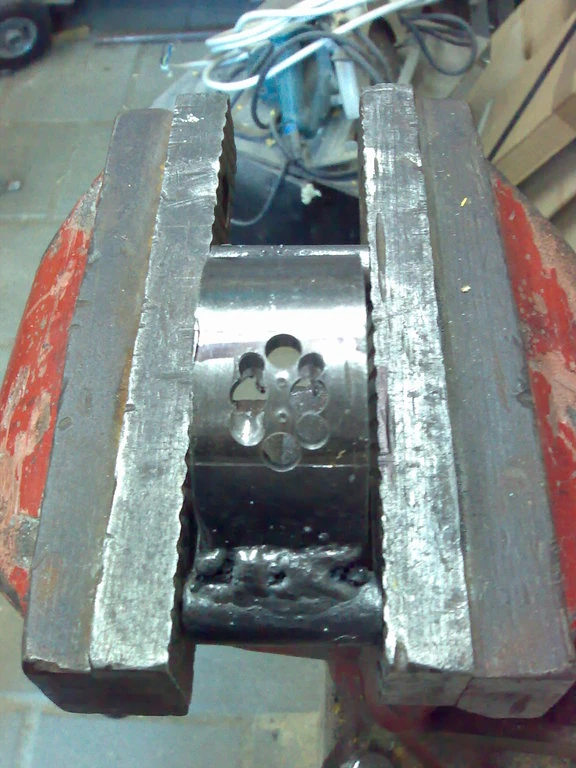
After marking the outline of the trigger hole, it's time for perhaps the most annoying part of this job. First use a punch to mark the places through which you'll drill through with a bench drill (see below). The idea here is to remove as much material as possible with the drill and finish off the job with other tools (hacksaw and files)

Next drill the holes - first with a small drill (~2-3mm) and then with a larger one (6-8mm). Do not drill the holes too close to each other or the drill bit will slip and possibly break.
Next use small grinding tools (e.g. a drill with rotating grinding stone) to remove as much material as you can. The idea is to remove most of the material between the holes. A cold chisel, hammer and a small file help a lot in this work.
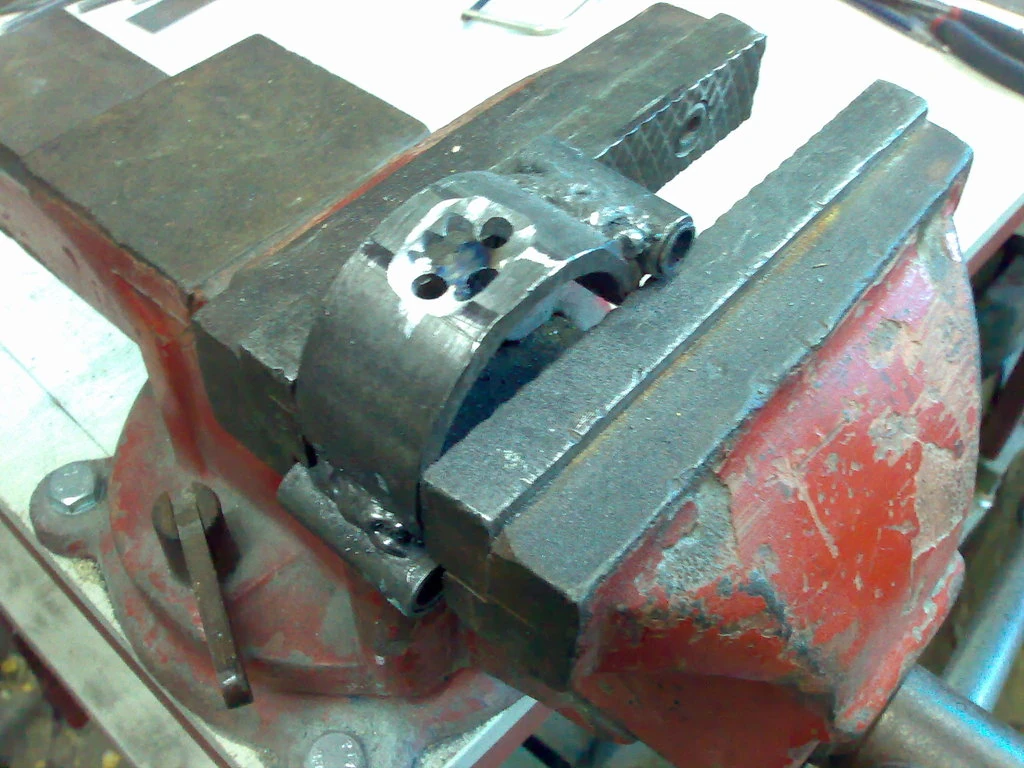

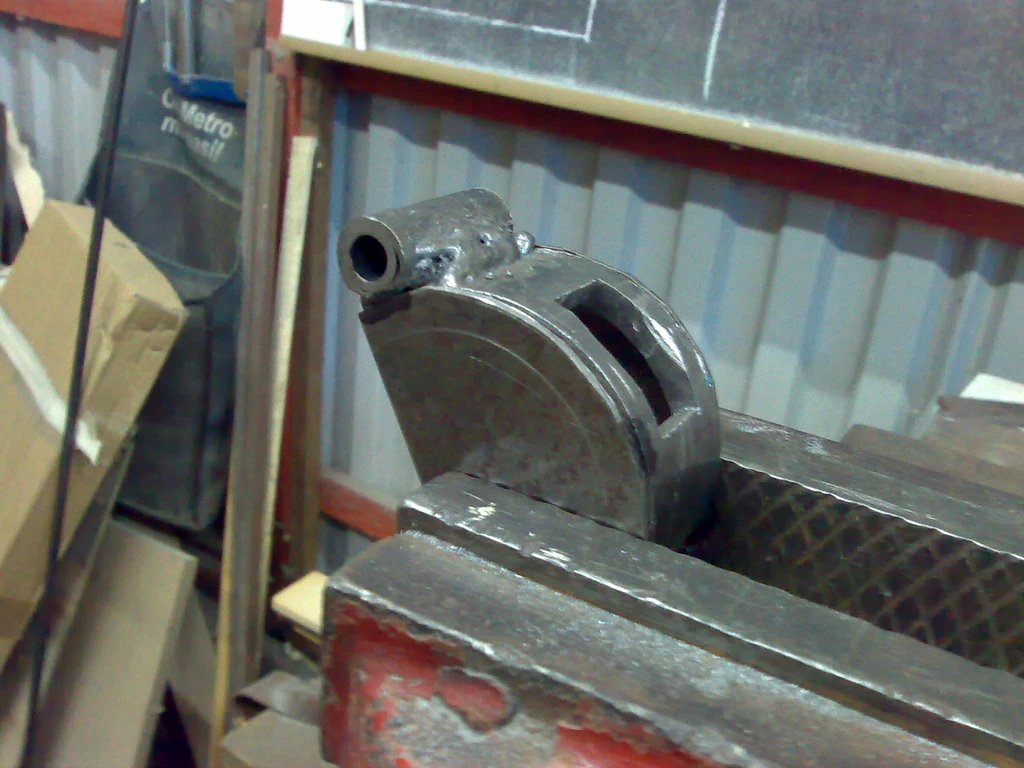
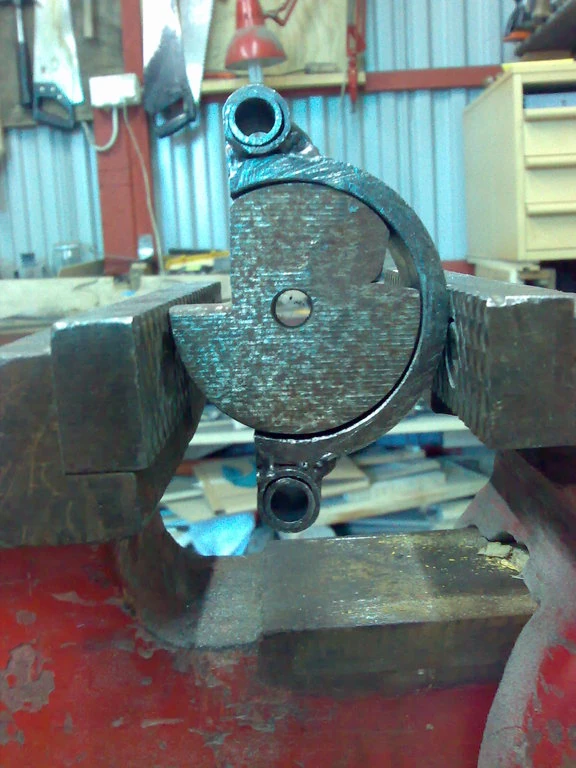
Once you can fit a hacksaw blade to the slot use it to cut the slot roughly to form and finish the job with a file (see below).
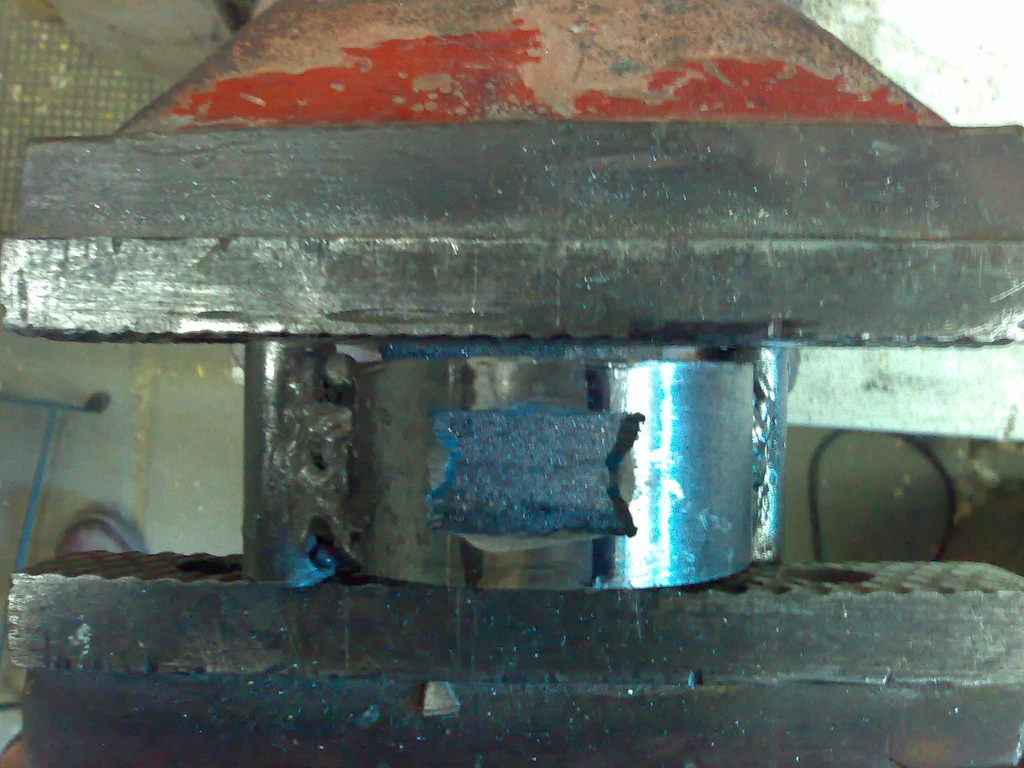
Now the socket is almost finished, as can be seen from the picture below.
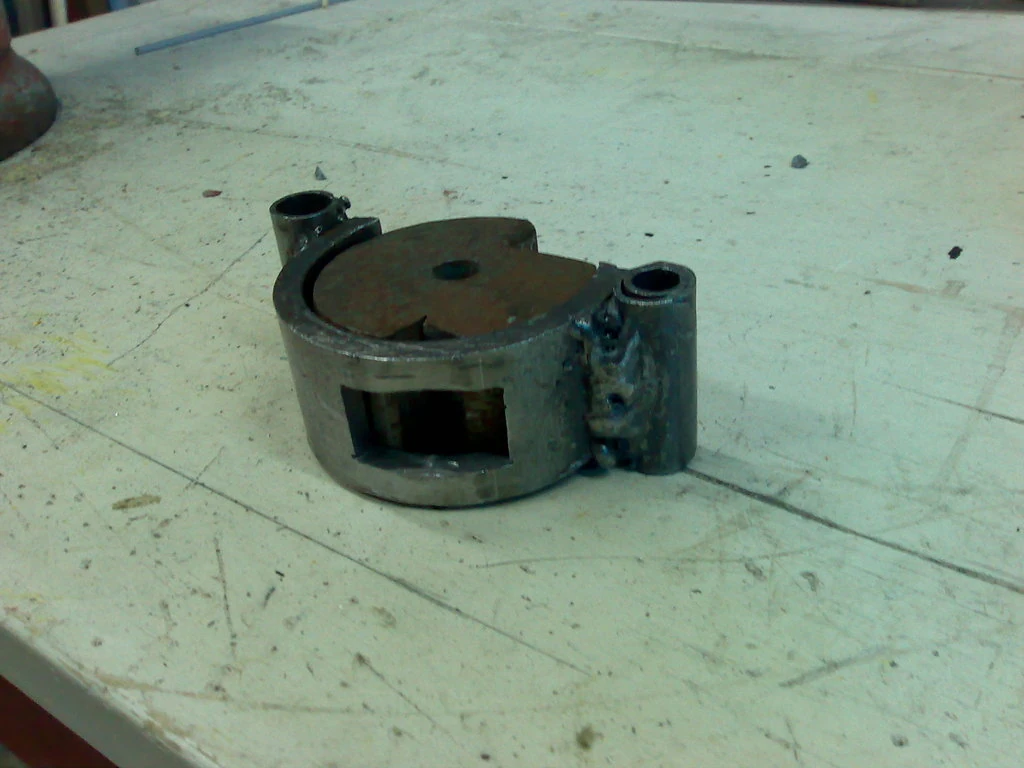
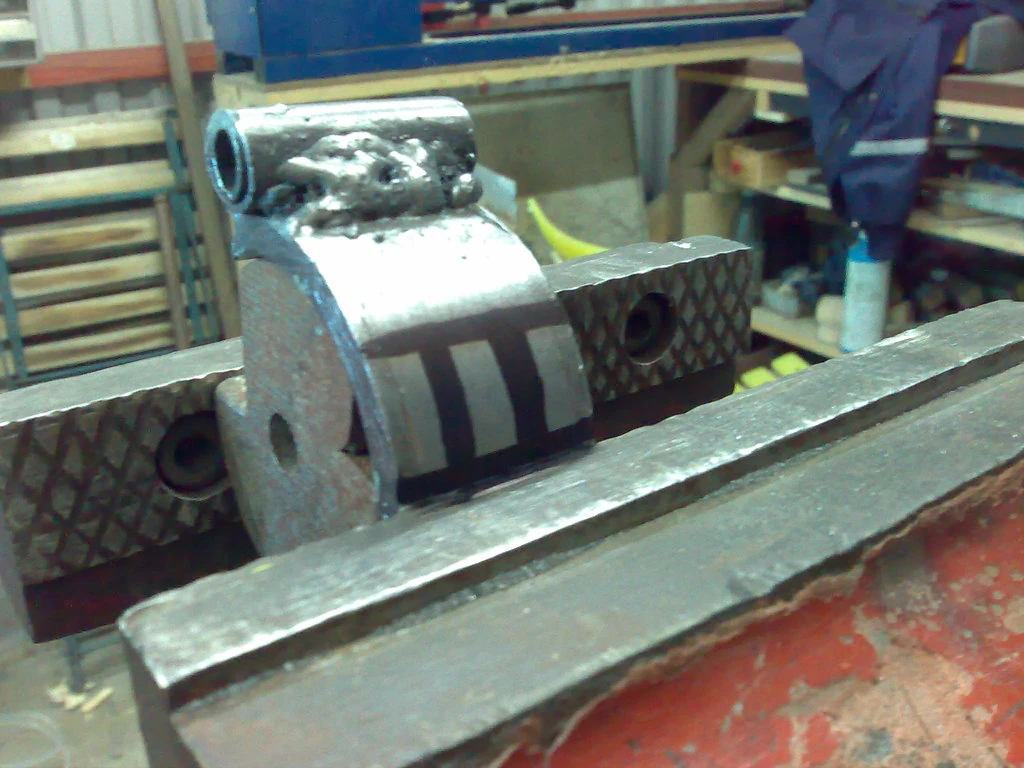
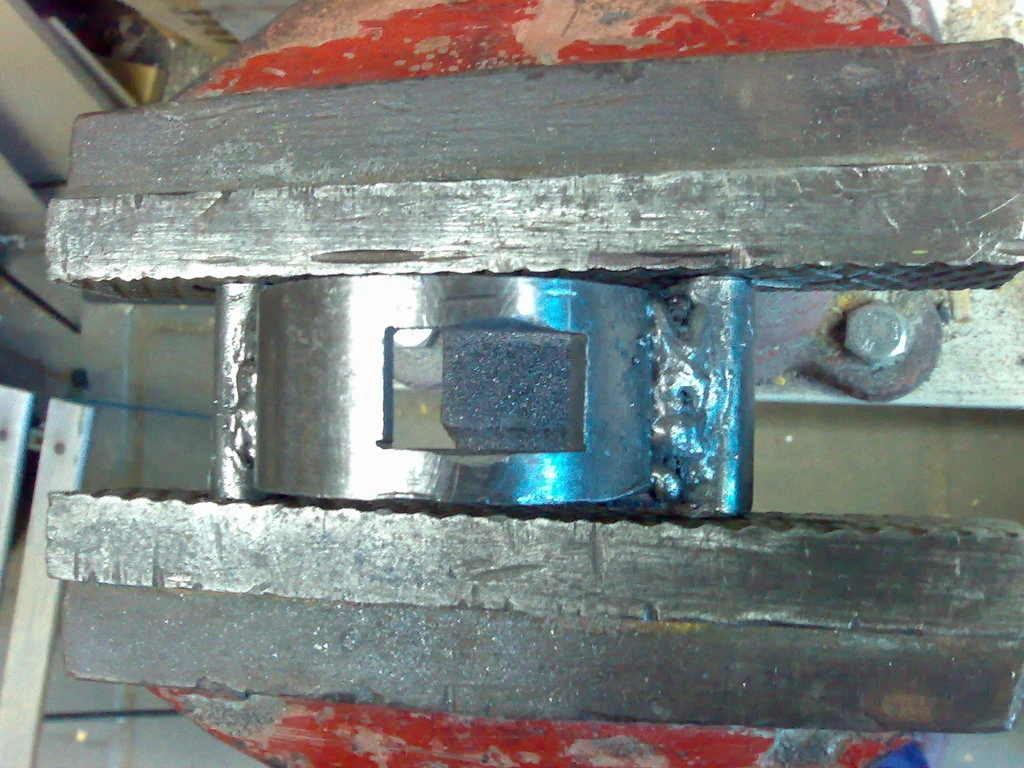
The only things still missing are the sideplates for the socket. You can make those from almost any steel plate you can find. The steel has to be thick enough to be weldable. First cut the sideplates to form and then weld them the sideplates to the socket base at a few key points marked with a black marker in the picture below.