Forging boltheads, method 2[]
Introduction[]
This method of forging boltheads is very suitable for both arrow- and boltheads and is relatively simple and fast. This article describes making of "pyramid" shape boltheads, although there's nothing stopping you from forging the tips into a different shape.
The process step-by-step[]
Unfortunately there are no pictures of the actual process yet. The process, however, is pretty easy to describe in textual form.
First you need some steel pipe. Pipe's outer and inner diameter should be the same as in the wide end of the finished socket. If possible, cut the pipe into several pieces at least 50cm long. This makes heating and forging the pipe as easy and fast as possible; if you cut the pipe into final bolthead length before forging, you will need to use pliers while hammering the heads. Also forging the socket will be much more challenging as the wide end of the socket does not have any support and deforms easily.
Heat end of a pipe in the forge until it's yellowish orange in color. Flatten the end of the heated pipe with a hammer. The length of the flattened part will determine how long the actual tip will be. Next fold the edges of the flattened part against each other lengthwise so that they form an "U". Leave a relatively big (~2mm) gap in between. Put the pipe aside for welding. To save time, always heat one pipe while you're forging another.
When you've forged a bunch of pipe ends into an "U" form, weld the gap/channel shut with a welding machine. Try to weld as much material into the gap as possible, while avoiding melting the head entirely. This makes sure the whole tip is welded into one solid peace. A "Stick" welding machine with small sticks (~1,6mm) seems to work really well for 10mm pipe with 1mm walls. Use bigger sticks (and more power) for thicker pipe. For really thin pipe you may need to use a MIG welding machine instead.
Once all "U" gaps have been welded shut, it's time to forge the actual heads and sockets. First forge the head (the "U" part) into proper shape, eliminating all signs of welding in the process. Make sure that the tip is aligned correctly with the socket. Next forge the socket so that it tapers towards the tip. It helps a lot if you rotate the pipe constantly while hammering. Also pay attention to the angle of the taper or you will end up with boltheads with very different socket diameter and/or length. Once the socket is formed, the pipe can be taken out of the forge.
Next grind the tips into a point and cut the boltheads into proper length. At this point the four sides of the tip are probably pretty asymmetrical. You can fix this easily with a good metal file. After this you can start the process once more with a little shorter pieces of pipe.
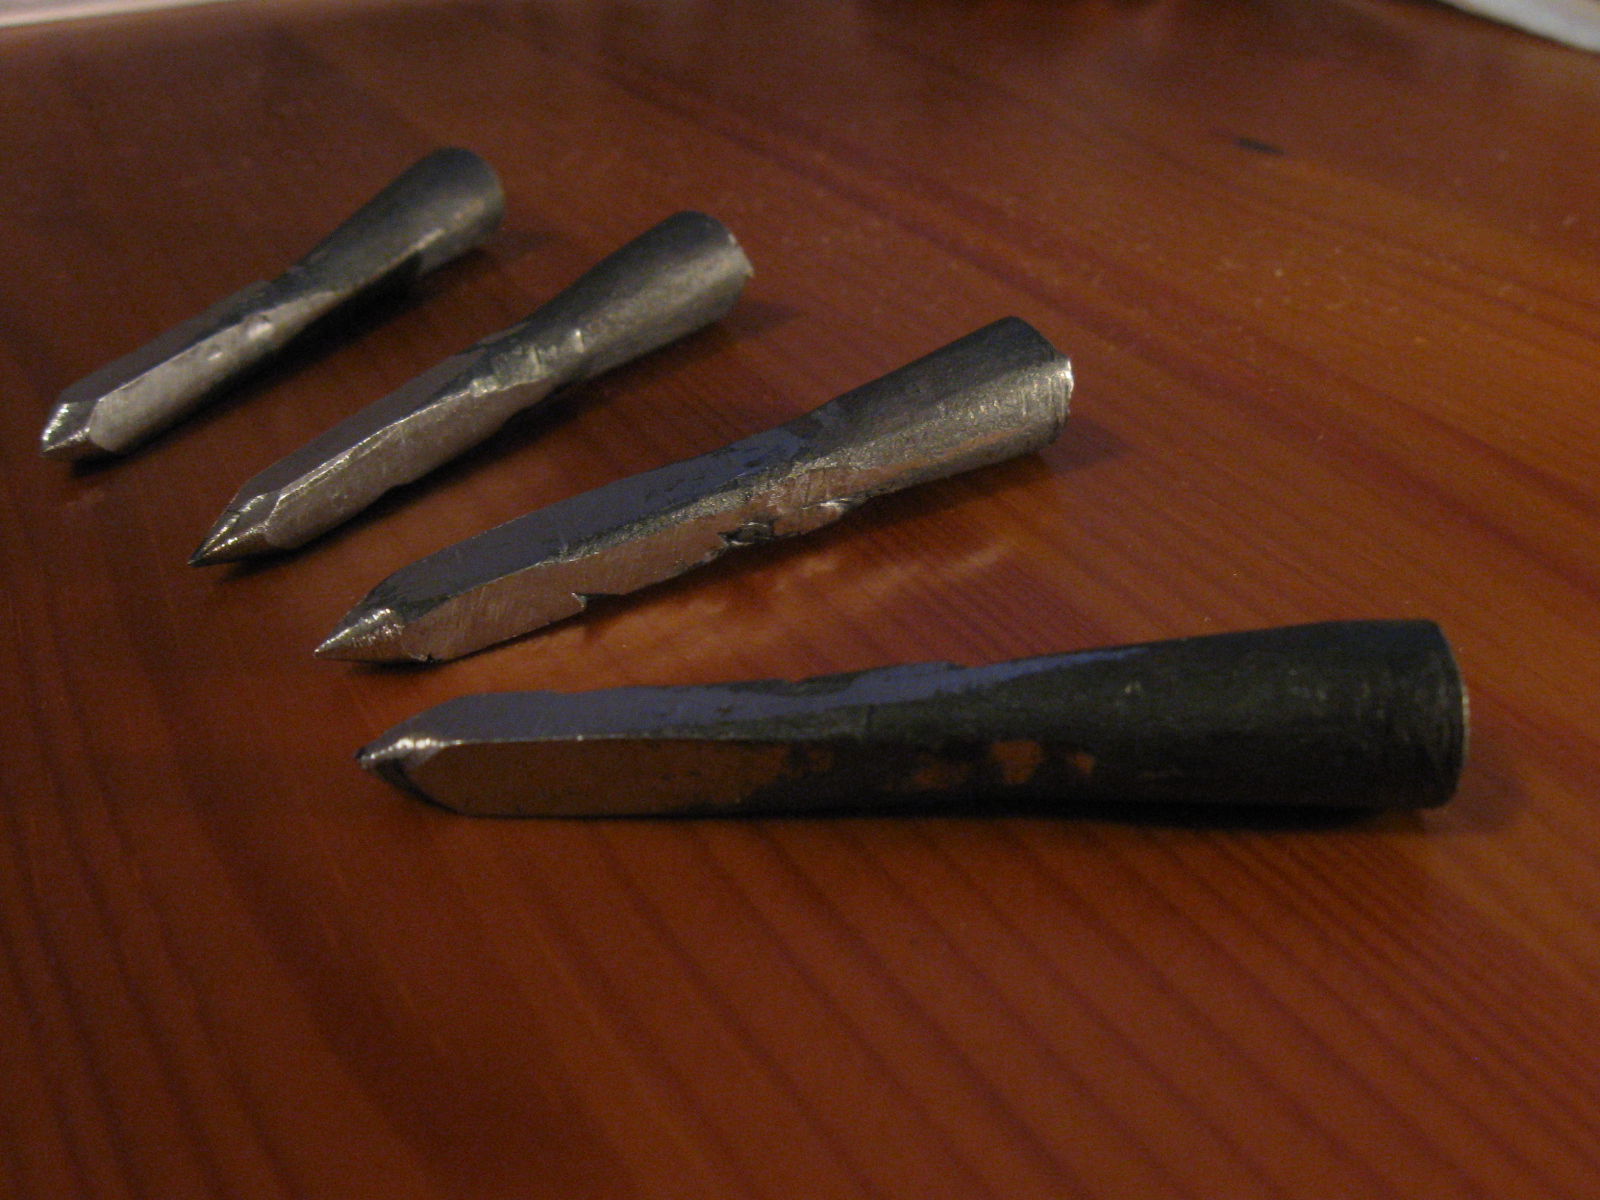
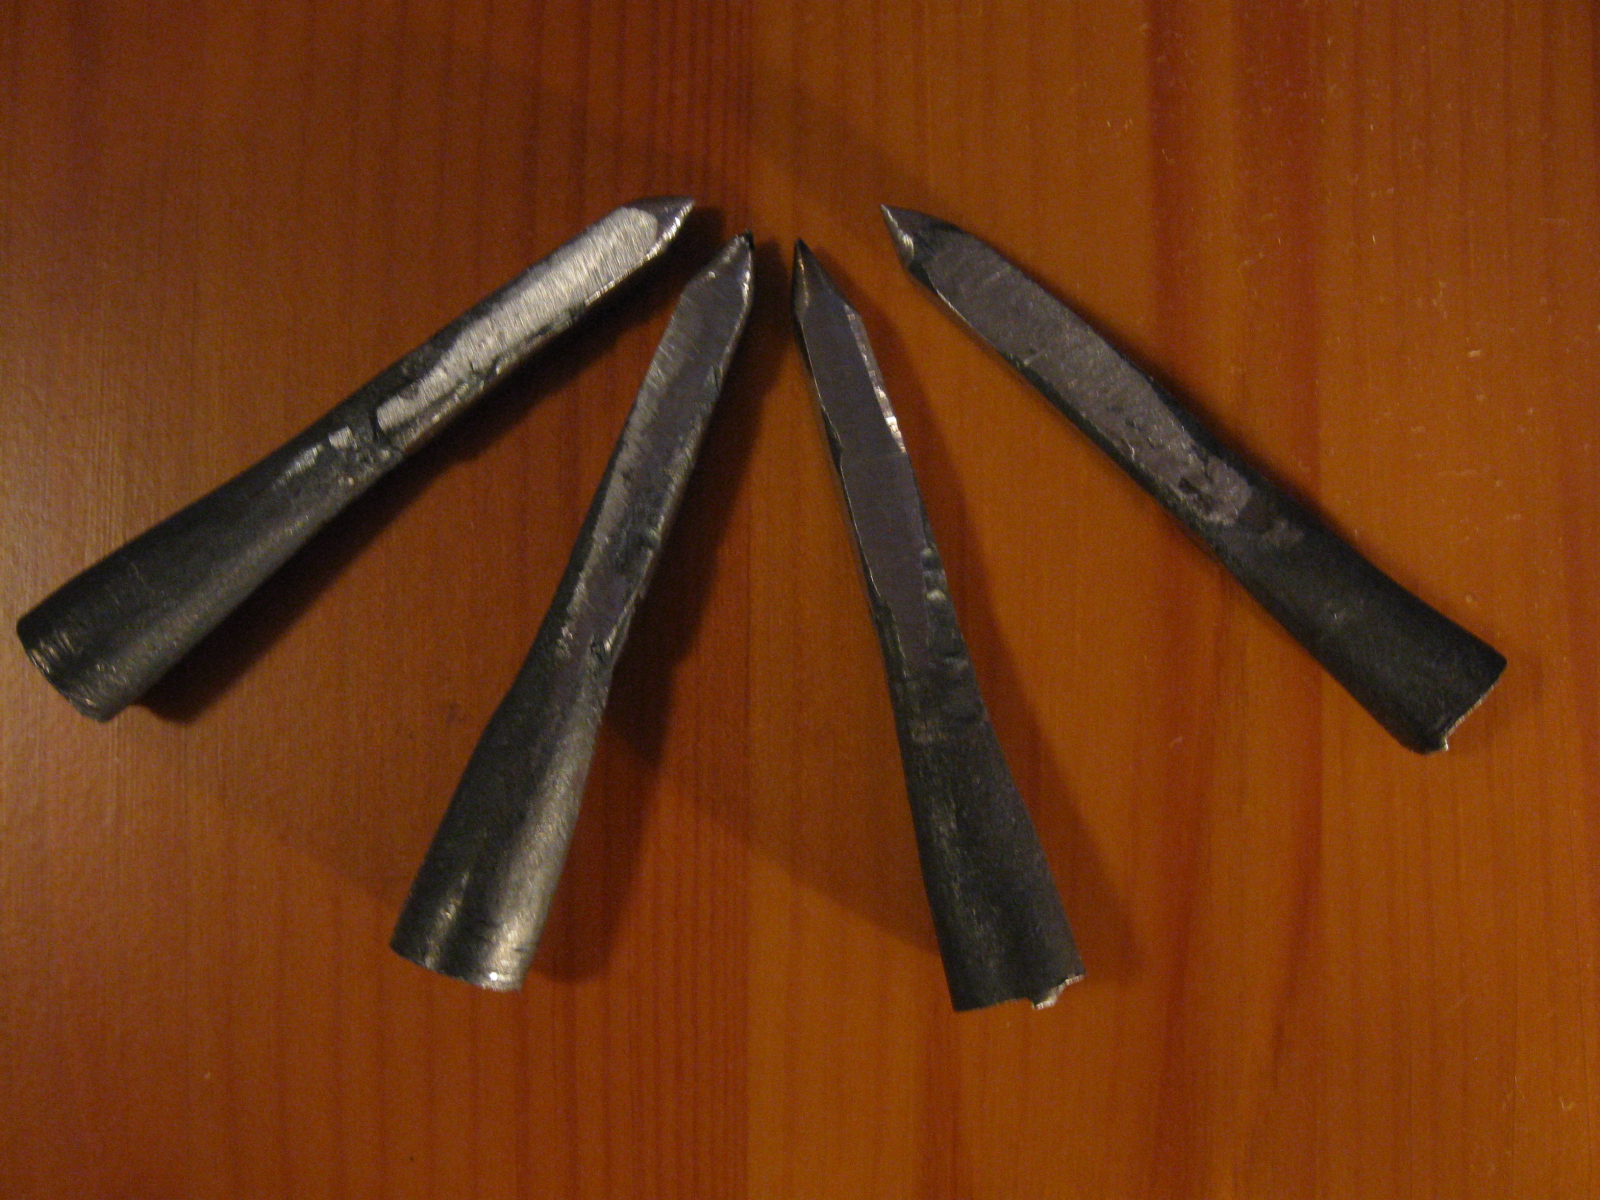
A few finished boltheads are shown below. Note that three of those are made with slightly inferior process where the tips were first forged into a rough shape and only after that welded together. Forming and welding the "U" channel (as described above) before forging the tip produces cleaner and better results.

Further ideas[]
There are a few ways how this process could be enhanced:
- Weld the "U" shut with sticks made of carbon steel and harden the bolthead after forging. This should produce much harder steel points.
- Insert a piece of carbon steel into the "U" channel before welding and harden the bolthead after forging.
Contact information[]
If you have any questions, please send mail to my Google mail account (samuli.seppanen).