Introduction[]
The pros and cons of metal vanes are discussed in detail here.
Making the vanes[]
First make a model of the vane. Make sure that the shaft fits easily between the vanes or they can't be bent to correct angle. Also make sure that the middle part is the thickest and there are no strong angles. This allows the vane to be inserted through a small slot in the shaft, which is much simpler than the method described [../metal_fletching_method_1/metal_fletching_method_1.html here]. If your first model is slightly asymmetrical, use the better half to mark the outlines of a new, better model.

Next use the model and a sharp steel point to mark the first real vane. Use shears to cut the along the markings, as in below picture:

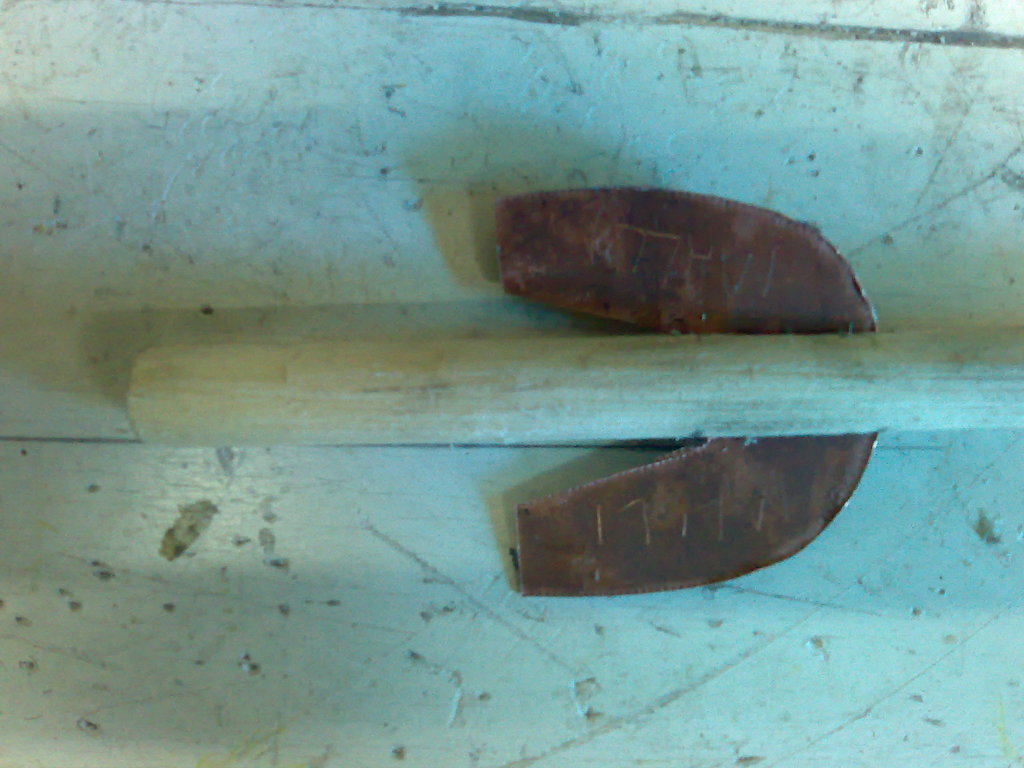
Use a pair of pliers and a little bending back and forth to remove the remaining piece of metal:

Next straighten the rough edge left by the pliers with a small metal file. Then flatten the vane on an anvil using a large, square-faced hammer and the vane is ready to be used.
Preparing the shaft[]
First determine the correct place for the slot of the vane and mark it to the shaft with a pencil:
Next form a shallow recession along the pencil mark with a sharp steel point. This helps to prevent the drill bit from moving sideways later on.

Now attach the shaft to a small vise so that the recession points directly upwards:

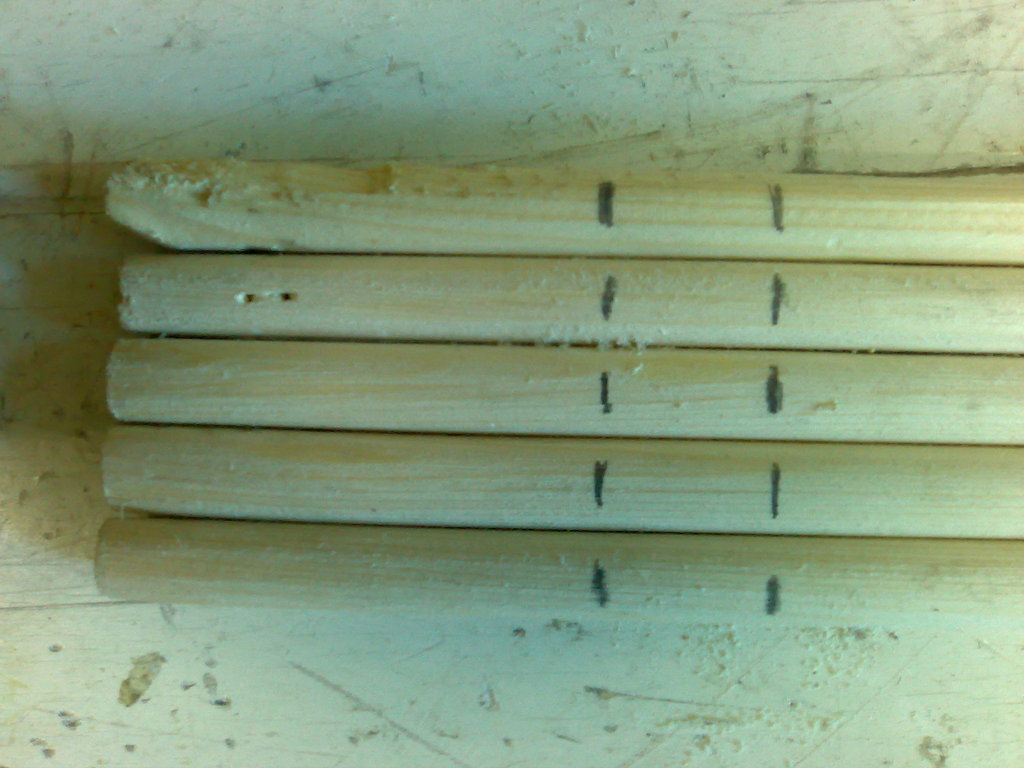
Next use a bench drill to bore a series of small (1,0 - 1,5mm) holes along the marked area. Leave a little space between the holes to prevent the drill bit from slipping into a previously drilled hole and breaking. The result should look similar to the one in below picture. Don't worry if the holes are not perfectly in line - small asymmetries will be gone during the next step. Also, as the vanes are canted upwards and downwards anyways, a slightly faulty angle in the middle part should not affect bolt's flight much if at all.

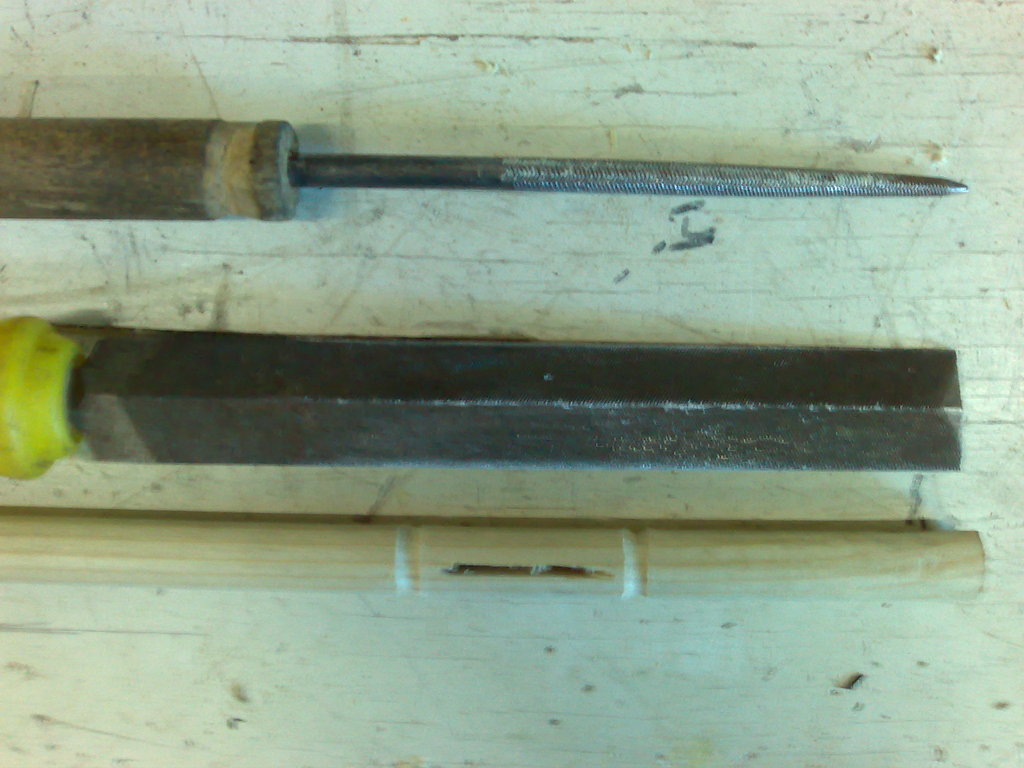
After drilling you need a small tool to remove the extra wood between the holes. I made my own from a thin slice of spring steel - a leftover from making a pyramid-profile steel crossbow prod. Whatever tool you choose, remove the excess wood from the inside of the slot. You can do the final touches with a small, thin file.

Once the slot is finished, use a combination of a sharp-edged and a round file to form shallow grooves around the shaft just next to the vanes. Strong string is bound around these grooves to prevent the vane from splitting the shaft, as described earlier.
Now the shaft is prepared and we can assemble the bolt.
Assembling the bolt[]
Assembling the bolt is simple. Bend one half of the vane up- or downward and insert the vane into the slot. If the vane gets stuck as in below picture, make the slot longer.

When the vane is in place, insert a small piece of wood or metal on top of the vane to wedge it in place. The finished shaft should look similar to this:
Note that the shaft in the above picture is missing the grooves for the reinforcement string described earlier. Now that the vanes are in place, you should bend one upward and the other downward so that the bolt will rotate during flight.