Introduction
This article described the steps needed to make a medieval European-style crossbow stock. Stock design aspects are discussed in other Wiki articles. Before you start, you should definitely have detailed, well thought-out drawings of the stock at hand - they save a lot of time at the workshop as well as lower the possibility for making stupid mistakes.
NOTE: You should have the nut, trigger and lockplates ready before making the stock.
Tools
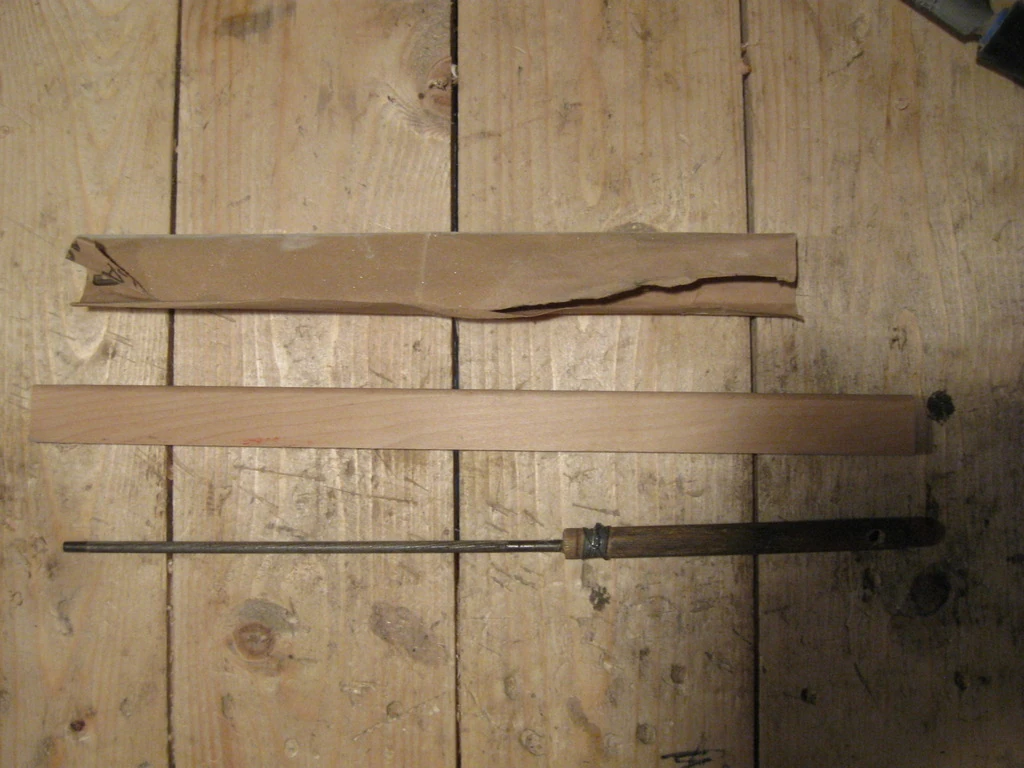
You can use a variety of tools in making the stock, but the following can be considered minimum set if you don't have any power tools:
- Firming chisel (10mm wide)
- Crosscut saw
- Coping saw
- Rasp
- Plane
- Sandpaper or file
- Drill + drill bits for nut and trigger steel axles and the bridle hole
If you only have hand tools, you'll benefit from having the following:
- Drawknife
- Spokeshave
- Cabinet scraper
Of course, a bandsaw makes making the stock very easy compared to using just hand tools; after several hand-made stocks you'll start drooling for one.
The process step-by-step
Initial steps
If you start working from a symmetrical (=rectangular) piece of wood, it's a good idea to deviate from the process outlined below and do the following right at the beginning:
- Make the bolt groove: measuring is far easier when the sides of the stock are still straight. Attaching wooden guides for the sanding slat (see far below) is also easiest at this point.
- Make the cavities for the nut and the trigger: This is especially true if you have a bench drill which makes drilling straight holes to a symmetrical piece of wood trivial. A bench drill helps not only in drilling the nut and trigger axle holes, but also in forming the nut cavity. Once wood has been removed from the stock, using a bench drill becomes more difficult.
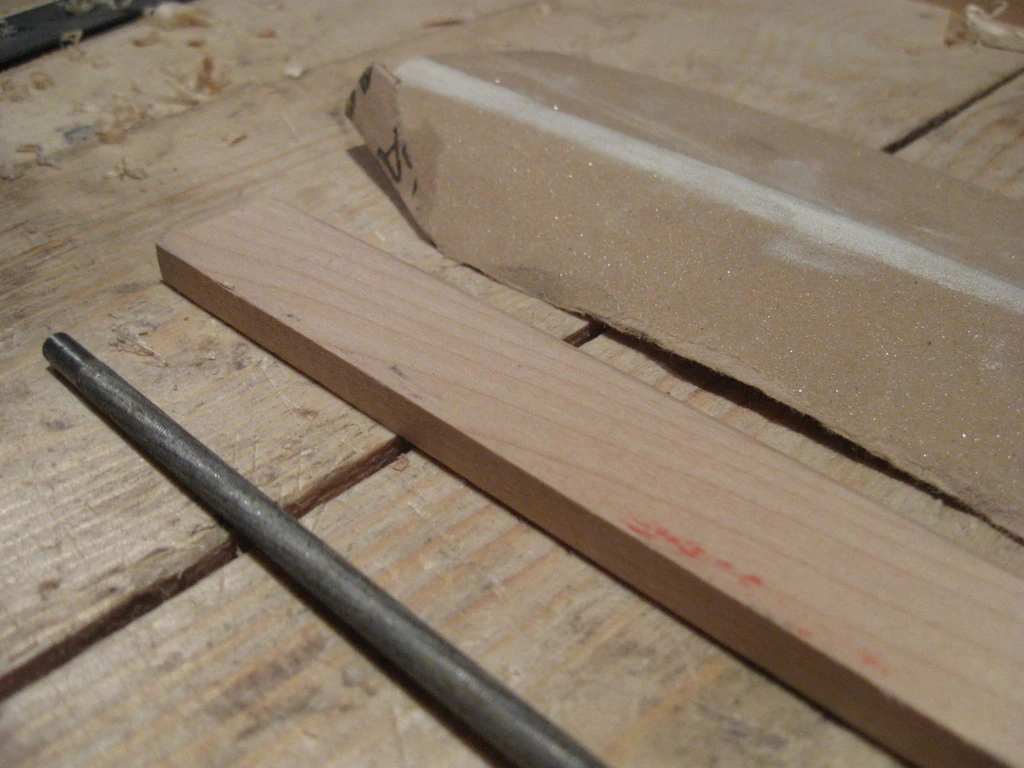
If you're working with a relatively asymmetrical piece of wood, start by planing the top side of to-be stock straight. Use the longest plane you can. Make sure the top and the sides are in 90 degree angle. You may need to plane the sides, too, if they're noticeably concave or convex.
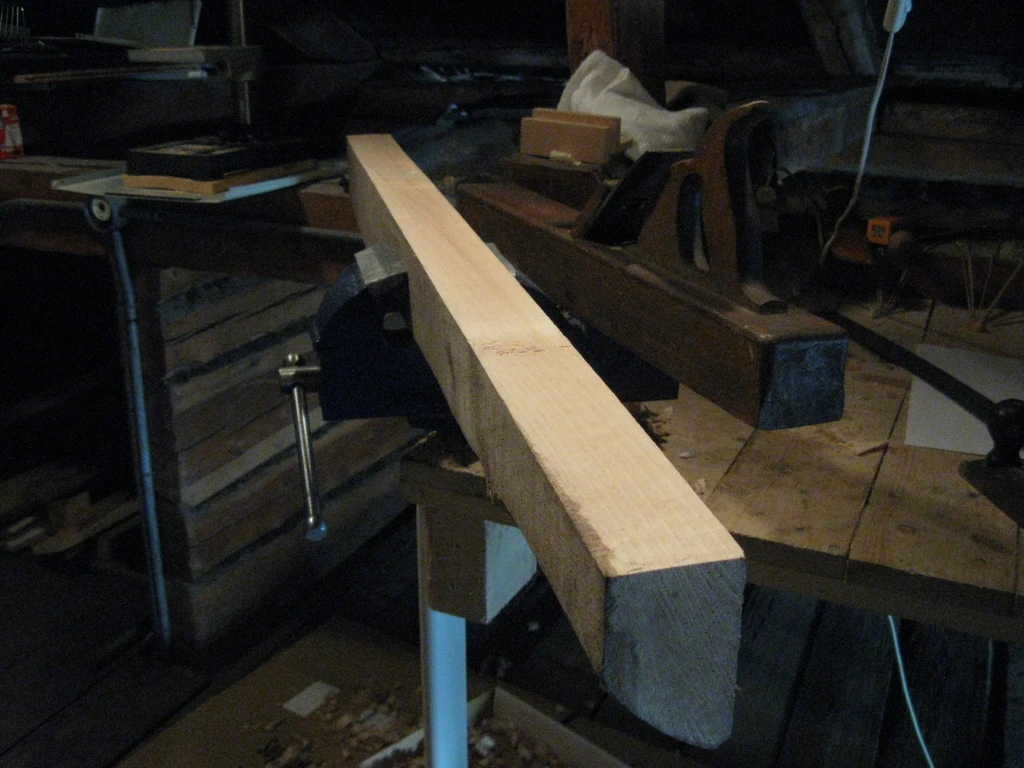
Rough forming the stock
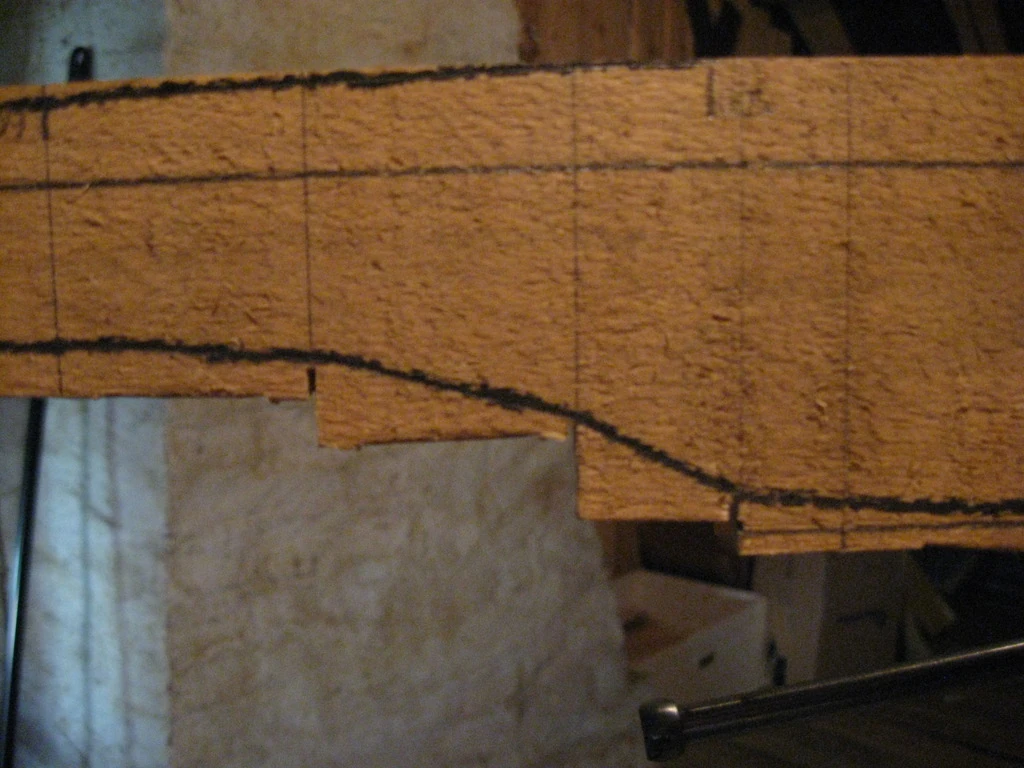
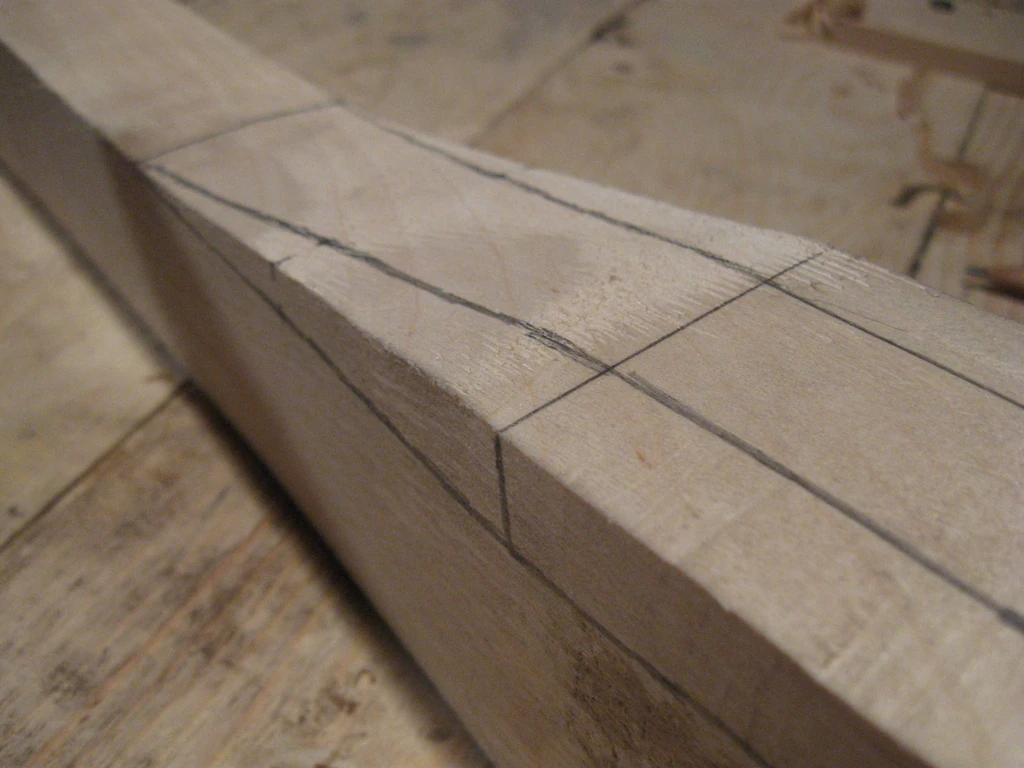
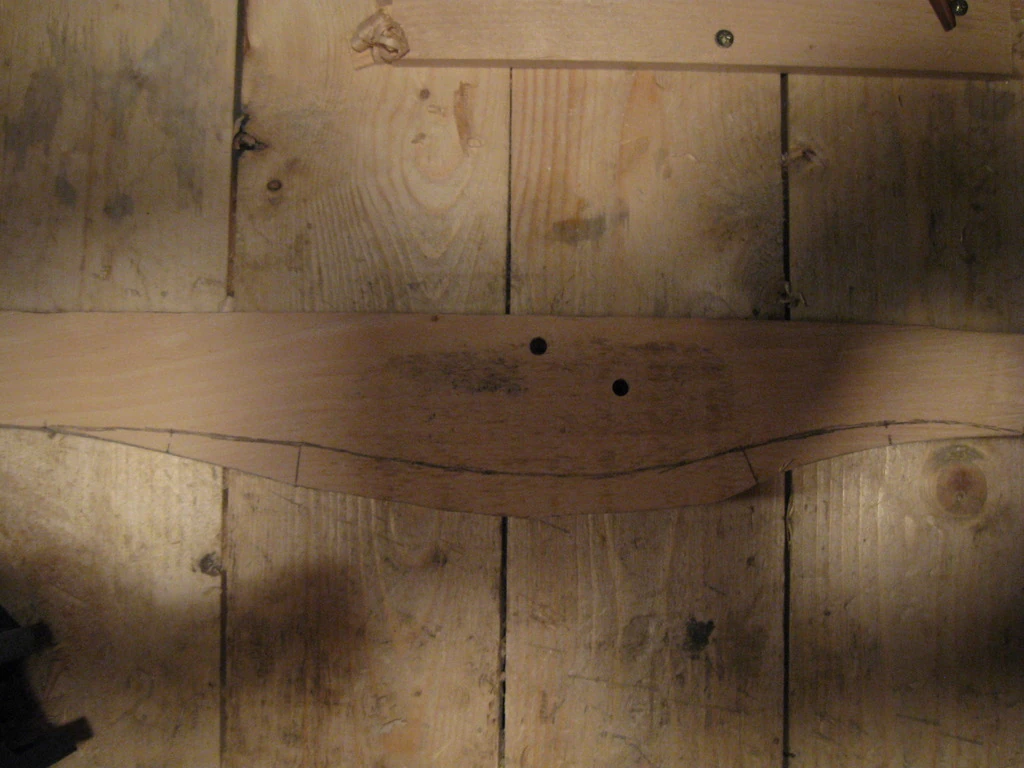
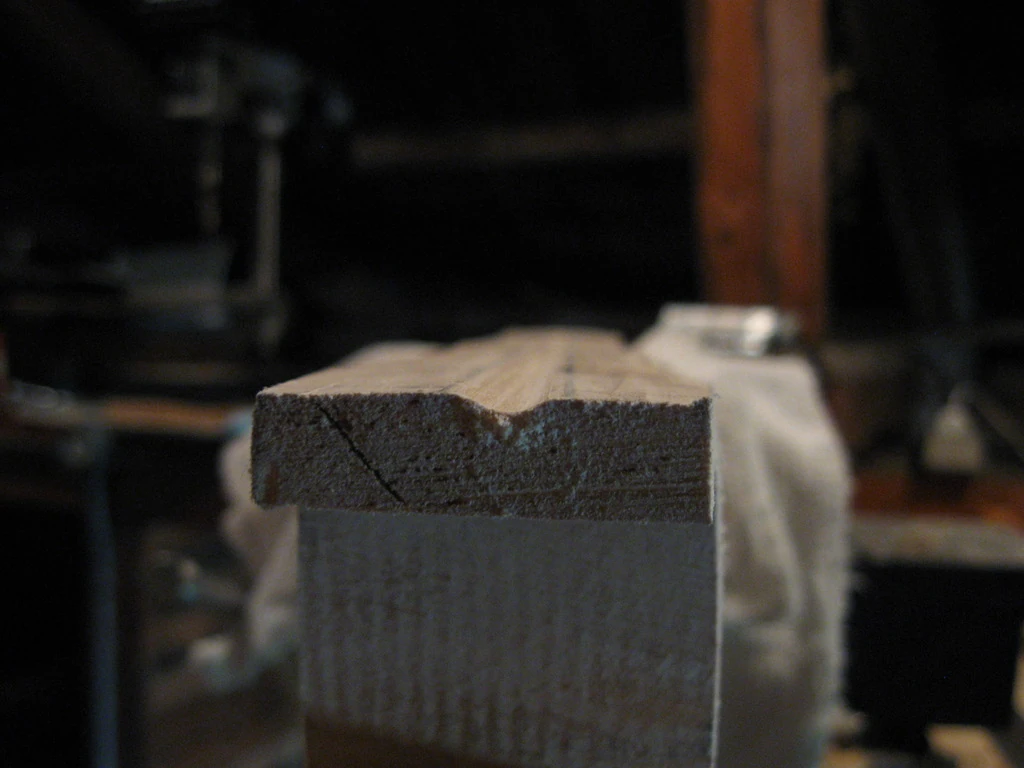
After planing the stock you can draw the outline of the side of the stock to it with a pencil:
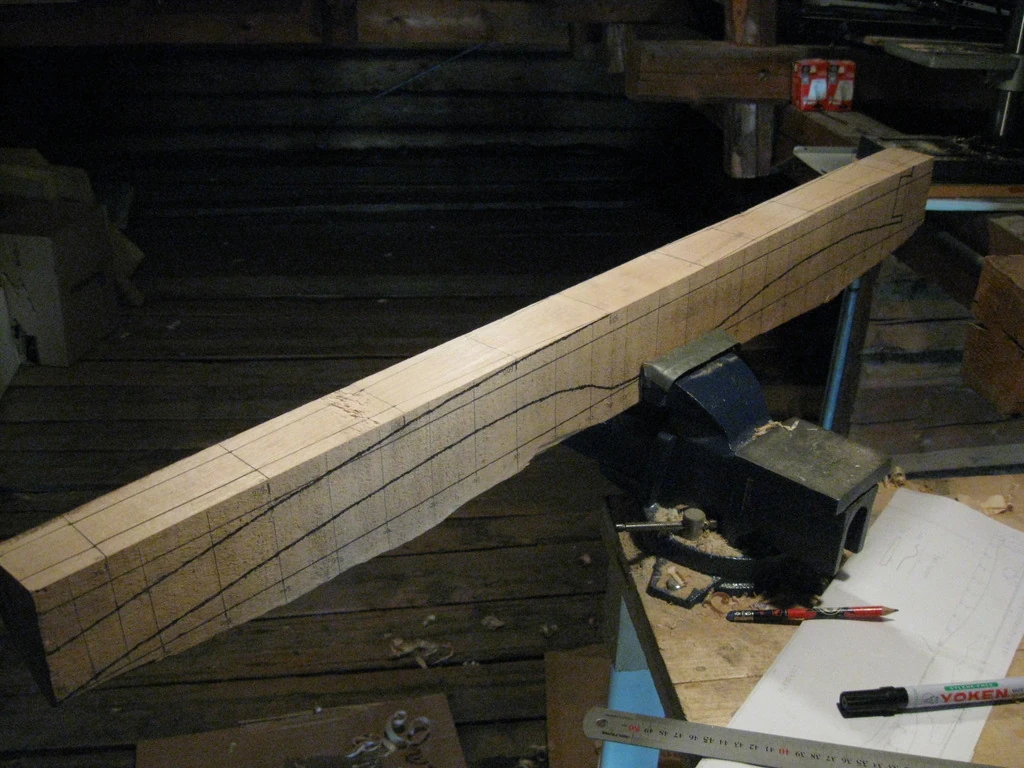
Proceed by making sawcuts from top and bottom at regular intervals. Make sure the cuts do not reach the pencil marks. Make the cuts closer where the pencil line moves up or down agressively. This prevents accidentally splitting away too much wood during next phase.
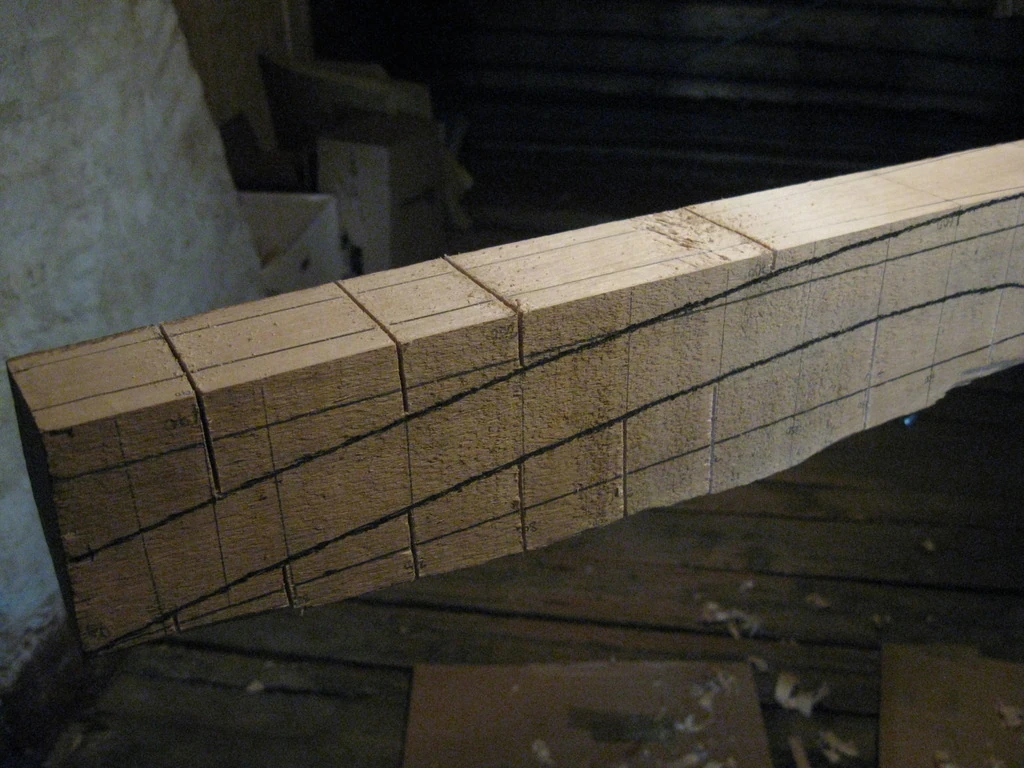
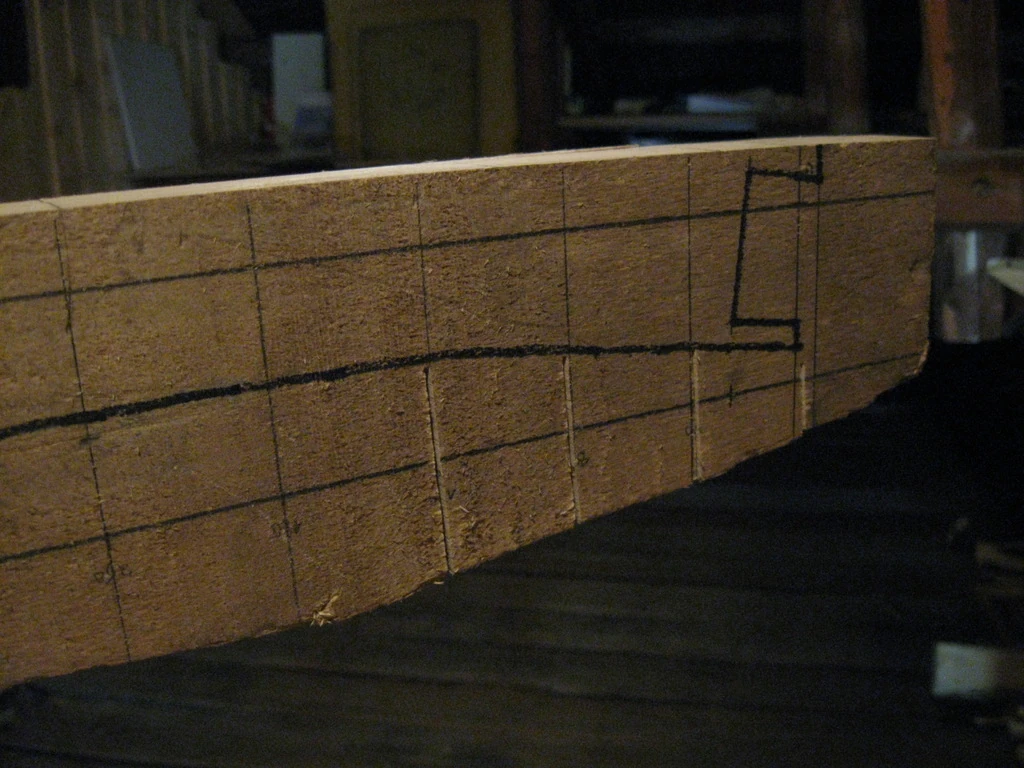
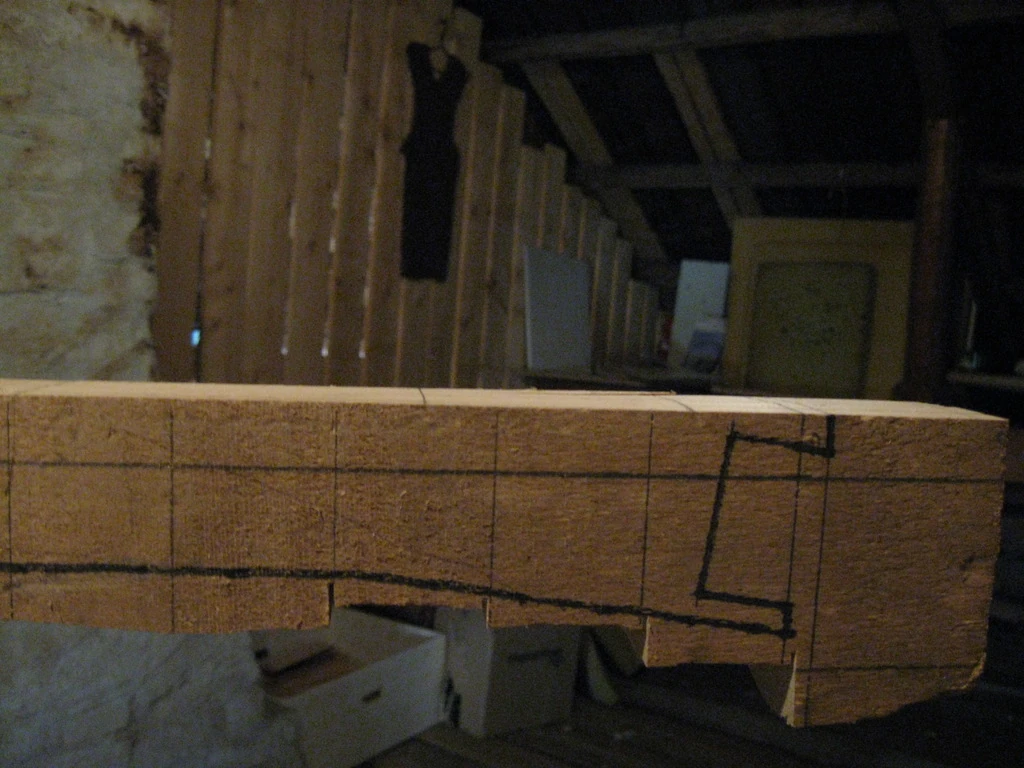
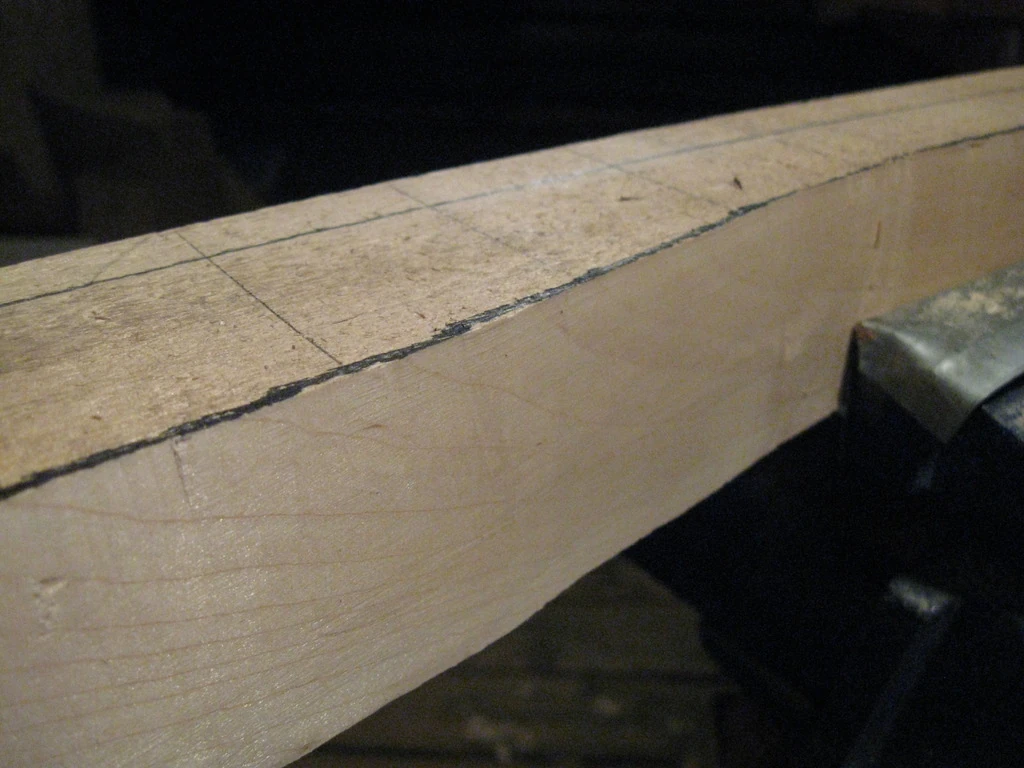
Now use a chisel to remove all the wood between the sawcuts. You'll end up with a jagged outline approximating the finished side-view shape of the stock
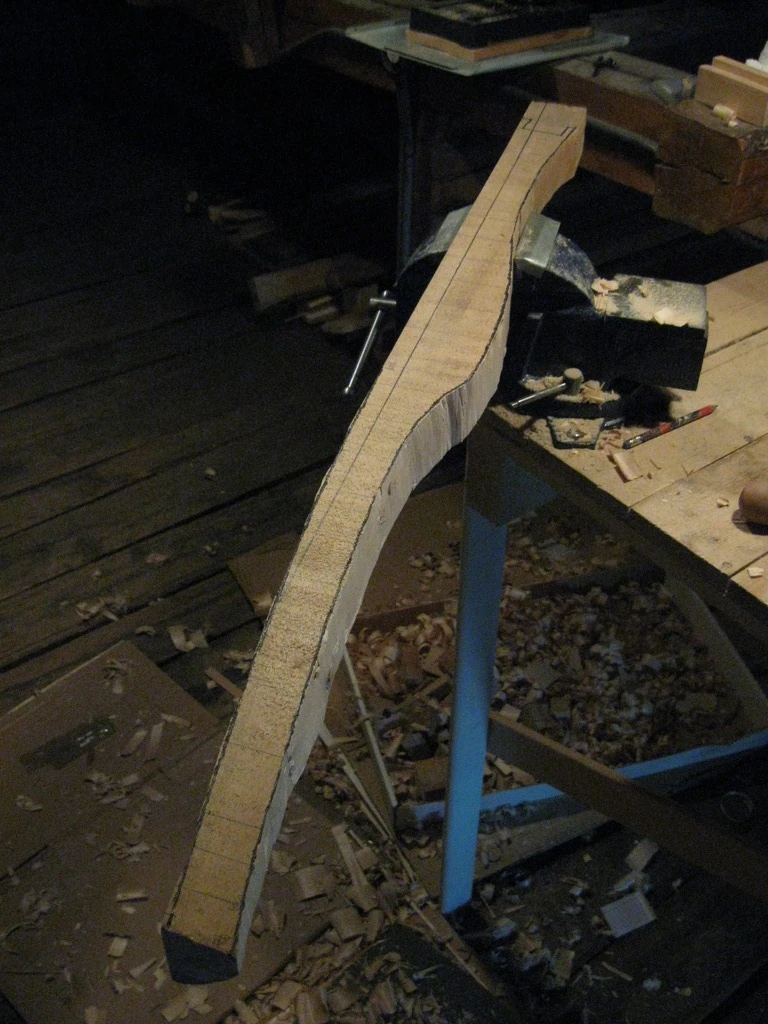
After this use a combination of a saw, rasp and a drawknife to remove excess wood. The result should look something like this:
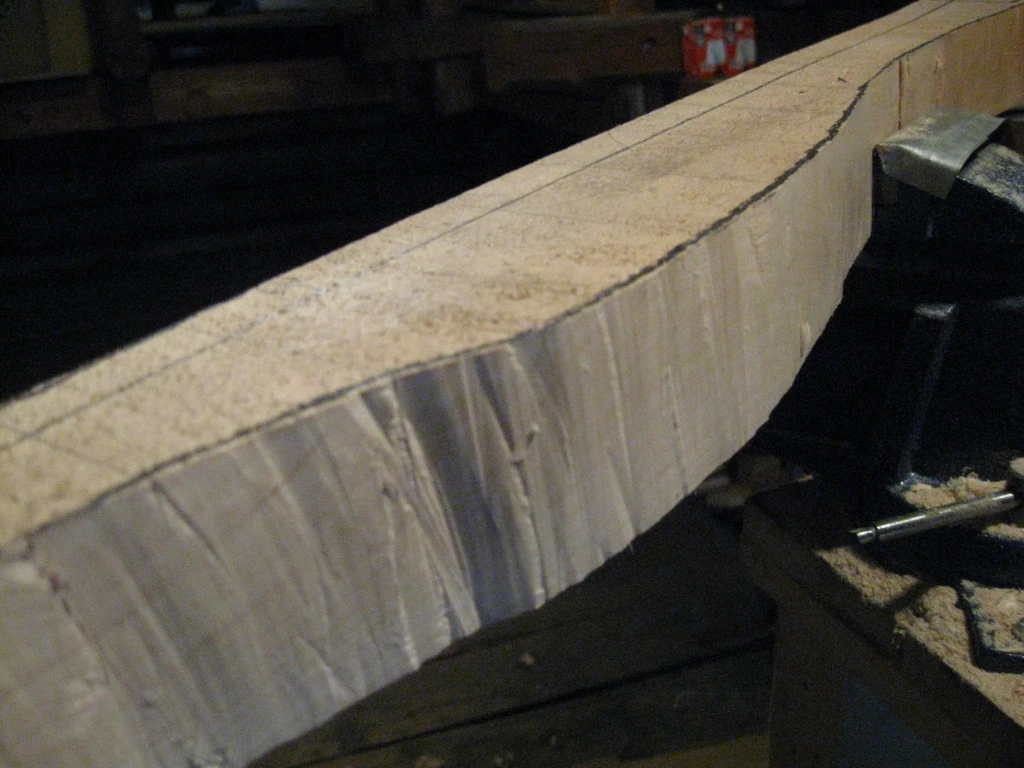
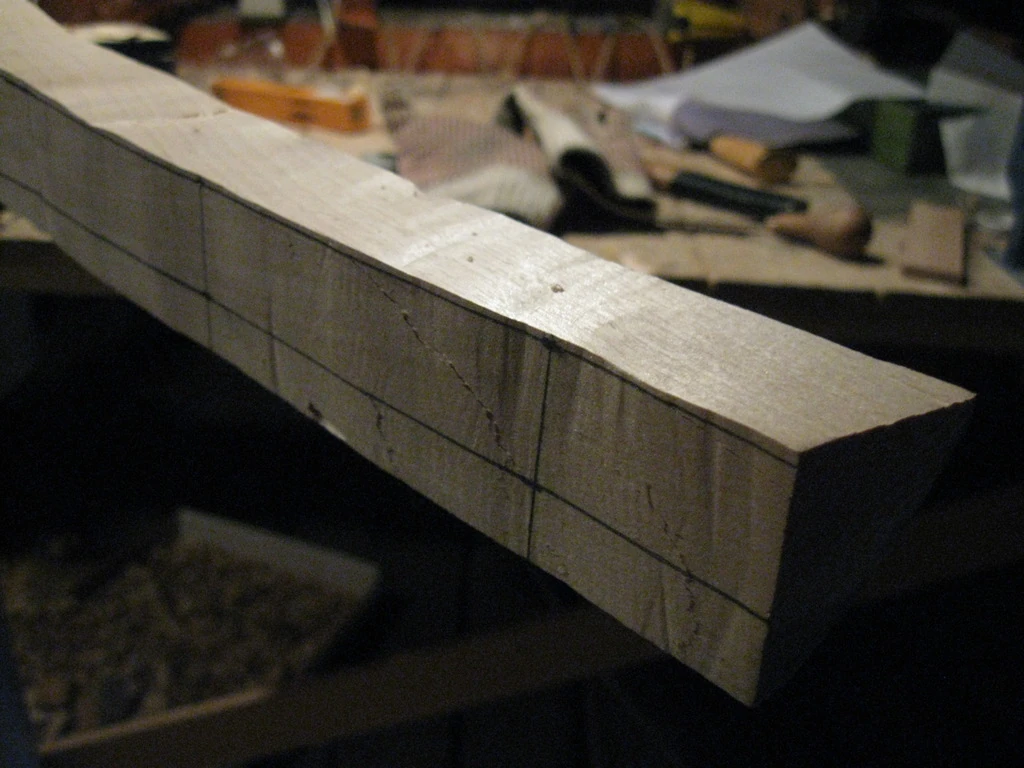
Now you can smoothen the surface with a spokeshave or a file, although it's not strictly necessary at this point:
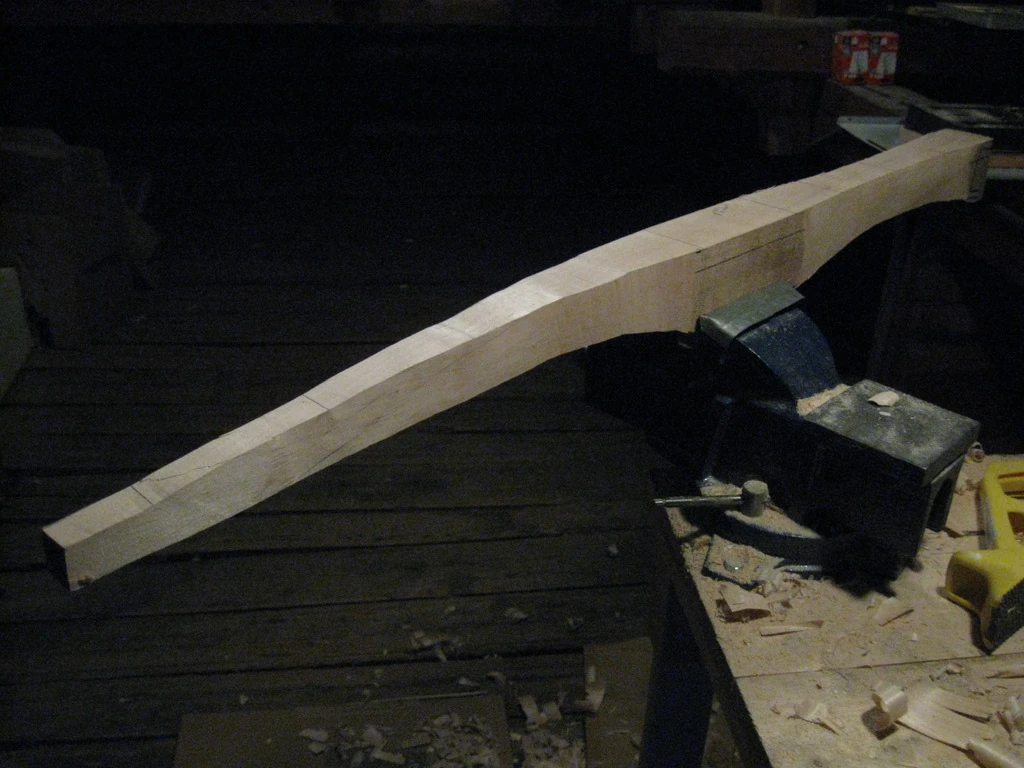
Next step is to reduce the stock to correct dimensions from the sides. Start by marking the correct outline with a pencil:
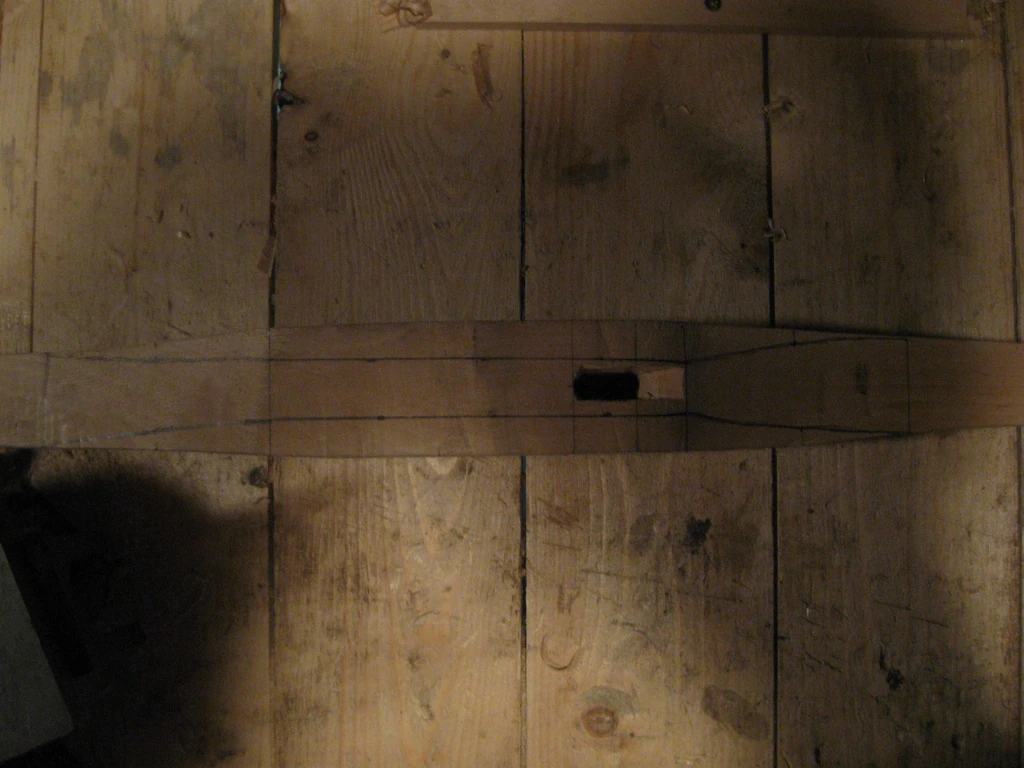
Next use the same techniques to reduce the sides as you used for top and bottom (see above). The result should start resembling a finished crossbow stock:
Making cavities for nut and trigger
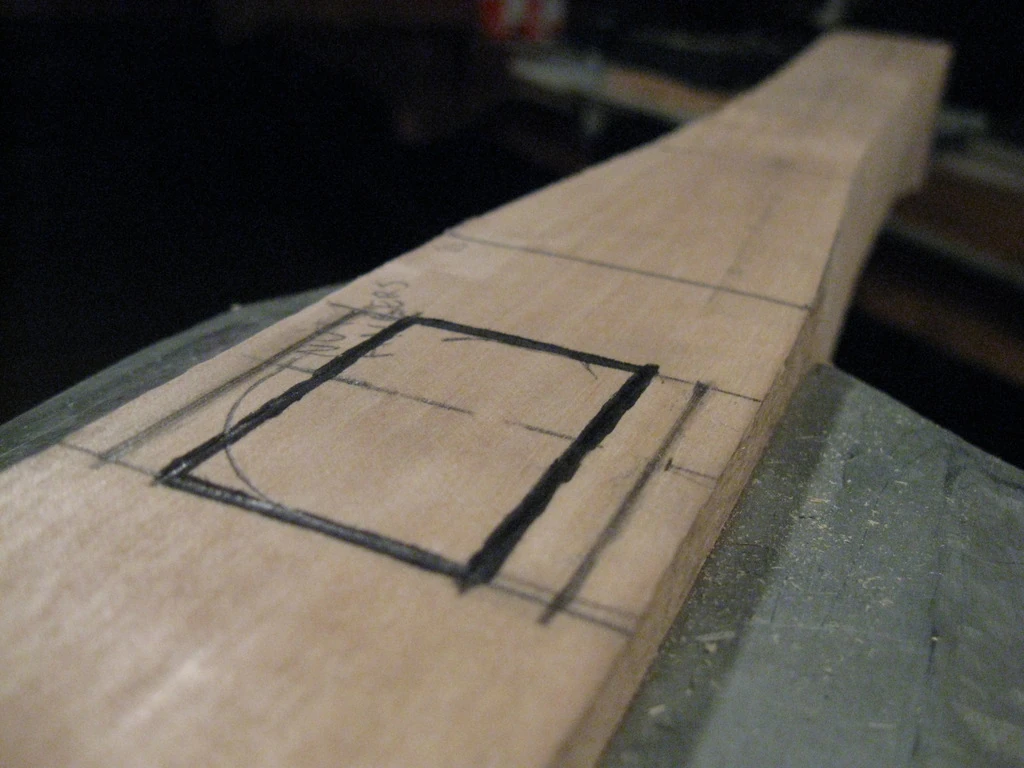
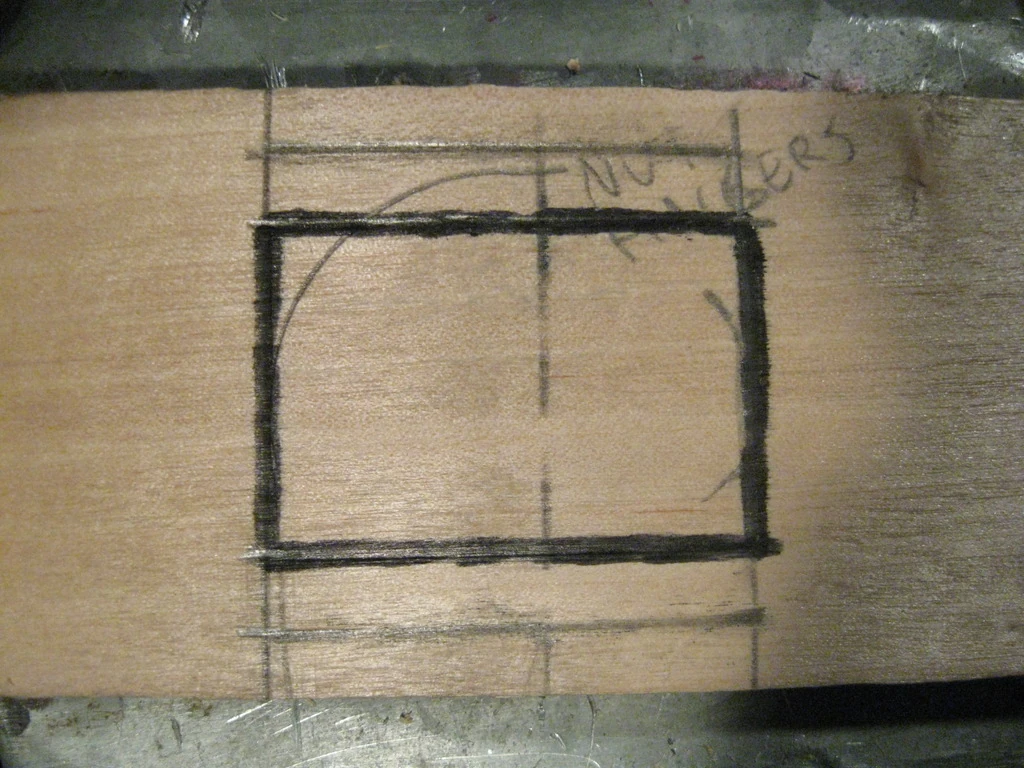
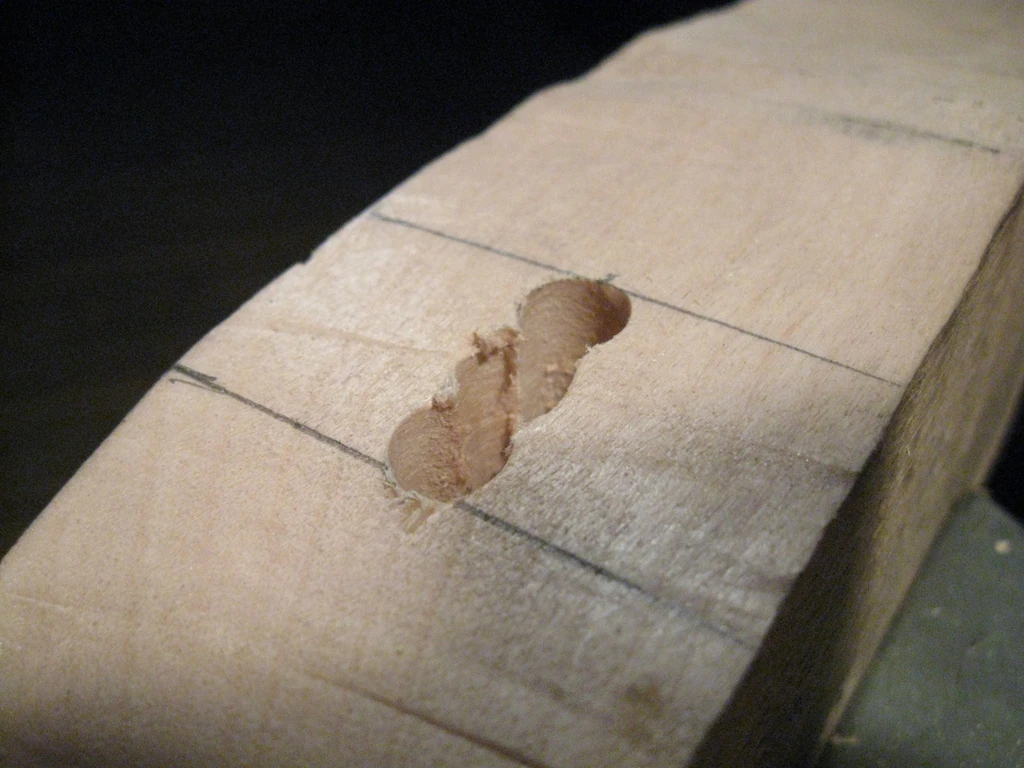
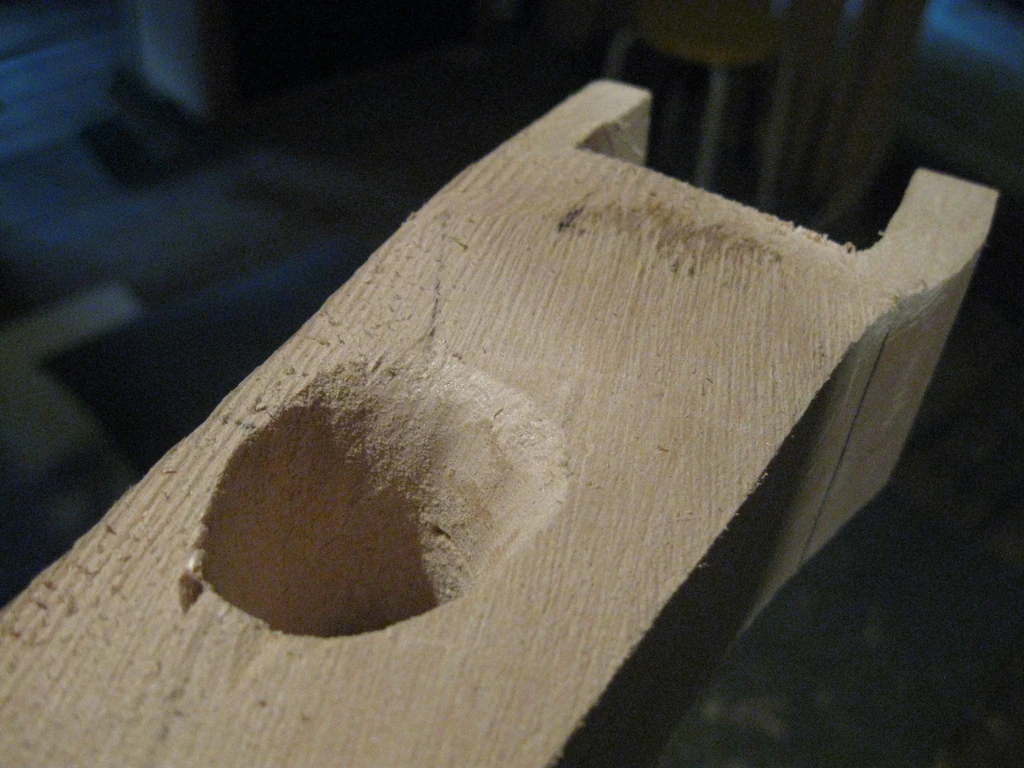
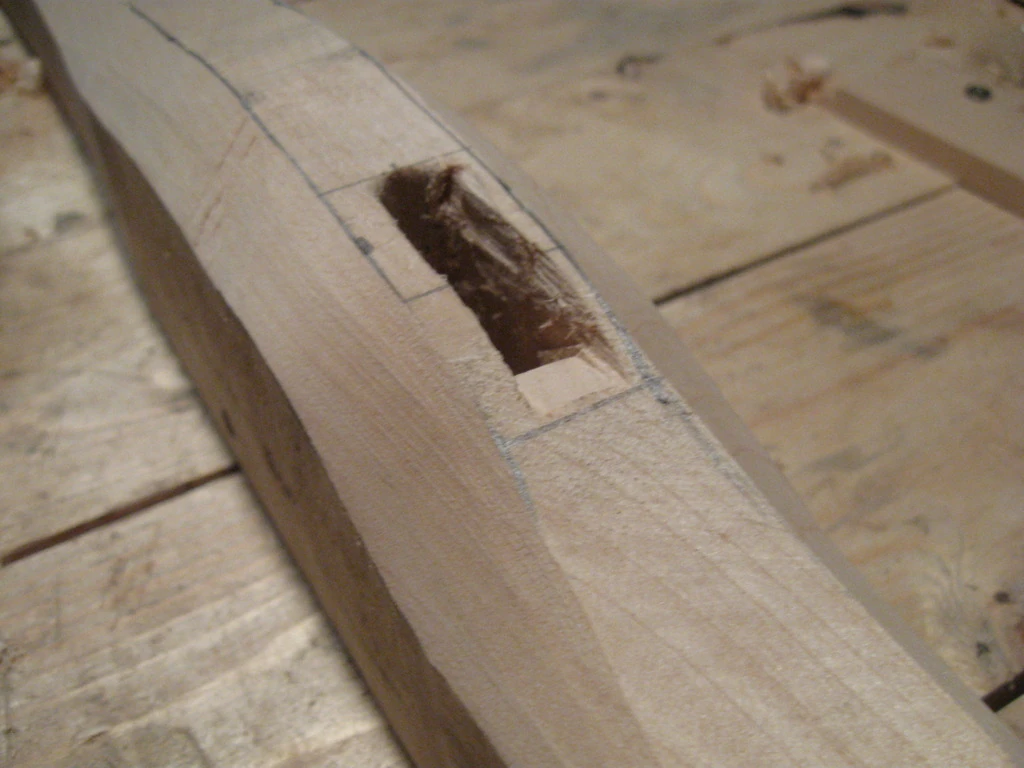
After the basic form of the stock is finished, we need to hollow out space for the triggering mechanism. The cavity for the nut is easy to make with a chisel. Start by making clear marks where you'll place the nut:
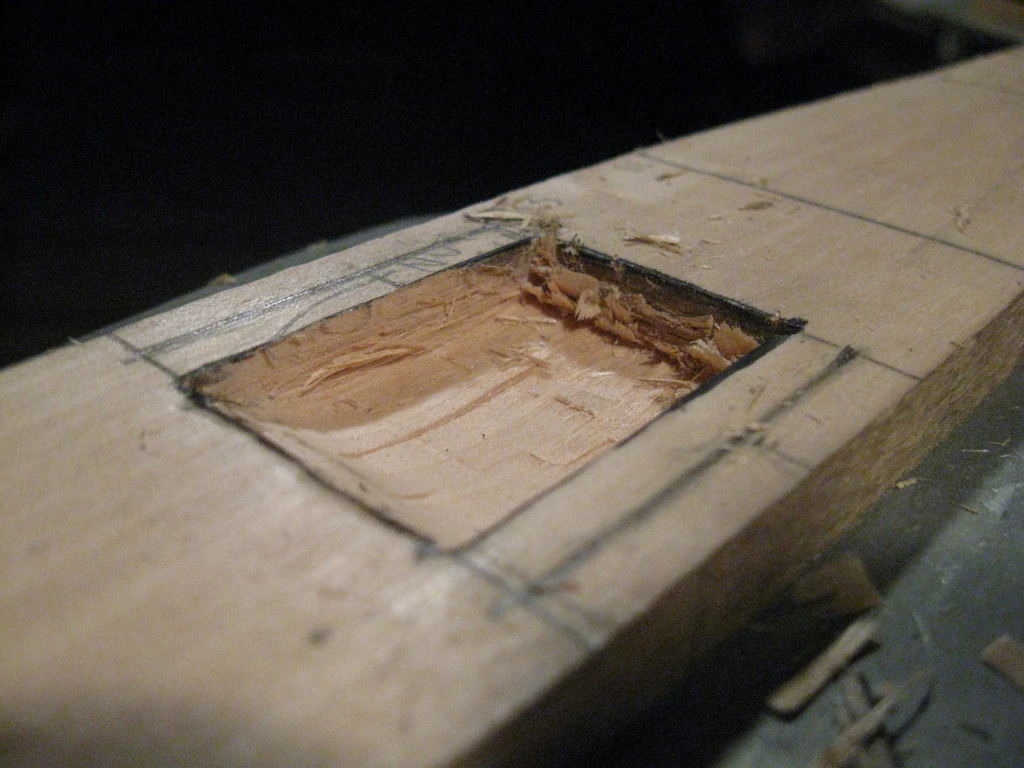
Start chiseling out wood small layers at a time:

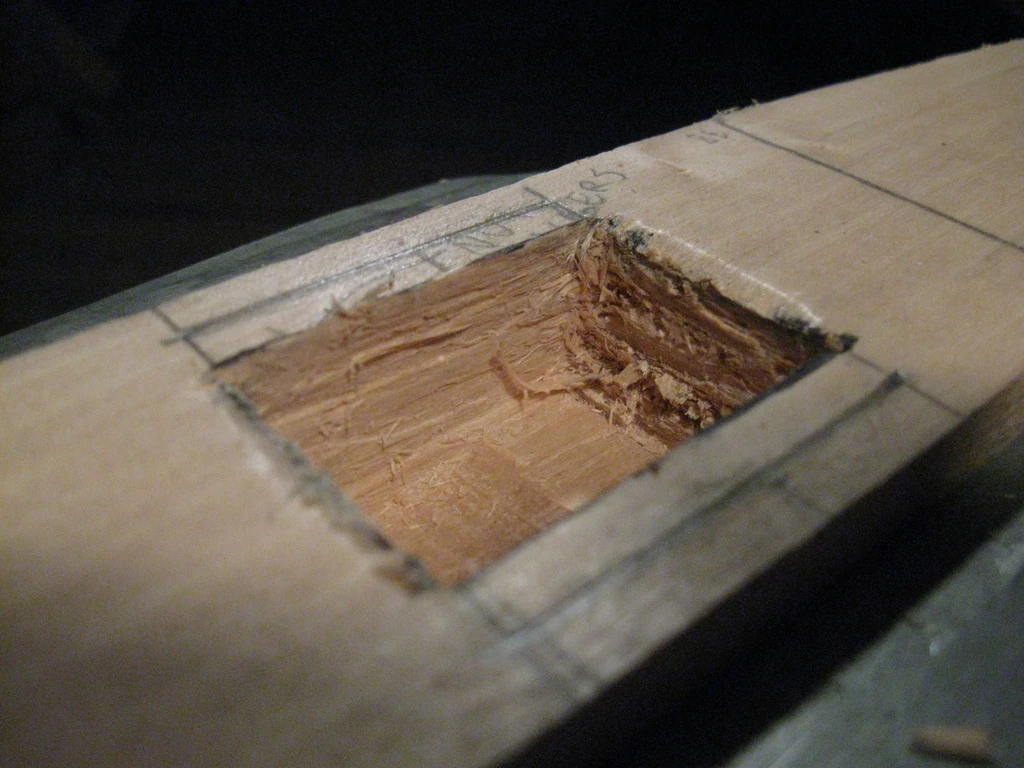
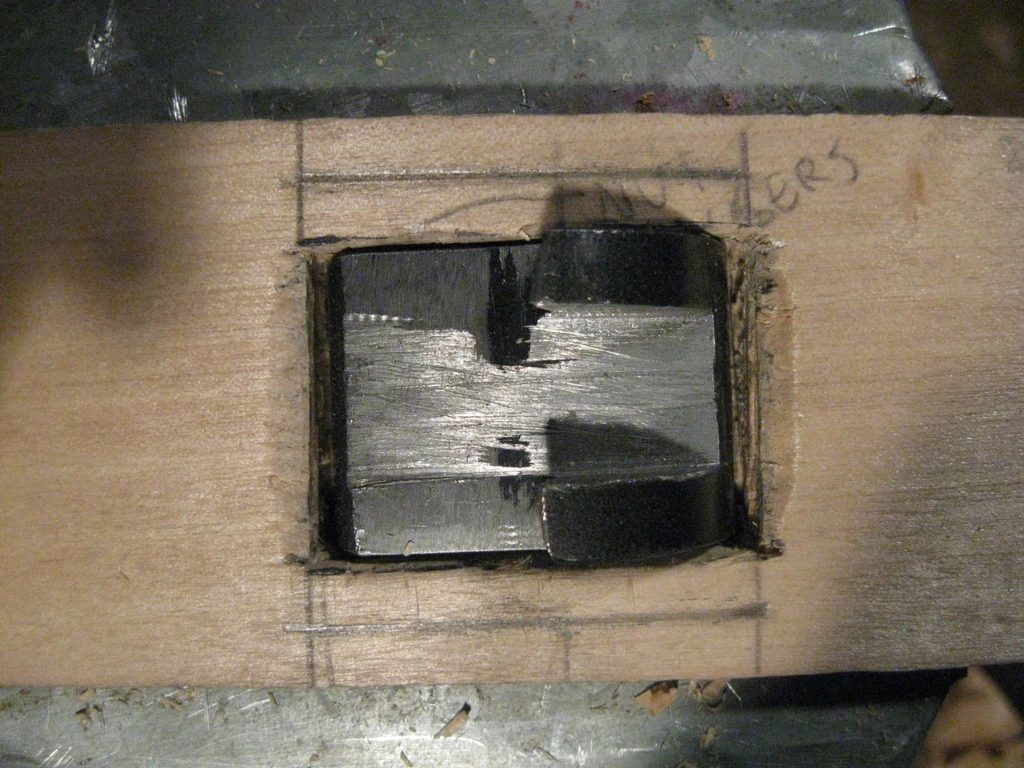
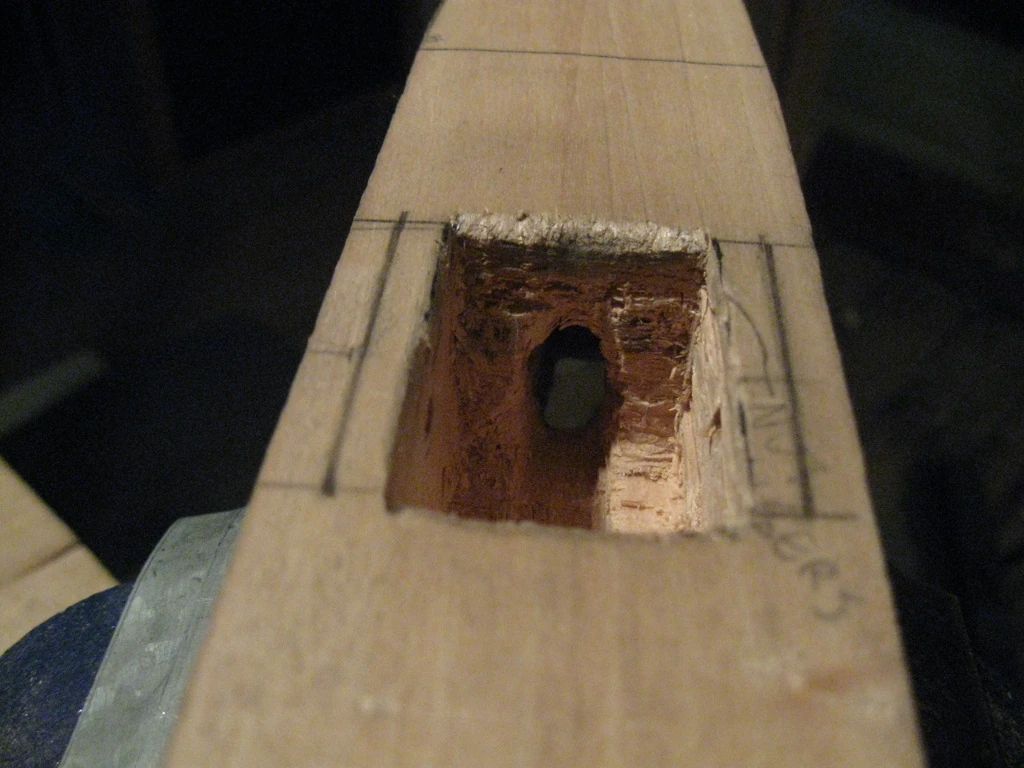
You'll slowly but surely end up with a hollow space large enough to house the nut, as can be seen here:
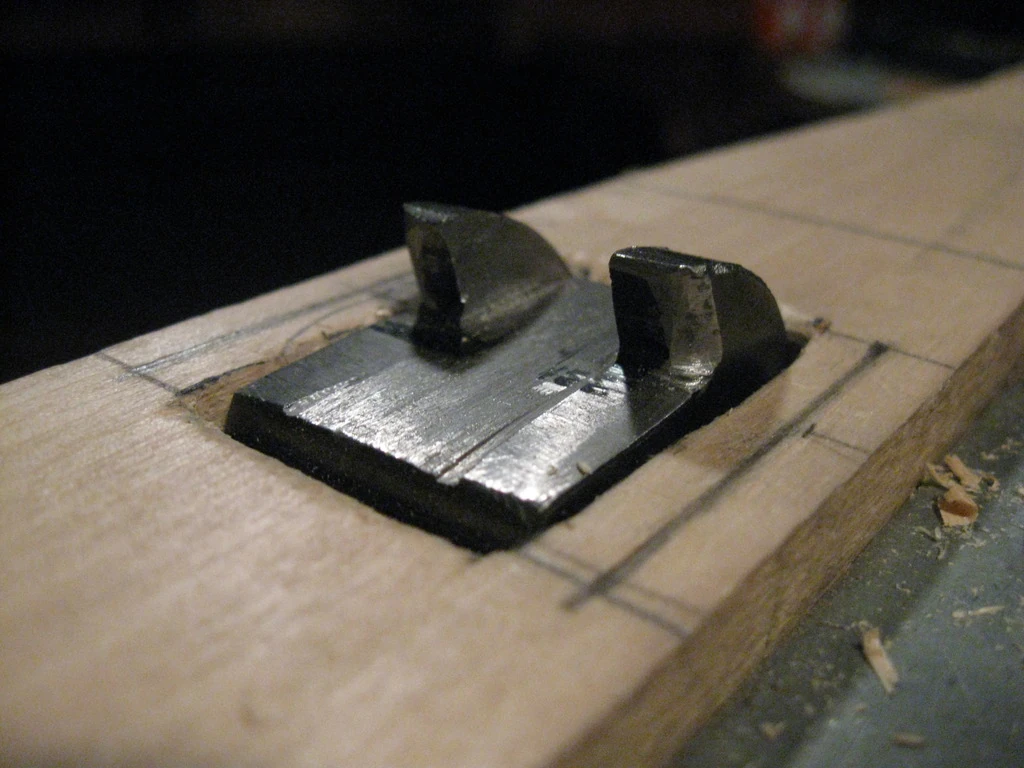

Next use the sideplate to mark the correct places for the nut and trigger axles on both sides:
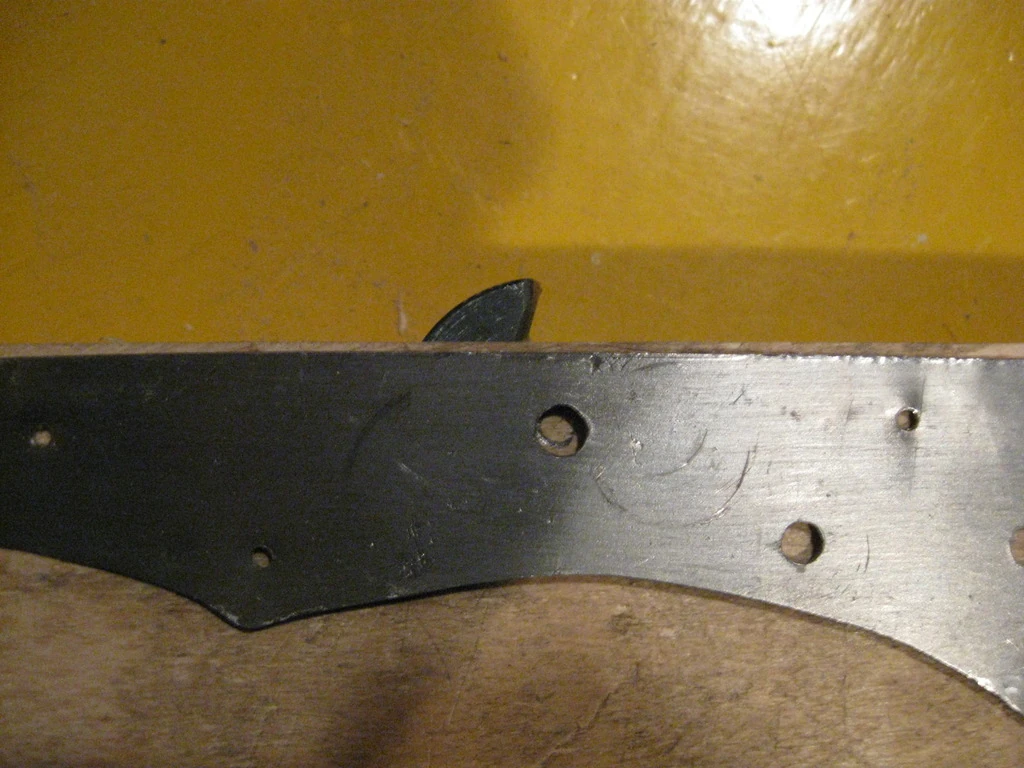
Drill both holes half-way through from both sides, switch sides and finish the hole.
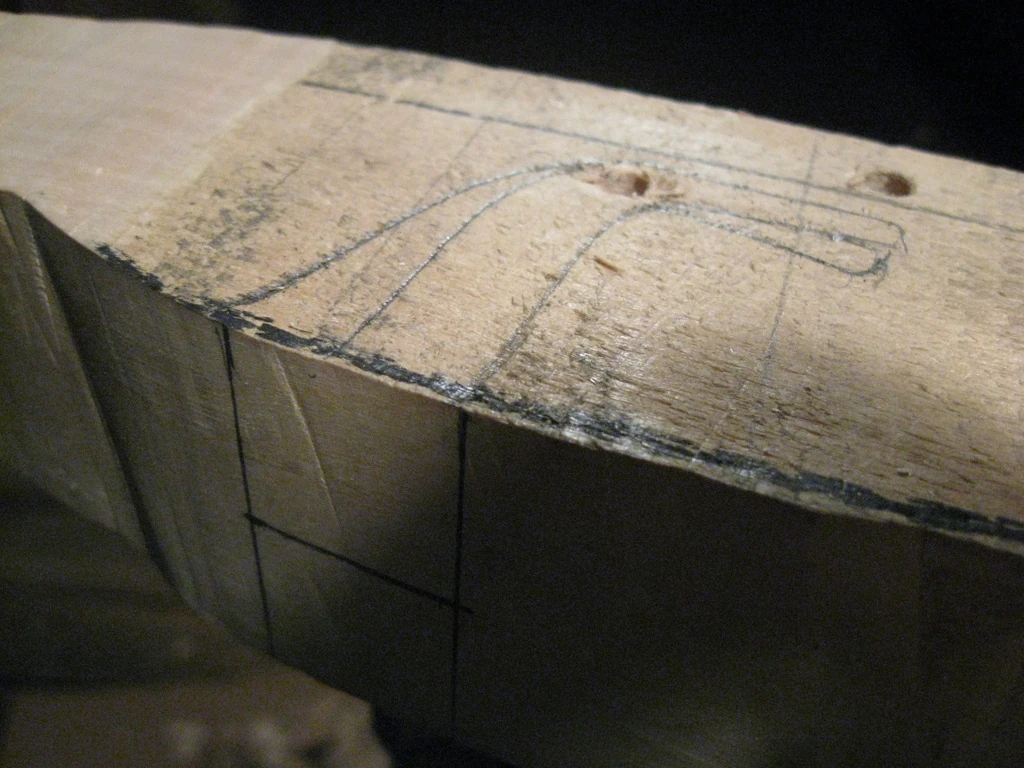
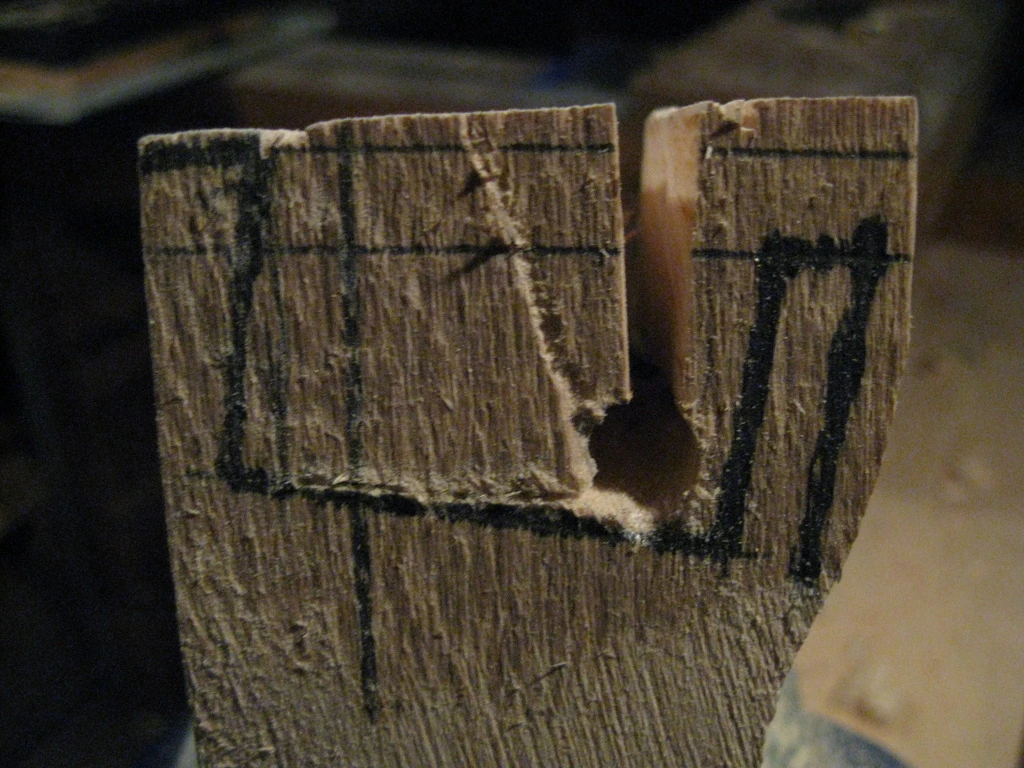
Next use a pencil to mark the full extent of trigger movement to the side of the stock. This helps you visualize the places where you need to remove wood to be able to fit in the trigger:
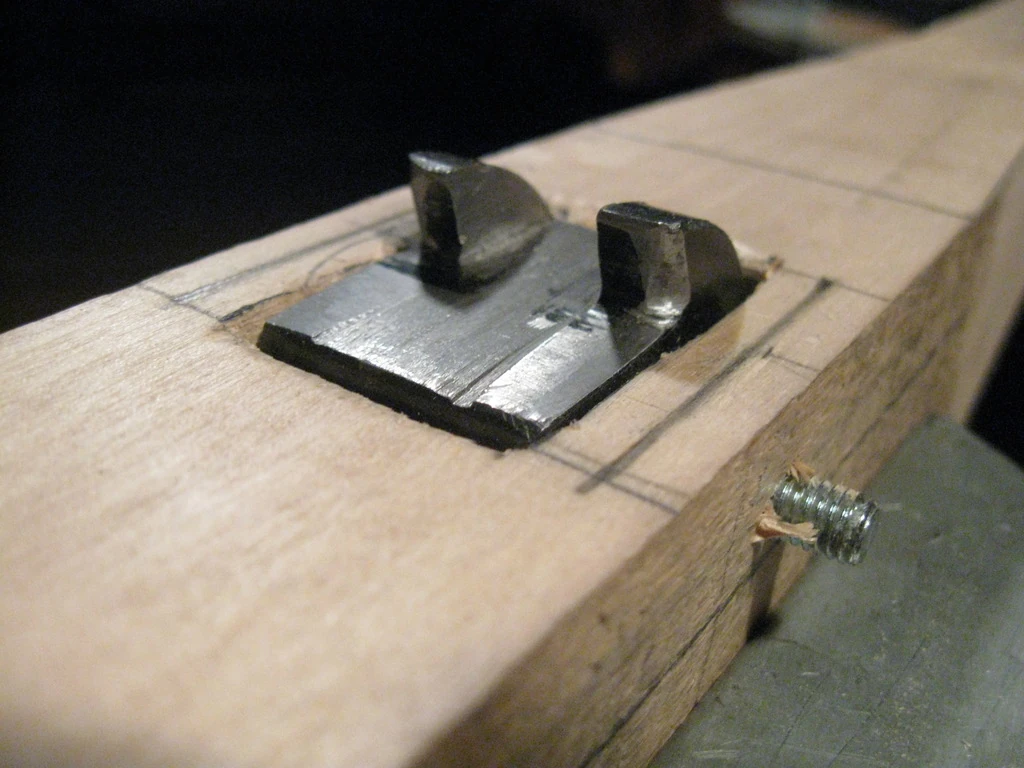
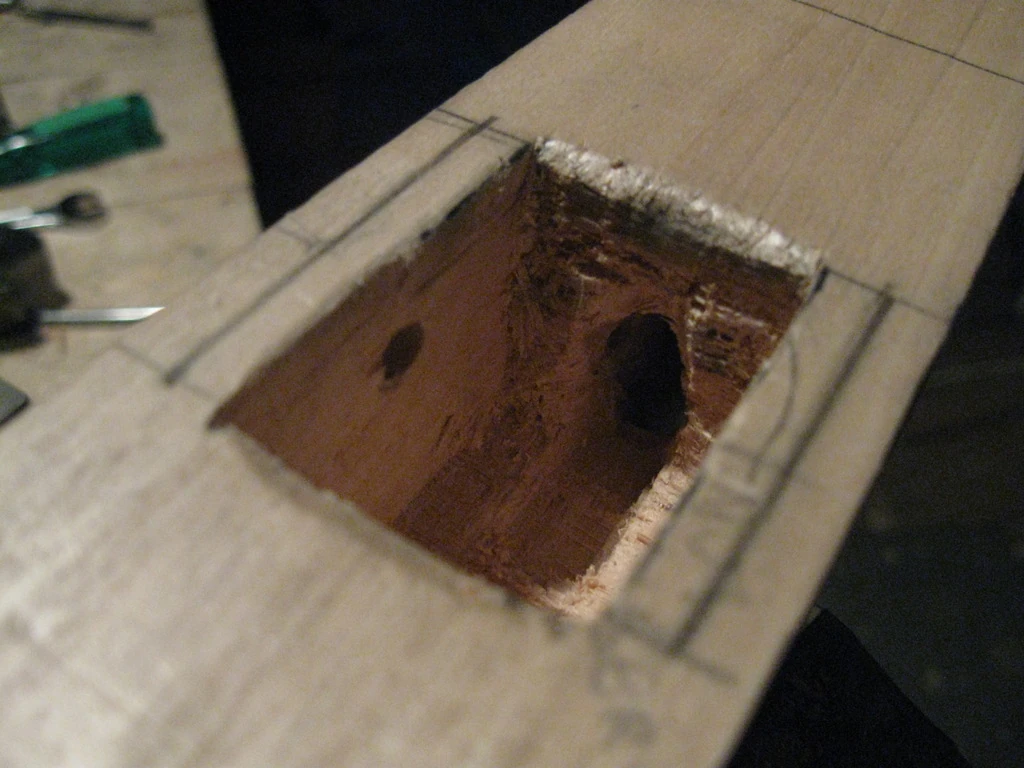
Continue by drilling holes from the bottom of the stock to the nut cavity:
Continue the work with a chisel until the lock mechanism works as intended:
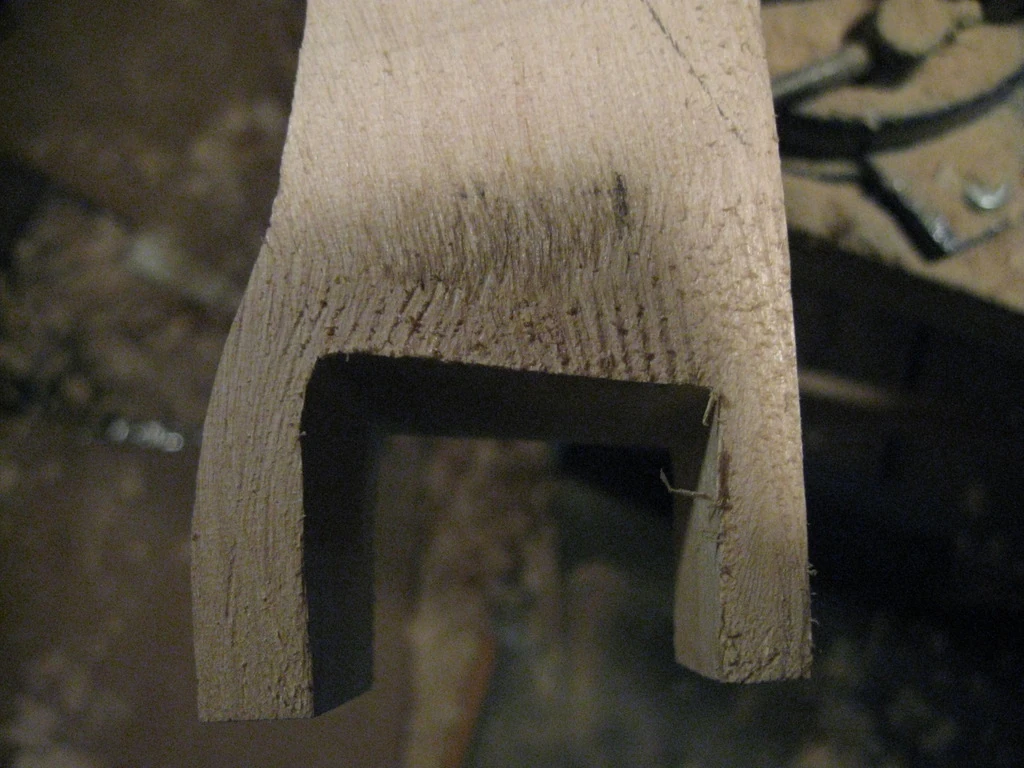
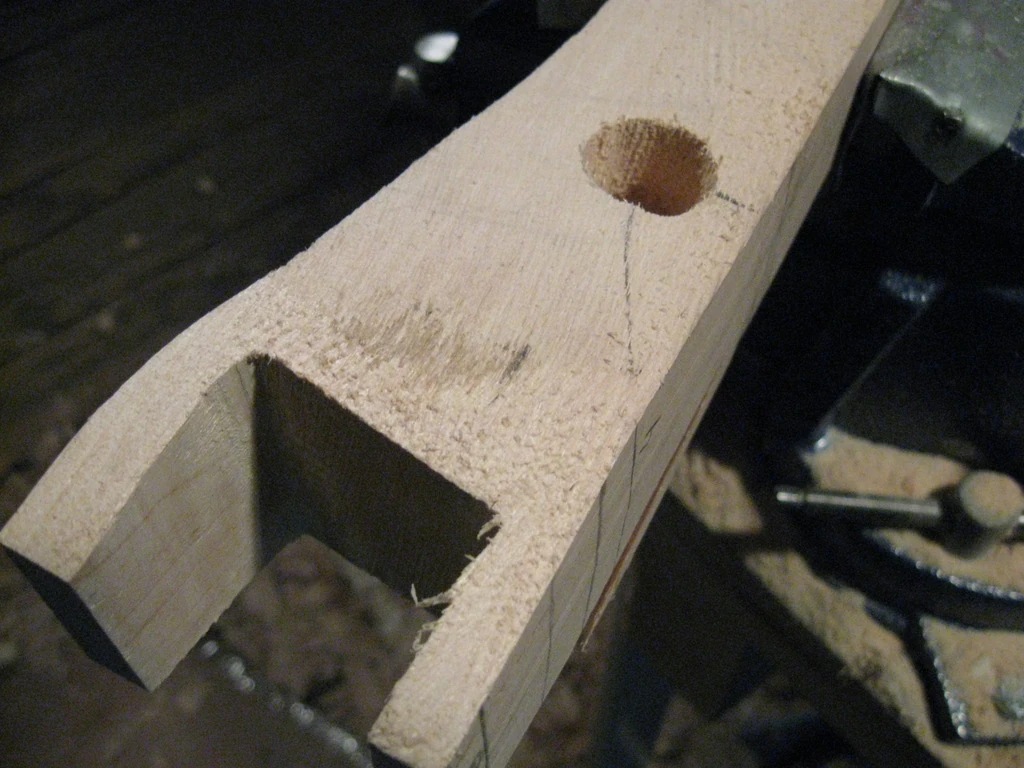
Making opening for the bow and hole for the bridle
Now it's time to make the opening for the bow. Drill a hole for a coping saw and cut the opening roughly into form. Then finish of the work with rasp and file. Make sure the part facing the bow is in exactly 90 degree angle (sideways) to the stock. Otherwise one end of the bow will further forward than the other. Also make sure the opening is canted properly, so that the bowstring just barely touches the top of the stock when the bow is in place.
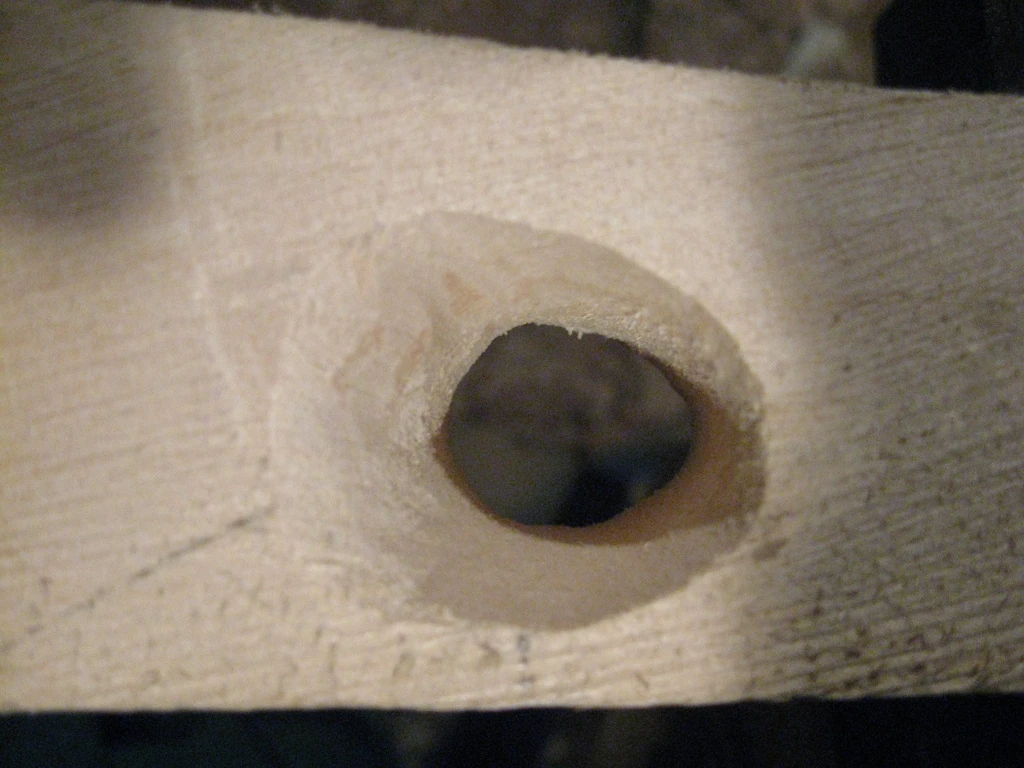
Next drill a hole for the bridles:
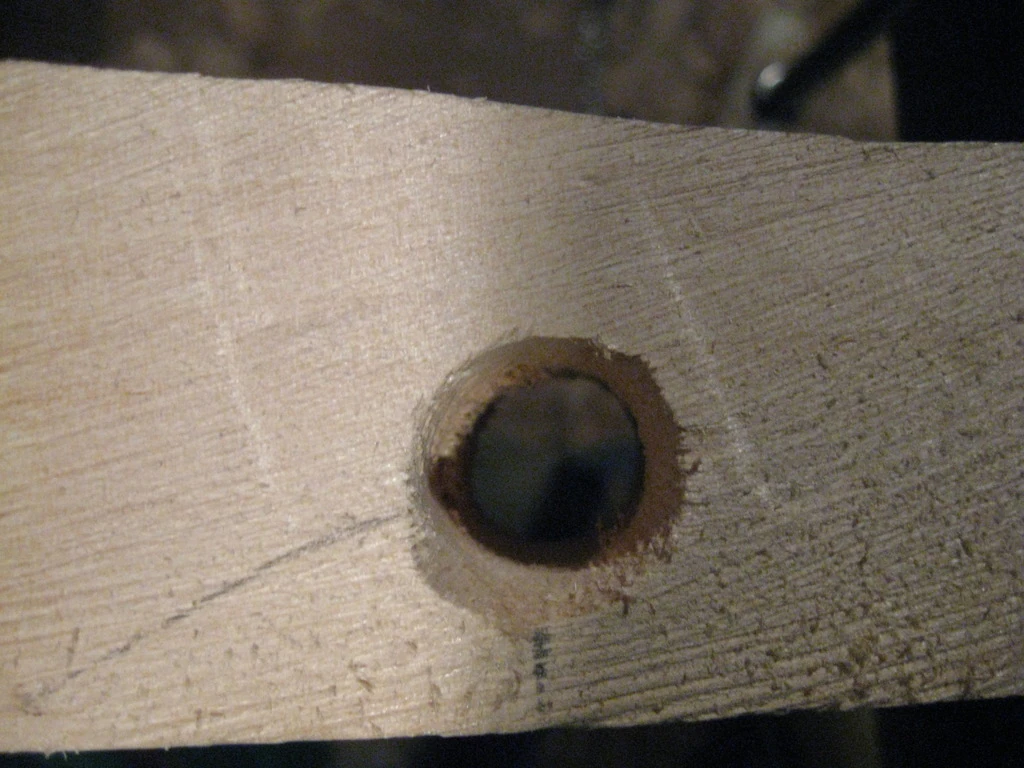
Now you can rasp the hole slightly oval (see below) to make inserting the (bridle) thread easier. Whether this is necessary depends on how big hole you drilled in the first place, as well as how much thread you intend to insert.
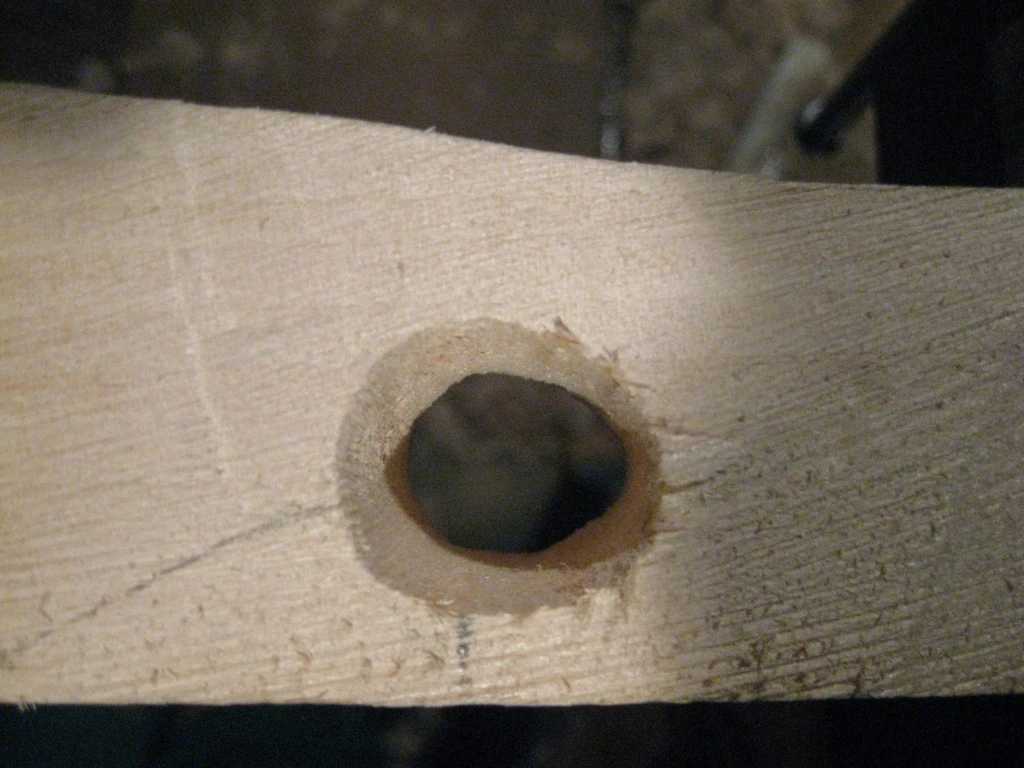
Next round the edges of the bridle hole facing the opening for the bow. This is important to reduce wear and tear on the bridle threads:
Rounding the corners of the stock
Now the basic shape of the stock if finished - only a few final touches are missing. Depending on your sense of aesthetics, you may want to round all sharp corners aggressively. If you want the stock to be symmetric instead of "close enough", mark all the areas where you'll remove more than a trivial amount of wood:
Then use a rasp or a spokeshave to cut away the excess portions...
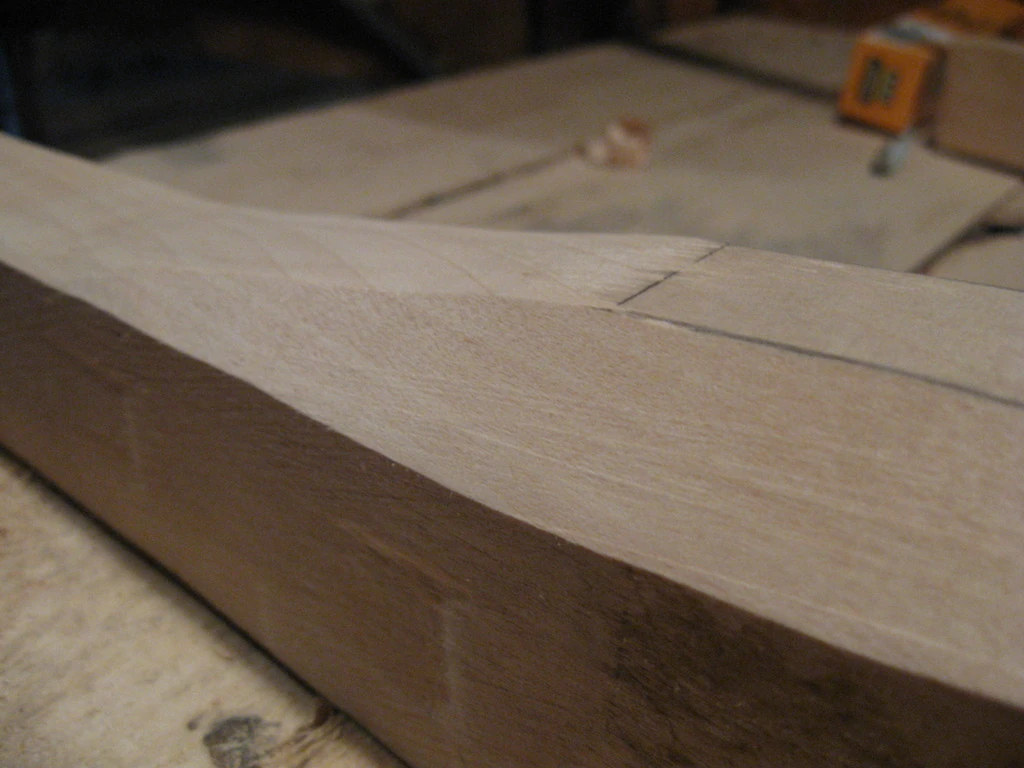
...and finally round all the corners you want:

Making the bolt groove
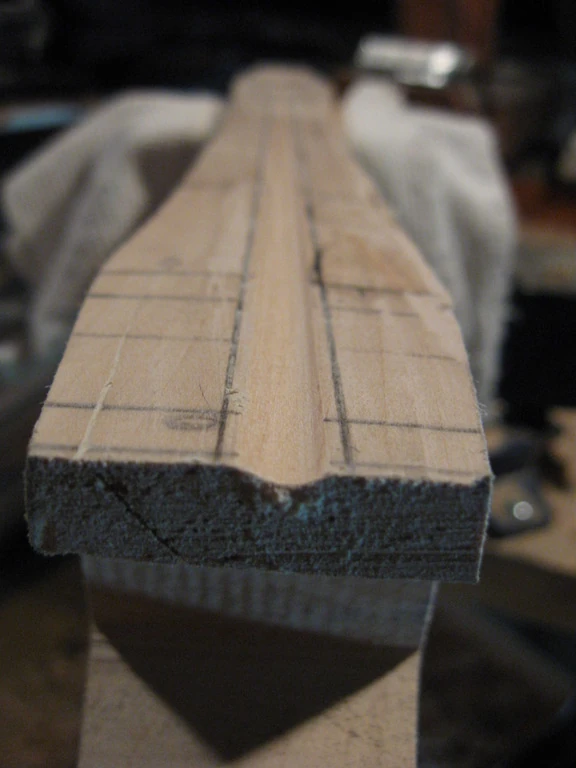
If you didn't make the bolt groove at the beginning, now is the time. Make sure it's marked to the exact center of the stock (or more correctly, in 90 degree angle to the bow):
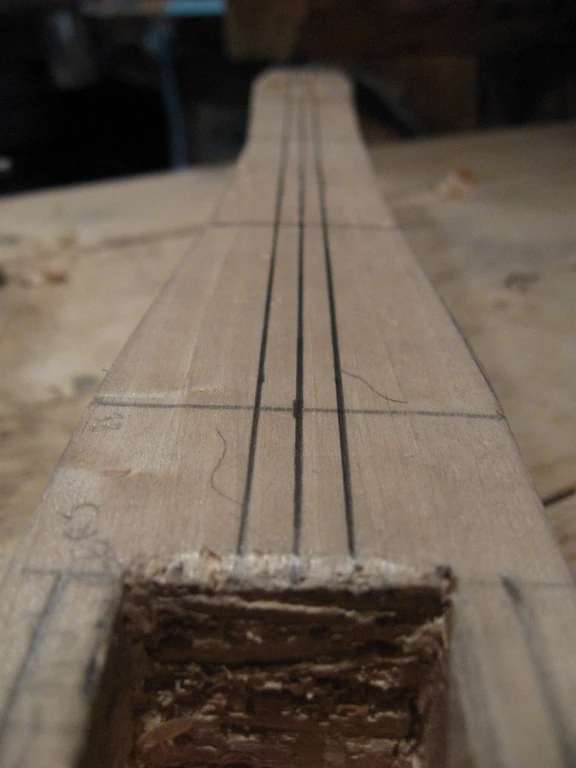
I find it easiest to make the groove by marking it's limits carefully and chiseling away wood (with a wide forming chisel) from outside of the groove towards the inside carefully, until the bolt groove is roughly formed. After this the same chisel or a small knife can be used to remove any irregularities.
An alternative approach is to wrap sandpaper over a (~8mm thick) slat of wood with rounded corners and use that to sand the groove.
Before sanding a small initial guiding groove should be created by other means, e.g. by scraping with a knife and a file. The final result should look something like this:
The problem with this approach is that it's very easy to deviate from the correct course by applying too much pressure sideways while sanding. This can cause the groove to point towards right or left by as much as 1-2mm without you noticing anything - especially if pencil work was inadequate. One foolproof solution to this problem would be the use of wooden guides to limit sideways movement of the sanding slat.
Final touches
After making the bolt groove sand the entire bow thoroughly, first with coarse (40 grit) sandpaper, then move on to progressively finer grades. Alternatively you can use a combination of spokeshave and cabinet scraper to create a nice smooth surface. The result should look similar to this:

Depending on what kind of wood you use, you may want to protect it against moisture. I usually oil the stock 3-4 times with linseed oil and then wax it 2-3 times with beeswax. After the wax has dried, I polish the stock. A 50/50 mixture of linseed oil and tar also works fine and gives the stock a nice brown color. However, this makes the stock smell of tar, which, though pleasant, might not be liked by everyone. Fortunately thorough waxing (and time) helps a lot in this regard.