Making the sideplates[]
Introduction[]
There are a couple of ways to make the sideplates in the set of bow irons. The simplest method is to use a wide piece of flat steel, mark the outlines of the sideplate and remove excess steel from both inside and outside. This method wastes a lot of material but requires only patience - not that much skill. It also tends to produce sideplates that are almost identical, but from functionality perspective the sideplates made with the second method are just as good.
The second method is what I nowadays prefer. It's faster, wastes less material and produces sideplates of consistent quality. The basic idea is to take a piece of rectangular steel rod (8-10mm thick) and bend it at predefined places to form the sideplate. This method is what we describe below.
If you have a blowtorch and need to make several sideplates of the same size, you should seriously consider the method described in this article instead.
Bending the sideplates from rectangular steel rod[]
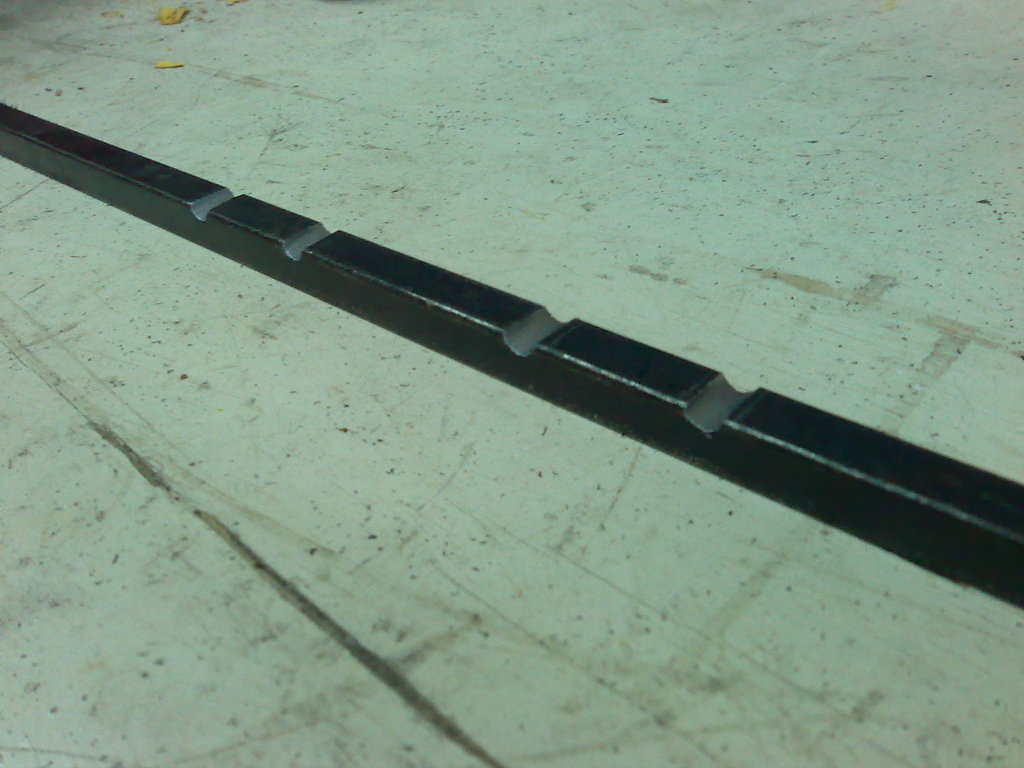
First create a rough sideplate model from thick metal wire. This helps you measure the amount of steel rod you'll need, as well as the correct location of the bends. Once you're finished with your calculations with the model, take the actual steel rod and mark the bends with a file. Next grind shallow grooves at the bend marks with an angle grinder (see pictures below). This makes sure that the steel bends where it's supposed to, as well as makes bending much easier when working with cold steel.
Note: you need to be generous with your measurements as each bend "eats" more steel than it did when working with the metal wire. Also, make sure that all grooves end up inside the arc, not outside. This produces better-looking results and is stronger. You can also heat the steel in a forge or with a blowtorch and bend it while hot. This, however, requires more skill and tools than the cold-working method described above.

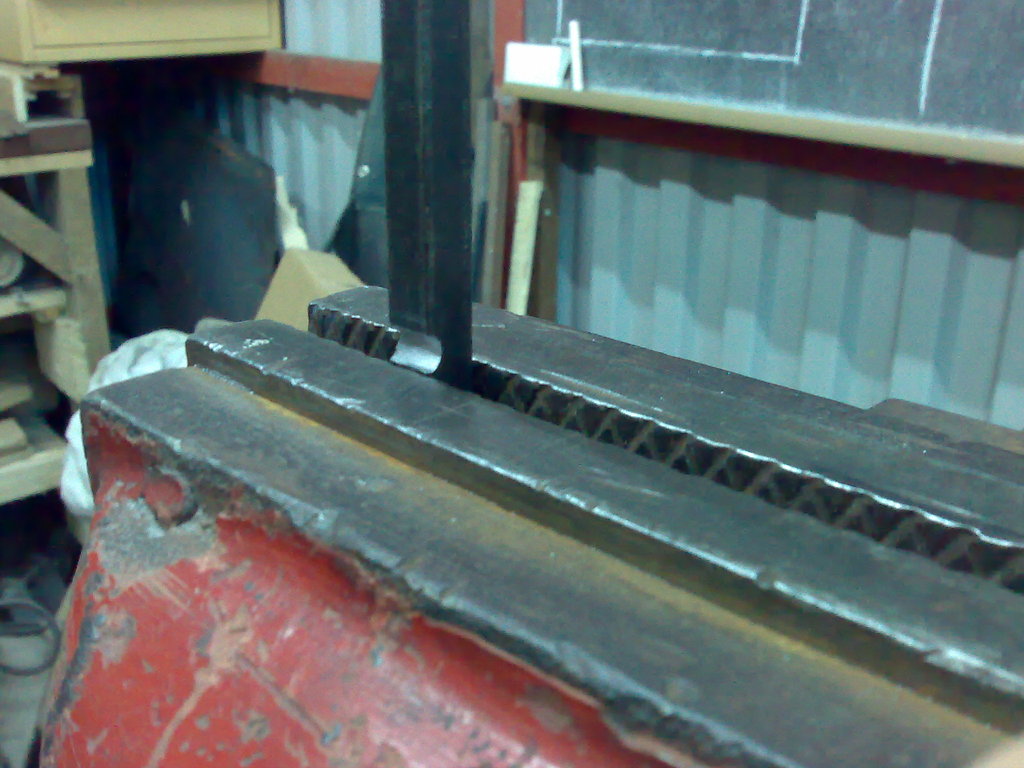
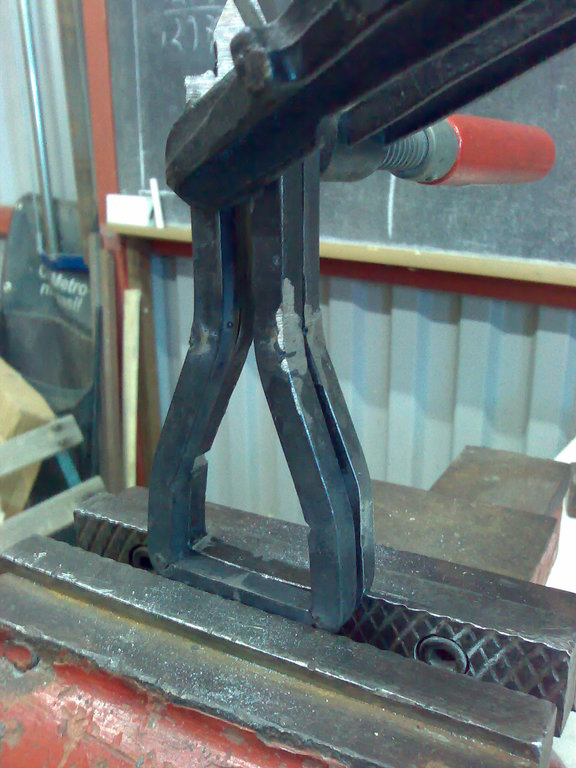
Next attach the steel rod to a vise right next to either of the innermost grooves (see first picture below) and bend it a little. Then remove the rod, flip it around and repeat the process. Do this a few times until the sides of the sideplate are parallel to each other as in the third picture.


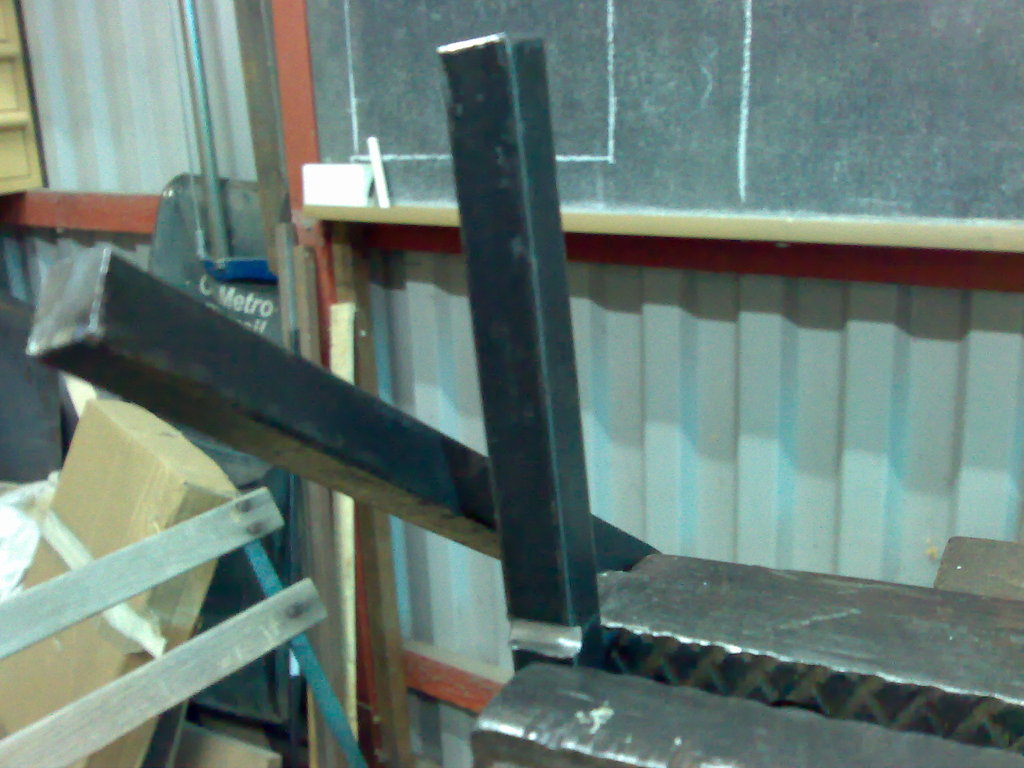
Next attach one of the long sides of the sideplate to the vise and twist the other side slightly as in the picture below. If this is not done, it will be difficult or impossible to complete the next bends in a vise.

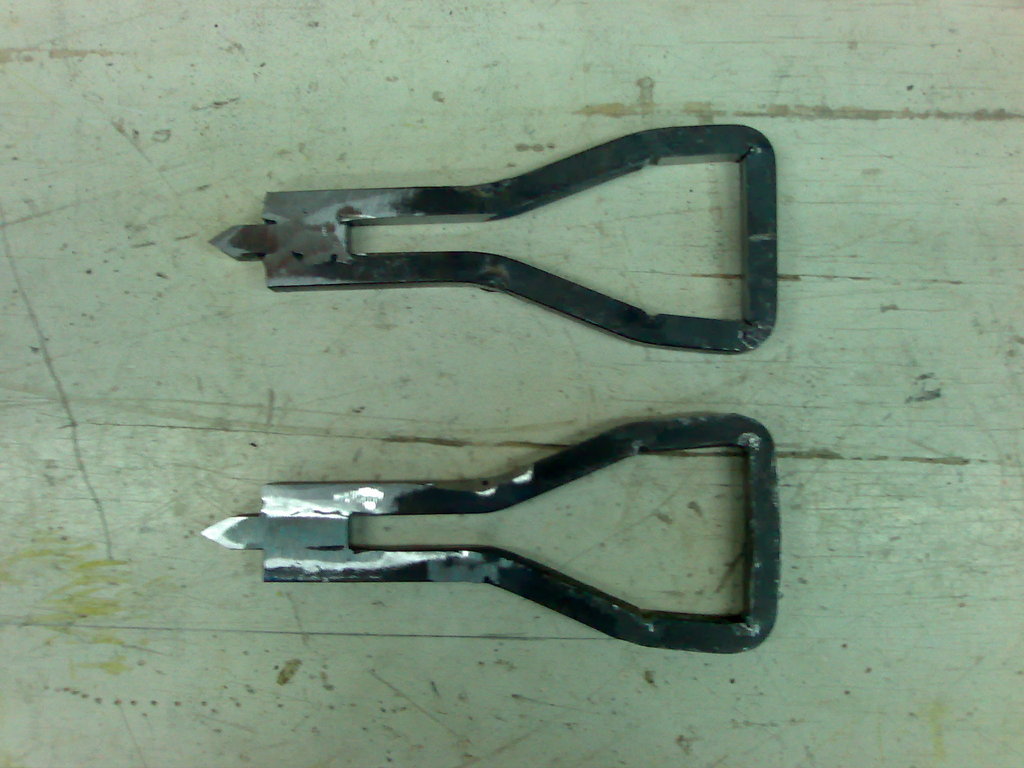
Once you've done with the second bends the sideplate should look like the one in below pictures:

Next it's time to do the third and final bends. This time I've used a steel pipe as a lever to ease the bending. Bend the steel incrementally, checking the results every now and then and adjusting as necessary.

The end result should look similar to this:

The only thing we need to do before welding is to straighten the long sides so that they are once again parallel to each other. This is easiest to accomplish by attaching the short side to the vise as in the picture below.

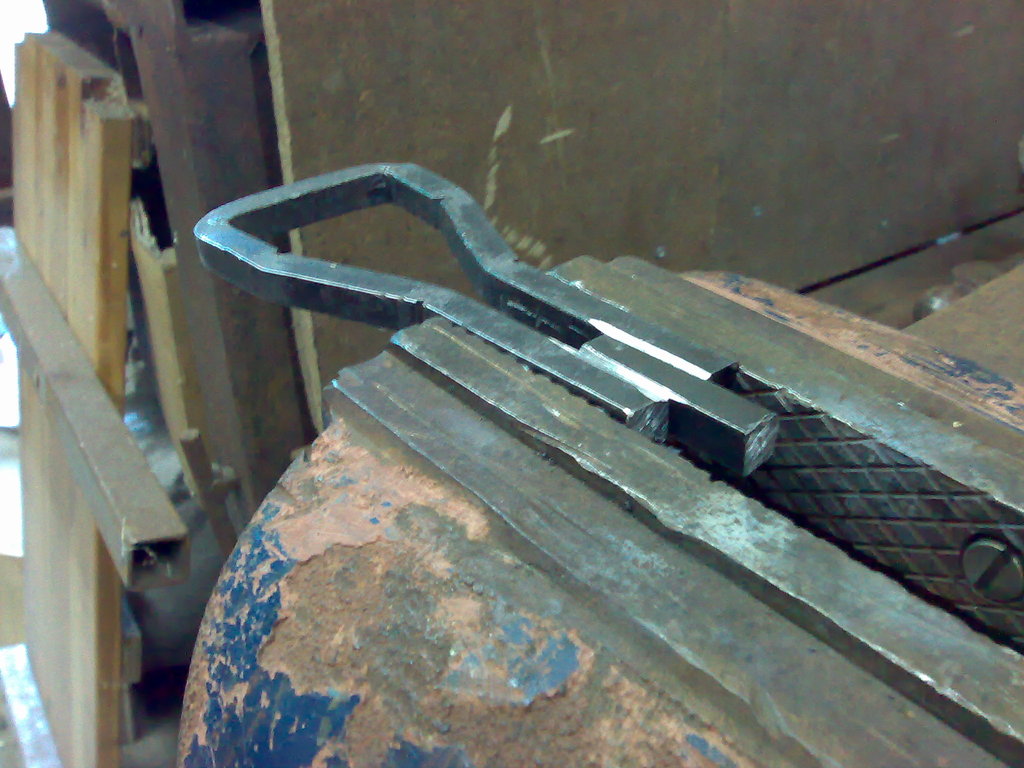
Next cut a length of the same rectangular steel rod and place it between the ends of the long sides. From now on I'll call this piece of steel the insert (for the lack of a better/official name).
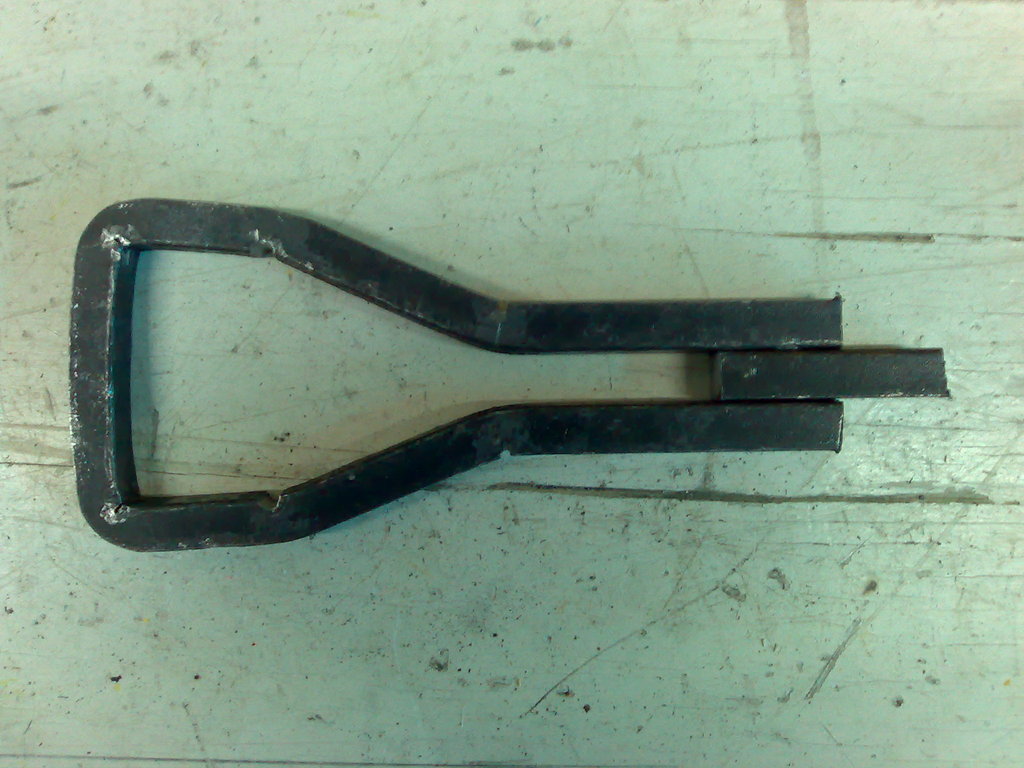
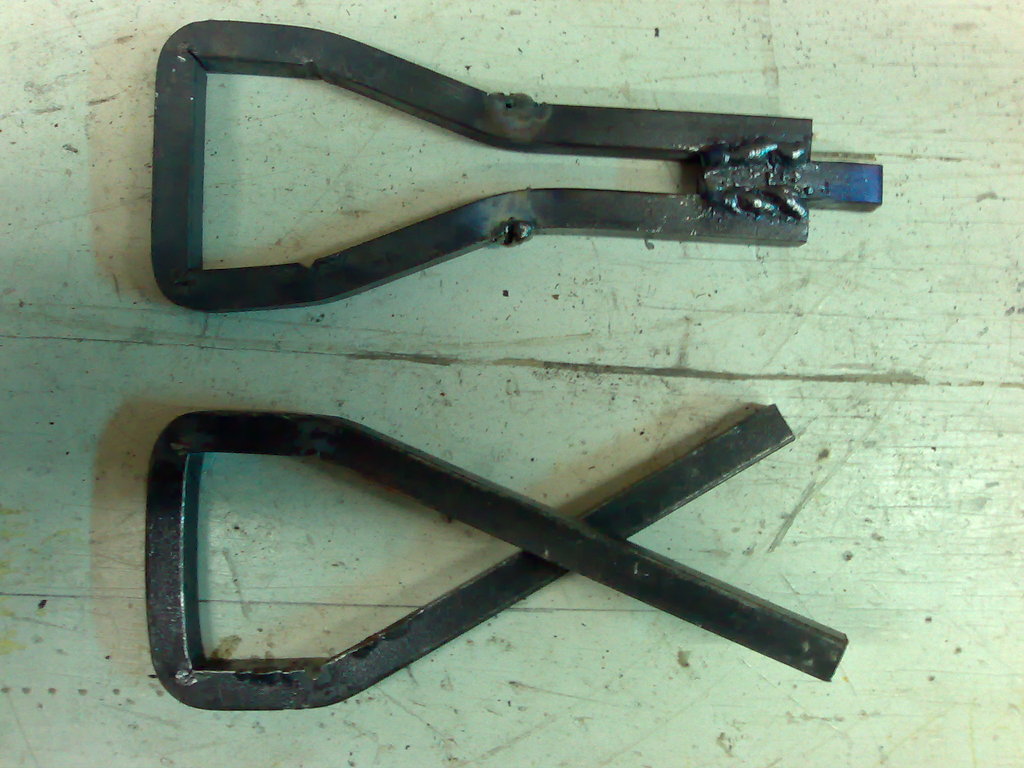
Next attach the sideplate and the insert in a vise, as below, and weld them together on all sides. To make the welding seam much stronger, grind or file a shallow groove into which the melted metal flows.
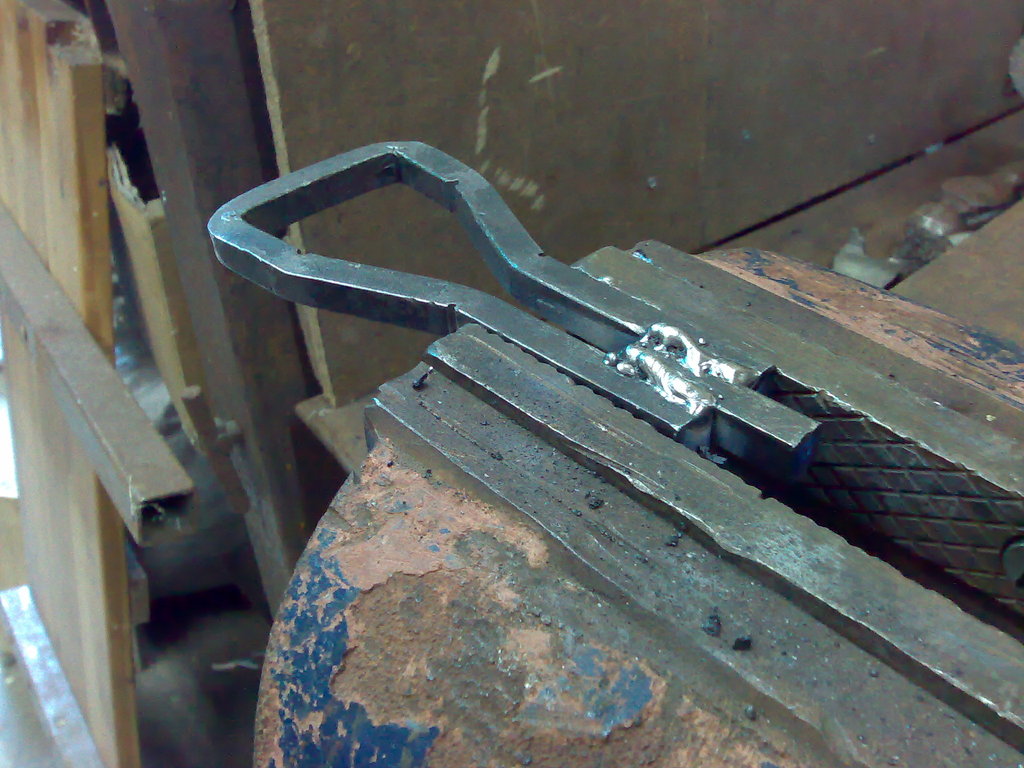
Now, if you're paranoid about the strength of the sideplate, you can reinforce the bends by welding them as shown below. In most cases this is an overkill, though.

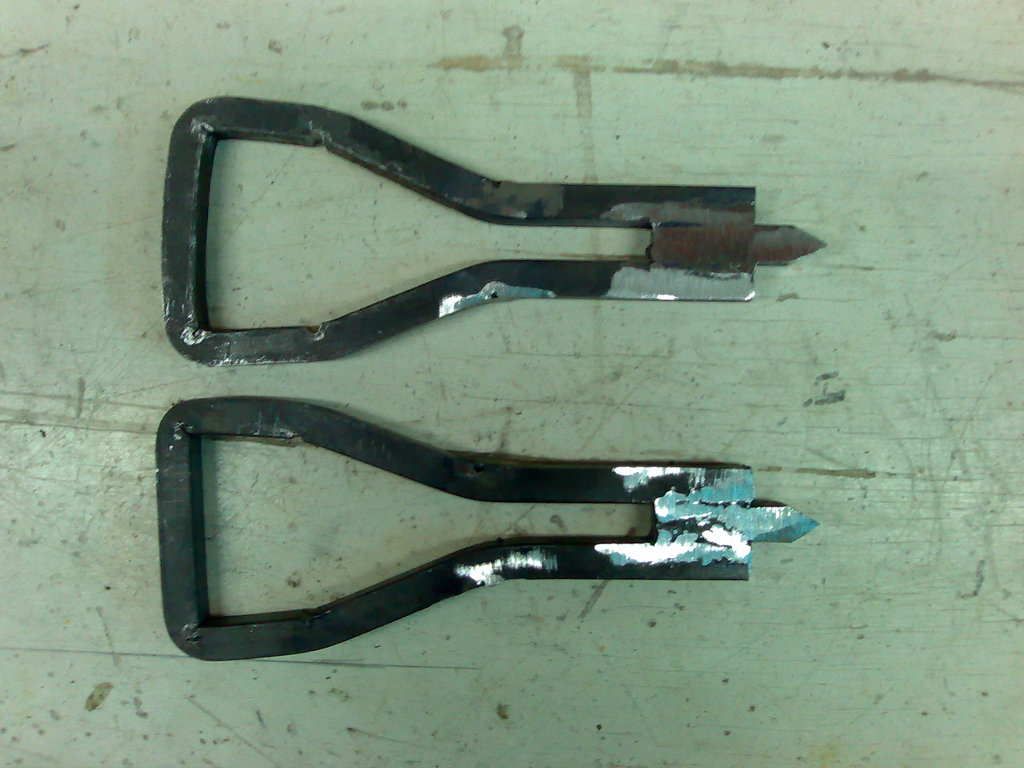
Now grind away the excess material in the welding seam. Then, if you want, grind the end of the insert into a nice taper.
The last thing remaining is to file the sideplates so that they match each. The most important parts are
- The narrow part of the sideplate: in contact with the guards and wedges
- The front of the sideplate: in contact with the prod and stirrup
It does not really matter whether the sideplates are identical in other parts. Matching the sideplates is easiest to do by attaching them to vise and smoothing out any differences with a good metal file, as shown in picture below.
The finished sideplates should look like this:
If you want to get rid of the bright metal surface, heat the sideplates well with a blowtorch or in a forge and you get a nice blueish-black color instead.