Introduction[]
Bastard string is used to temporarily draw a powerful bow so that the real bowstring can be inserted. This article gives instructions on how to make extremely simple yet powerful fasteners for a bastard string for a steel bow. The fasteners described here are not general purpose, meaning that you need to make a pair for each bow. However, these fasteners are very easy and quick to make, so this is not a big issue. Also, if several of your bows share the same front-view profile, you can use the same fasteners for each one.
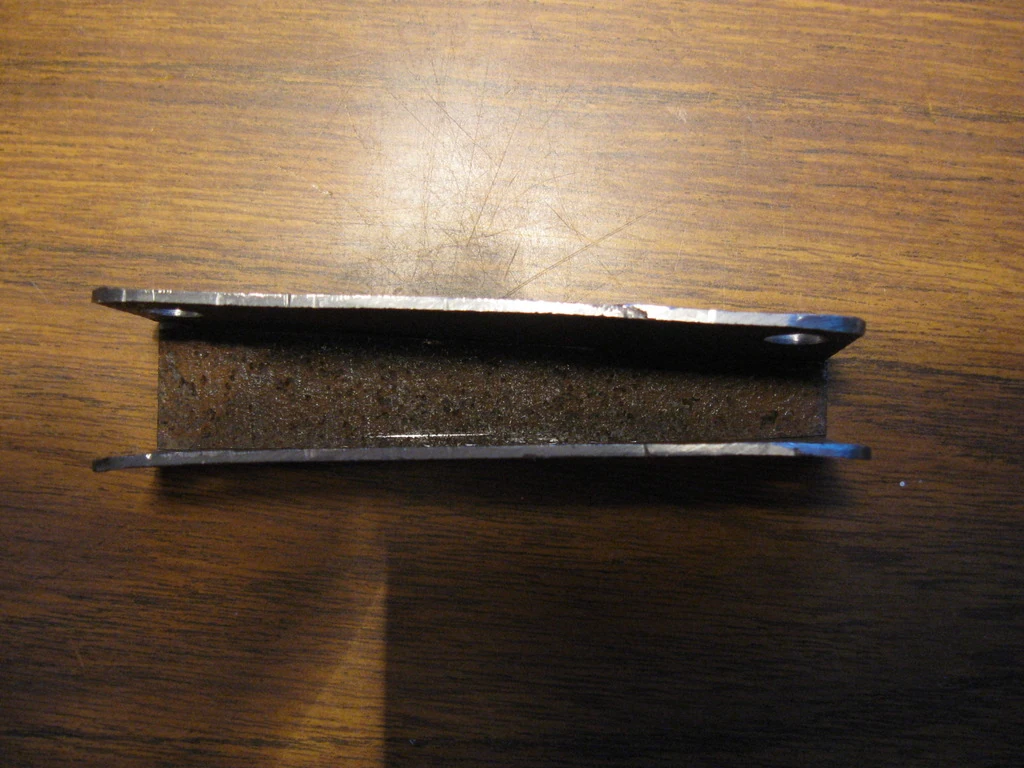
Operating principle and design[]
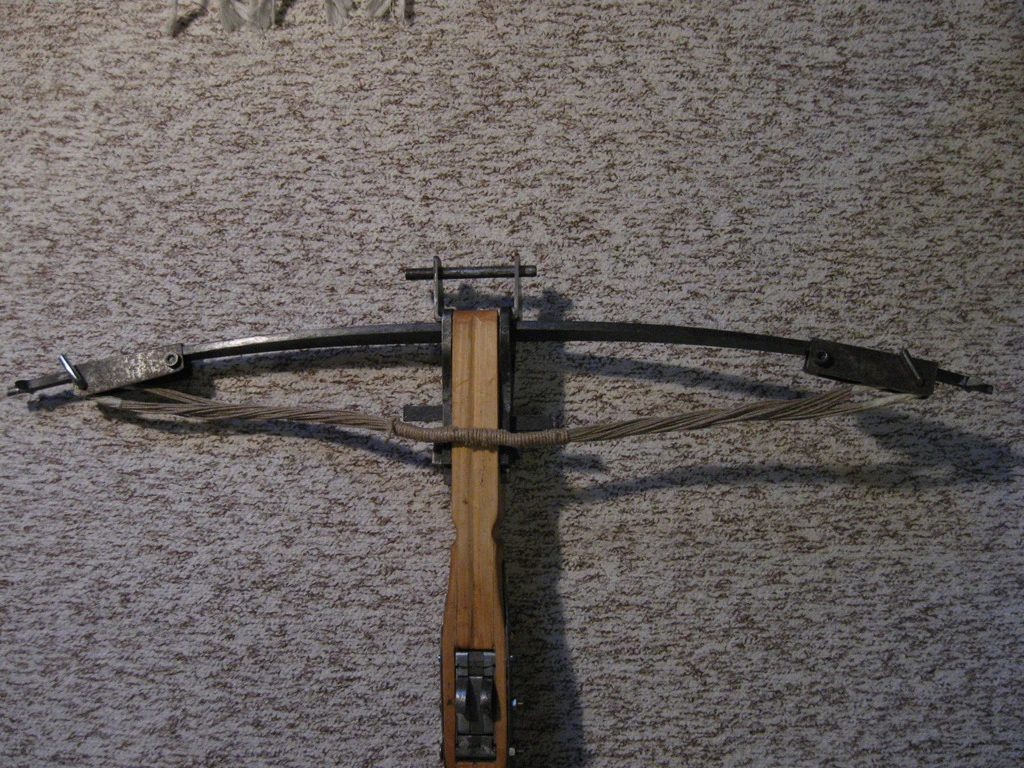
This bastard string fastener is my own design and I have not seen anything similar described anywhere else. This type of fastener has worked exceptionally well for my ~300 pound crossbow, but there's really nothing preventing from scaling up the design to higher draw weights. The operating principle is very simple, as can be seen from this picture:
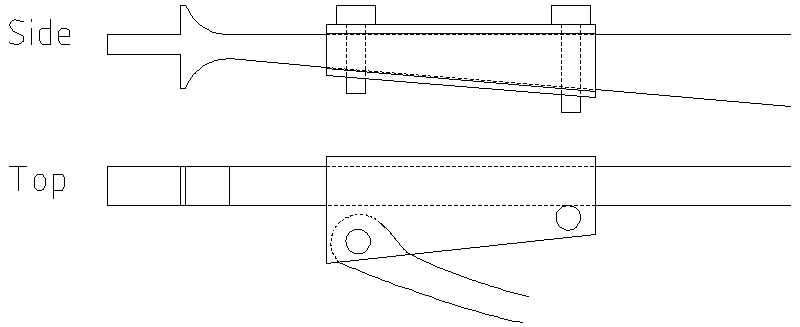
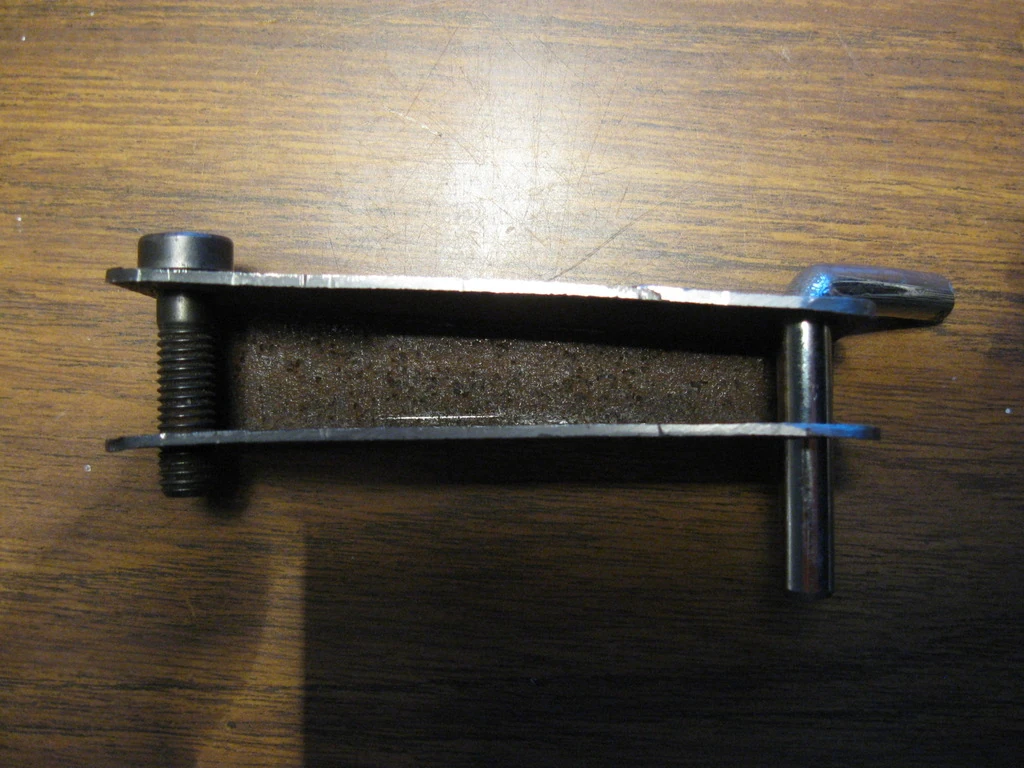
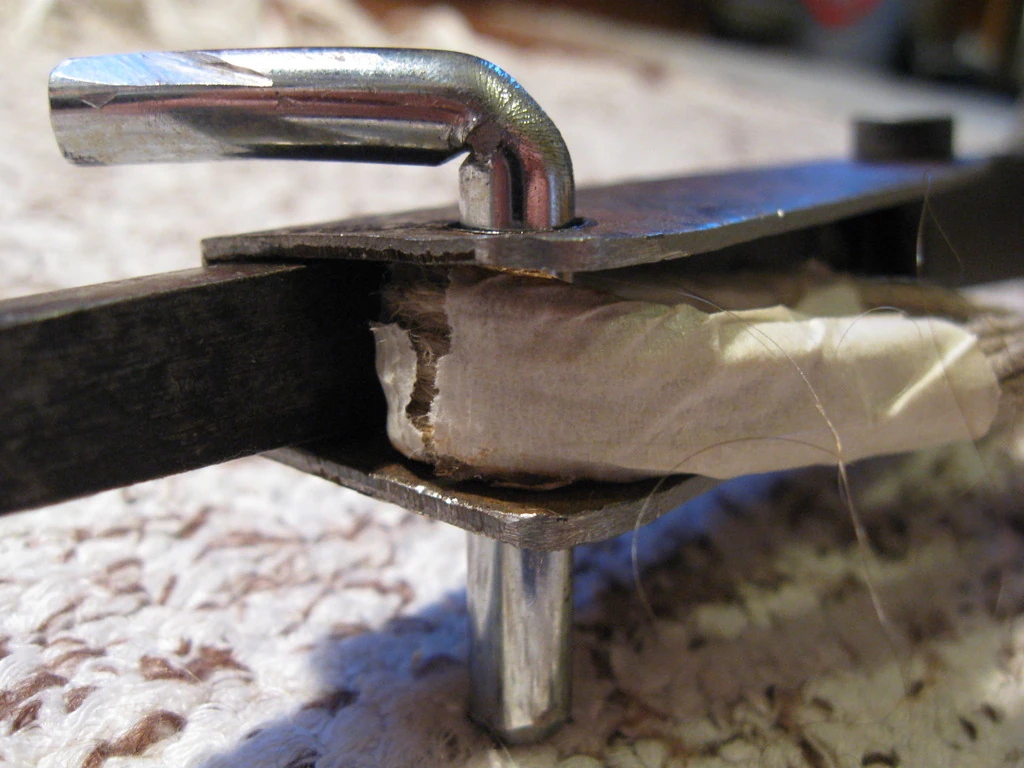
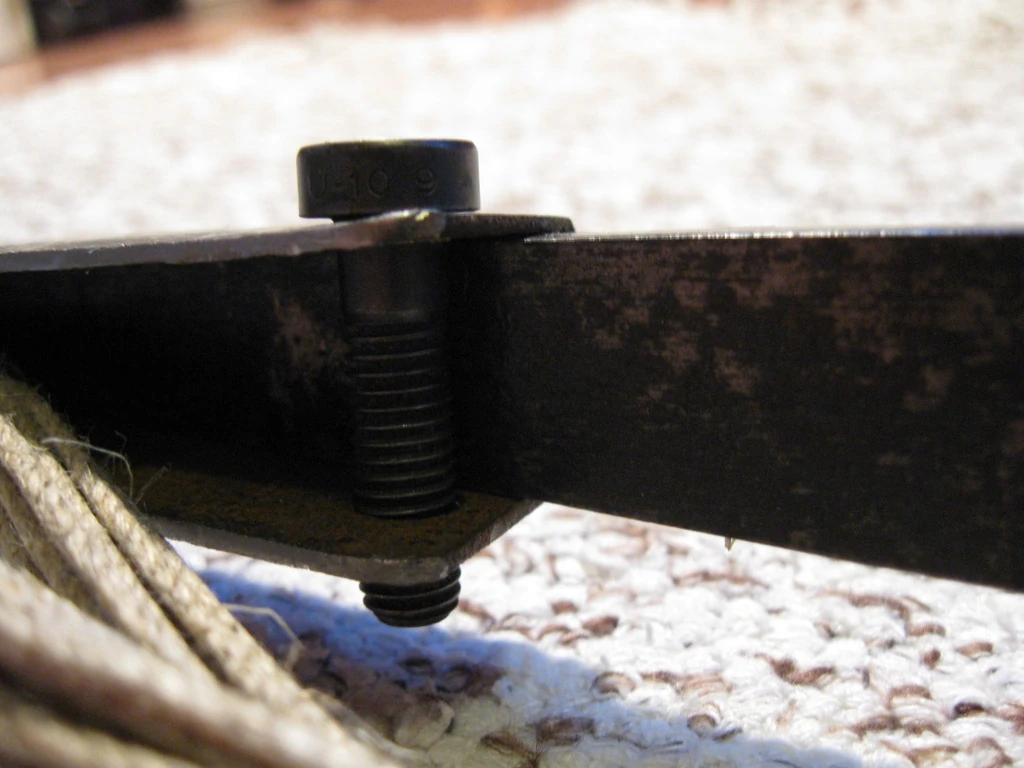
The fastener is a simple steel plate bent into a U-shape with two bolts going through it. The U-shaped plate is bent tightly around the bow and tapers towards the nock, preventing it from sliding towards the center of the bow. The bolt closer to the bow's center is placed very close to the bow. This prevents the fastener from rotating when bastard string is being pulled back. The bolt closer to the nock goes through the loop of the bastard string.
There are few things worth mentioning about this fastener type. First, don't place the fasteners so that they end up close to the nocks. Otherwise the real bowstring might end up uncomfortably close to the fastener, fastener bolts and the bastard string, preventing any of them from being removed easily. In fact, the fasteners in the above drawing would probably have this problem. The fasteners in the photographs work well, though. Also note that this kind of fastener works best if the width taper of the bow is relatively aggressive. If it's not, the U-shaped plates have to be made very carefully so that they fit around the bow perfectly.
When mounting the real bowstring it's safest to follow this procedure:
- Cock the bow with the bastard string
- Mount the real bowstring
- Use the cocking device (e.g. a lever) to overdraw the bow slightly (i.e. beyond the fingers of the nut)
- Press the trigger (to release the nut)
- Undraw the bow using the cocking device in a controlled fashion
If there's insufficient pressure on the cocking device when the trigger is pulled, you could get seriously hurt, so be very careful.
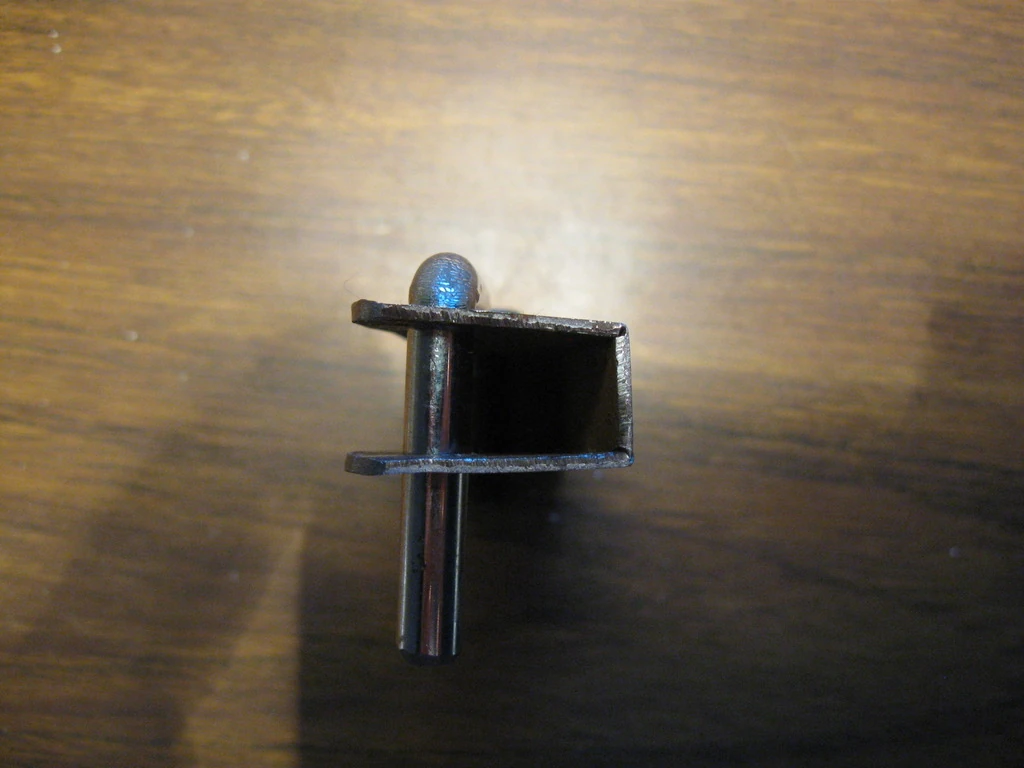
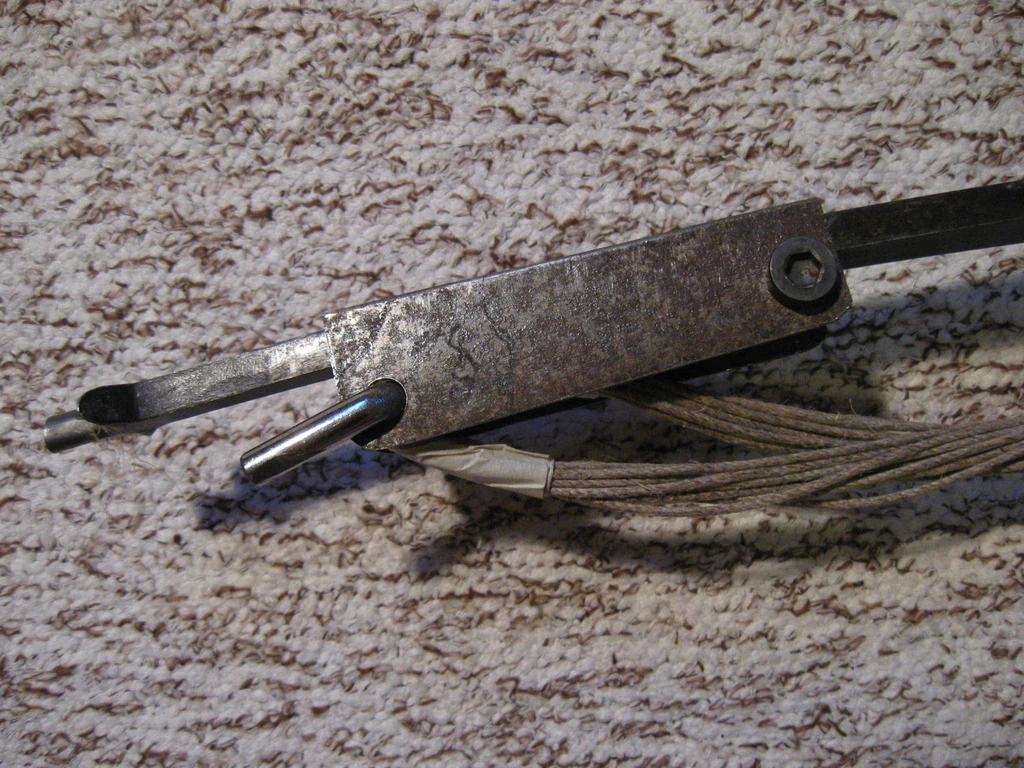
Here are a few close-up pictures of the nock end of the fastener. Notice the relatively long distance from the bow's belly to the bolt:
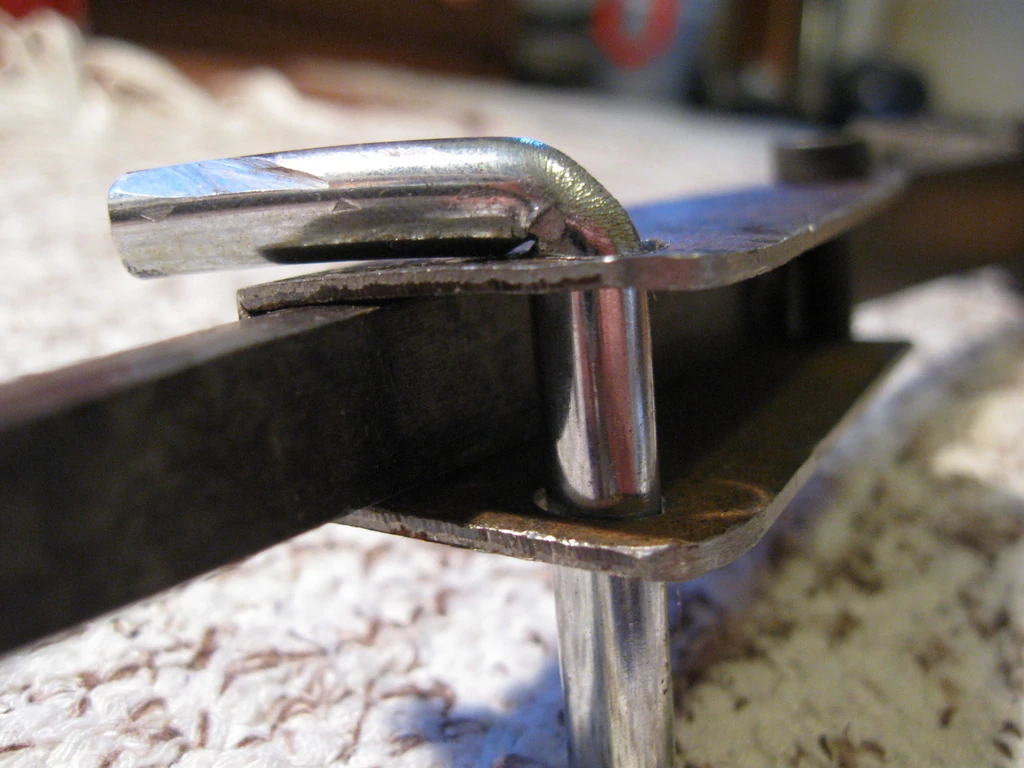
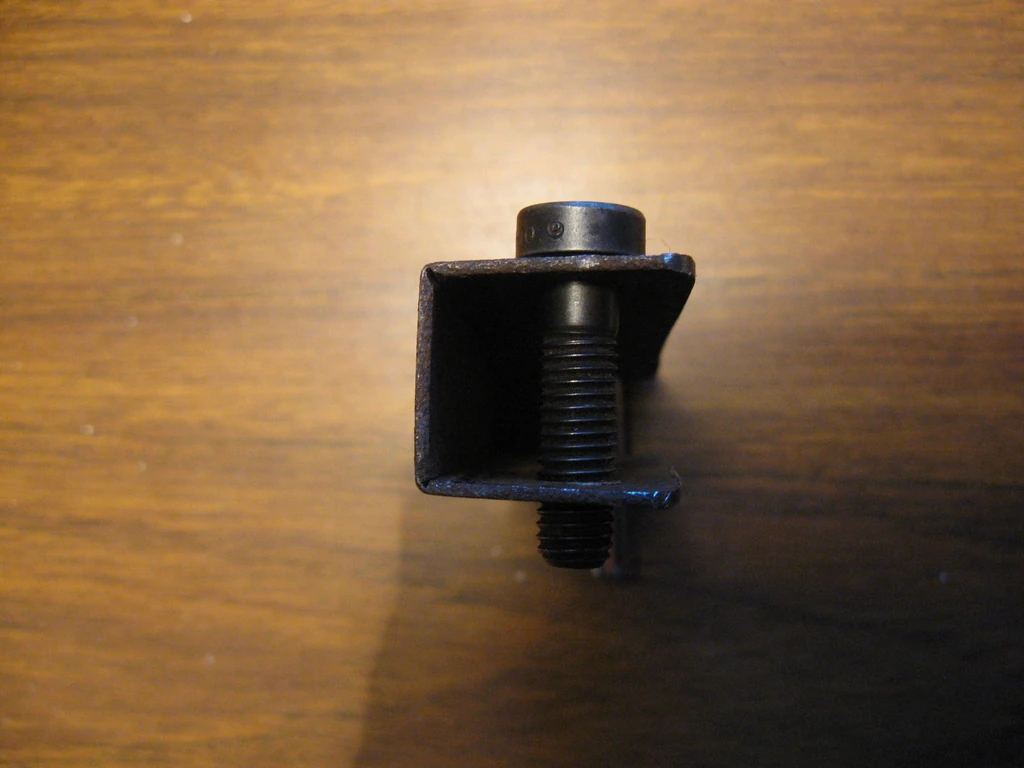
And a picture from the inner end of the fastener. Notice how the bolt is placed very close to the bow:
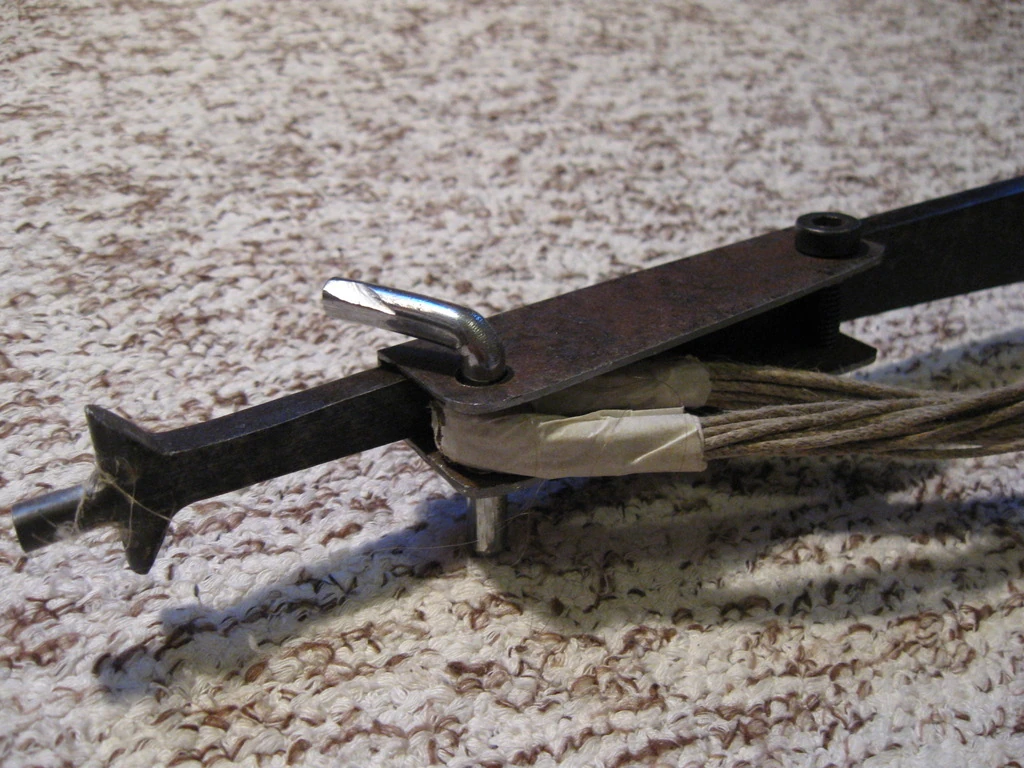
Here are a few pictures showing the bastard string and fasteners from the top, ready for action:
The process step by step[]
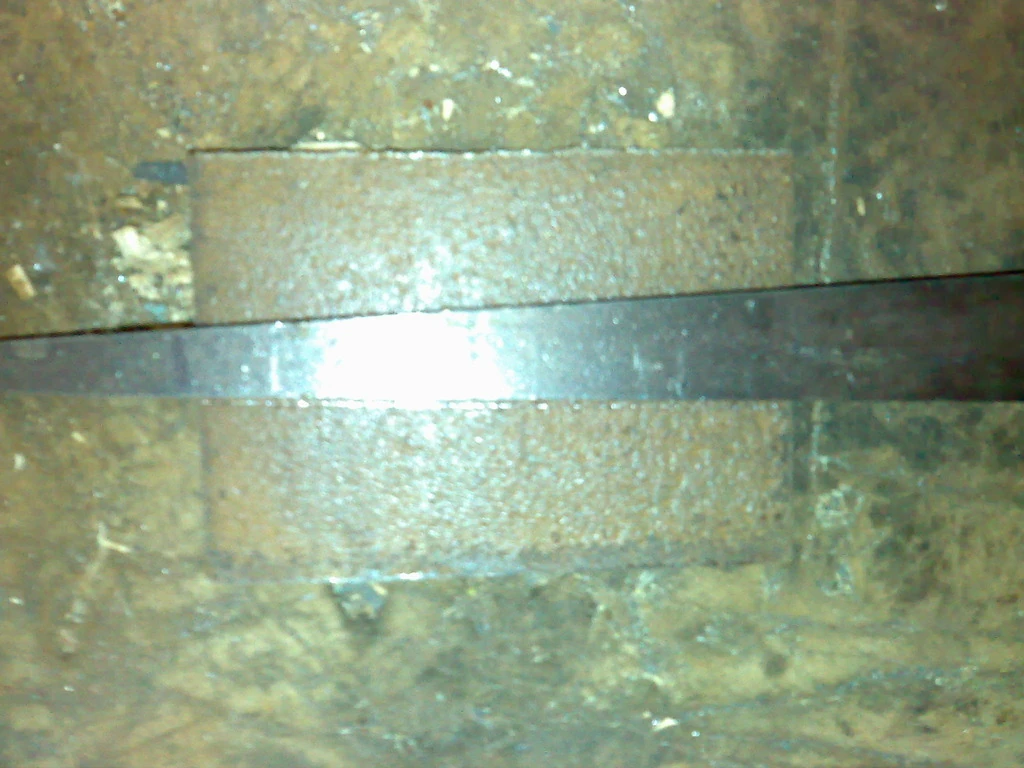
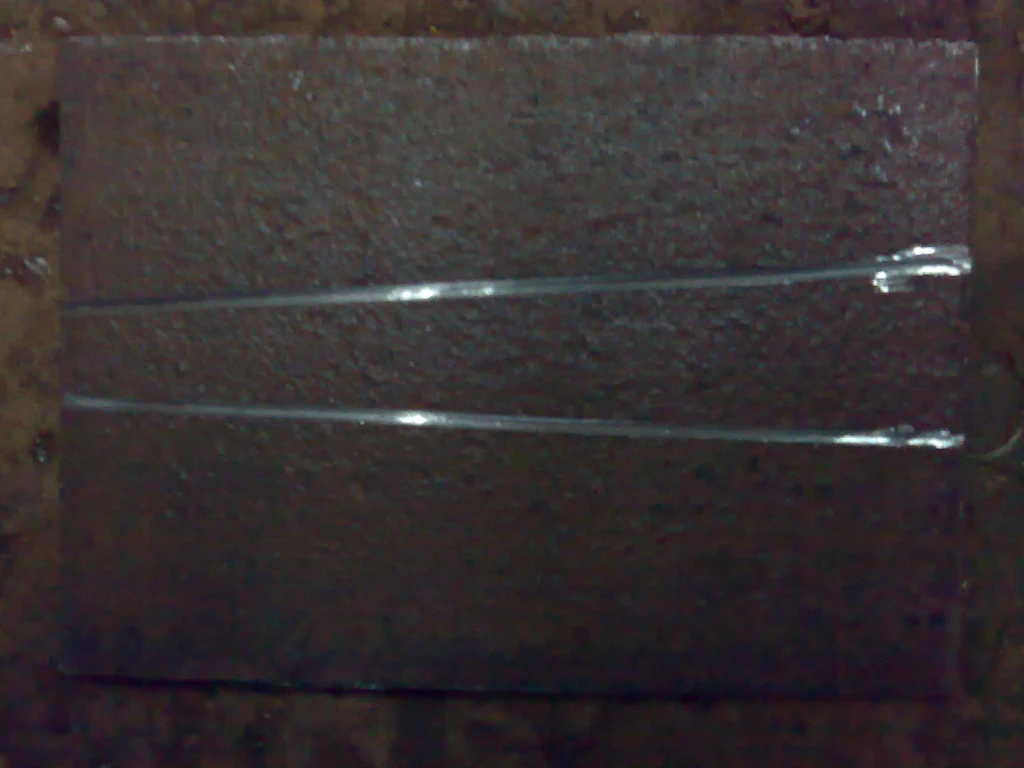
First take a piece of steel plate, 2-3mm thick and place the steel bow on it. Make sure that the nocks of the bow are far enough from the edges of the plate. Then mark the outline of the bow on the plate.
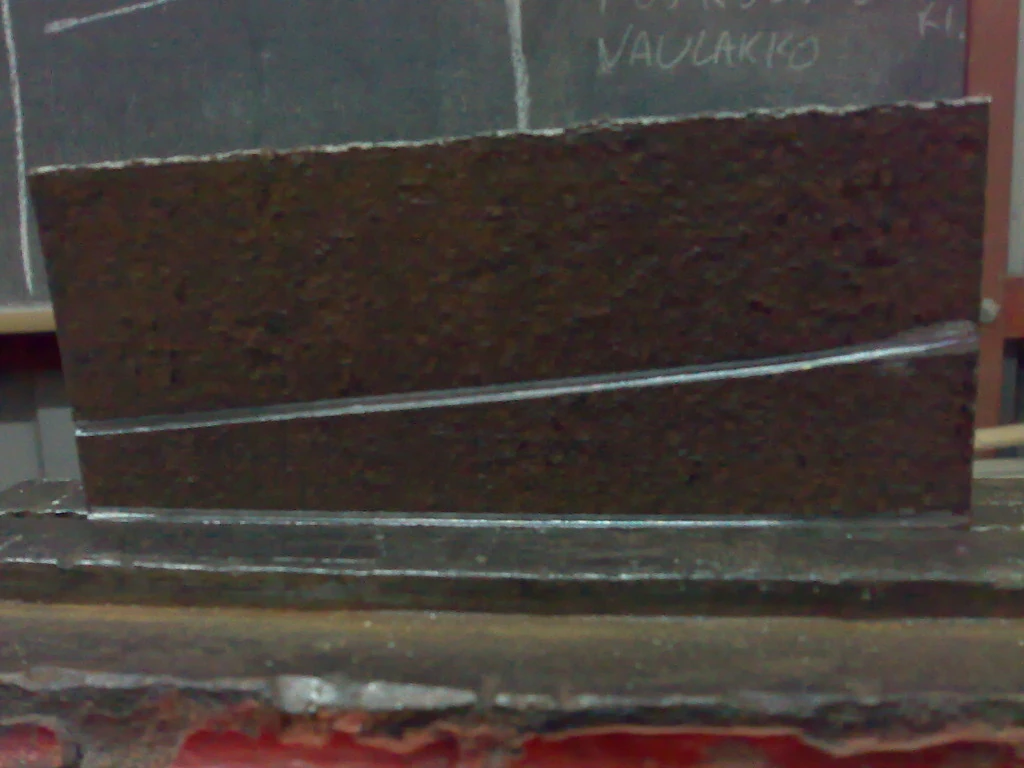
Next grind shallow grooves to the plate along the markings with an angle grinder. The idea is to make bending the plate into a tight angle easier.
Place the plate on a vise so that the groove is in line with the jaws of the vise:
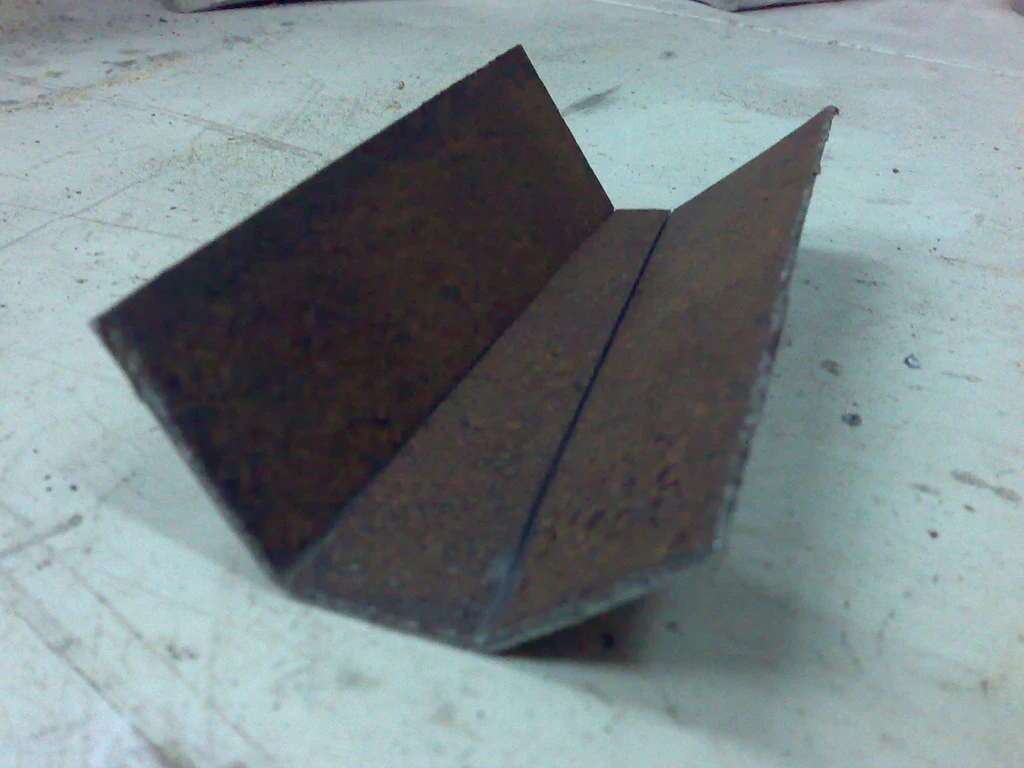
Bend the plate along the groove to ~45 degree angle. Rotate and bend along the other groove. The result should look like this:
Now hammer the sides to a 90 degree angle with the middle part as shown in the picture below. Please ignore the holes in the pictures - they should not be there yet:
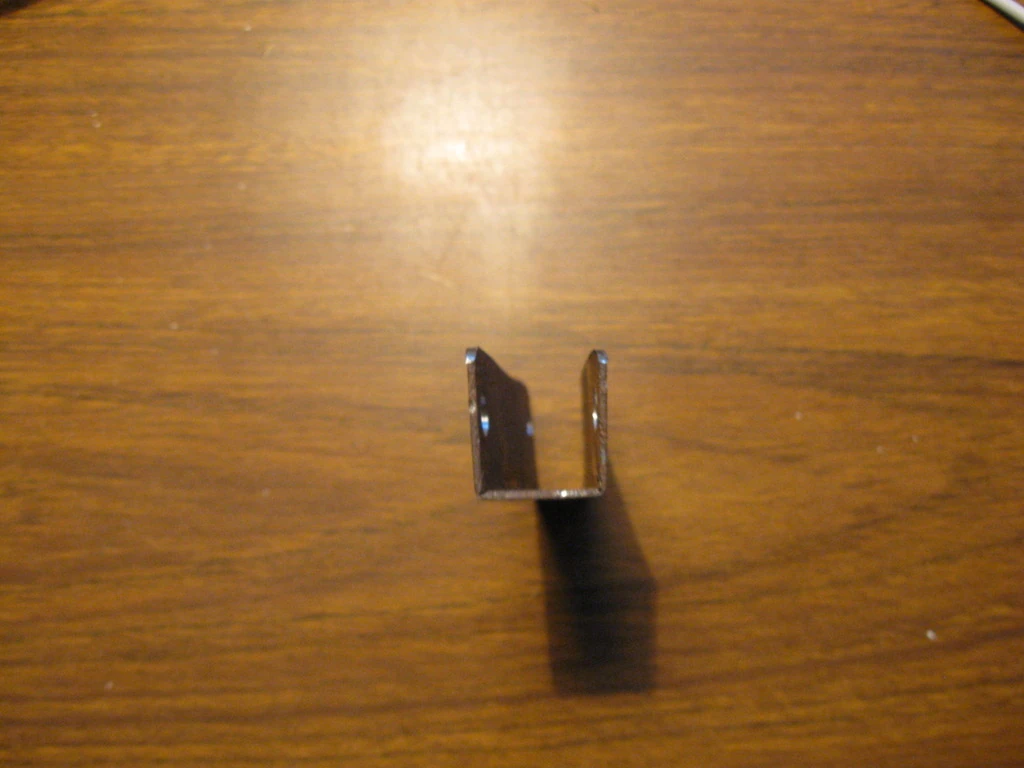
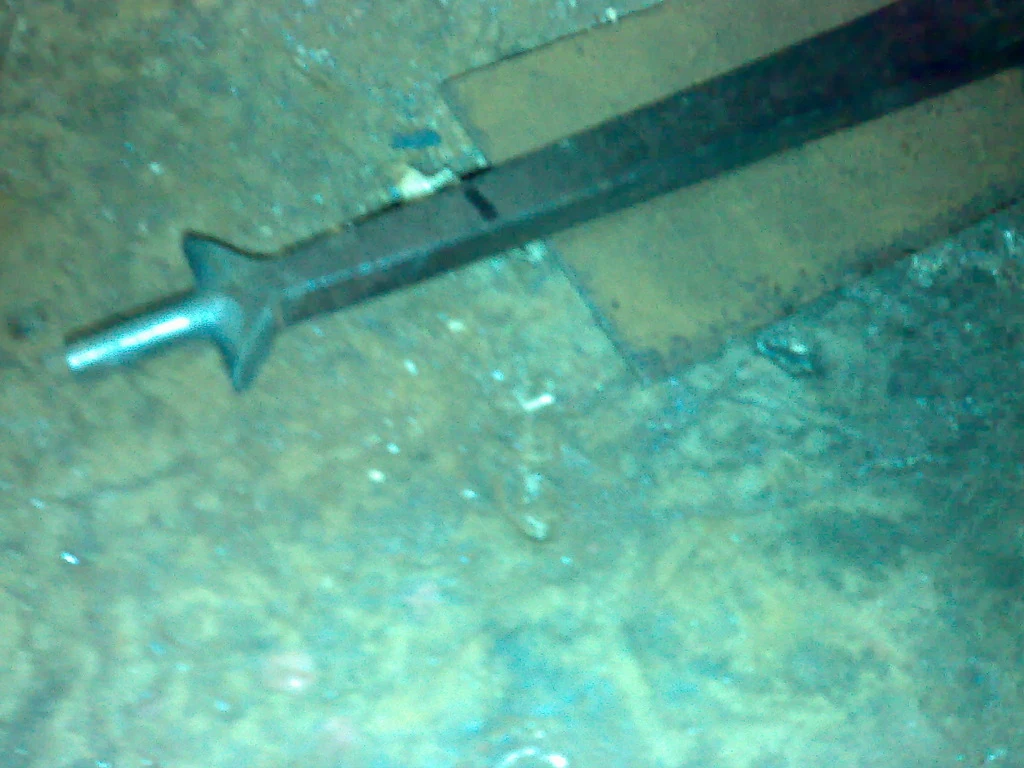
Next bore two holes for the bolts near the ends of the plate. To understand the correct placement, take a look above. The end result should look like this: