Introduction[]
This is the third and in many ways best way to make boltheads. This combines features from the earlier methods I've devised. This method has the added benefit that you can combine a high-carbon (hardeneable) core with soft outer layer and socket. It might even be possible to harden the boltheads without tempering them afterwards. This because the extremely hard steel core is supported by an softer outer layer composed of the socket material and welding steel. However, I have not yet tested if this kind of boltheads are durable.
Making the socket forming tool[]
First you need to make a tool to help forge the sockets. This tool could also be used in conjunction with this method. Also, with this tool it's much easier to forge the boltheads than with pliers. This socket forming tool is nothing more than a round steel rod with a tapered end. As the socket will be forged around this tapered end, pay attention to it's length, thickness and tapering angle. This also means that you need a separate tool for every socket form you wish to forge.
The taper can be easily formed using a bench grinder. If possible, make the rod from hardened spring steel or similar - if you use soft iron, the rod will inevitably bend and become difficult to use and require straightening. It's also a good idea to make a simple wooden handle for the tool - otherwise you'll burn your hands when forging many boltheads in a row.
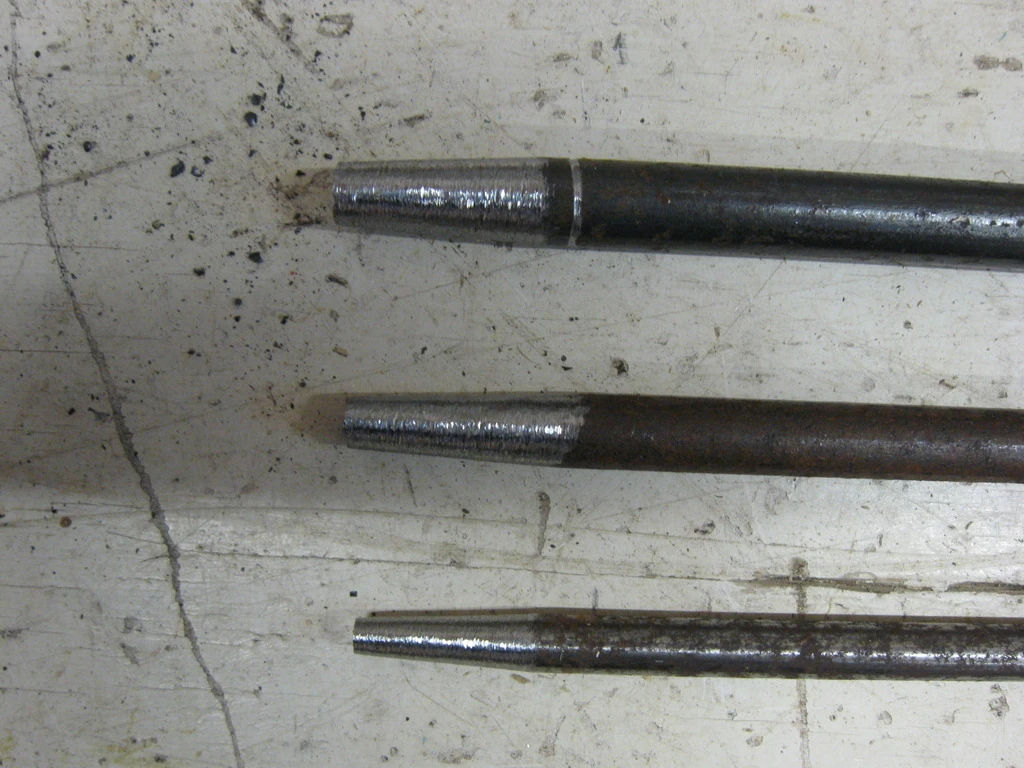
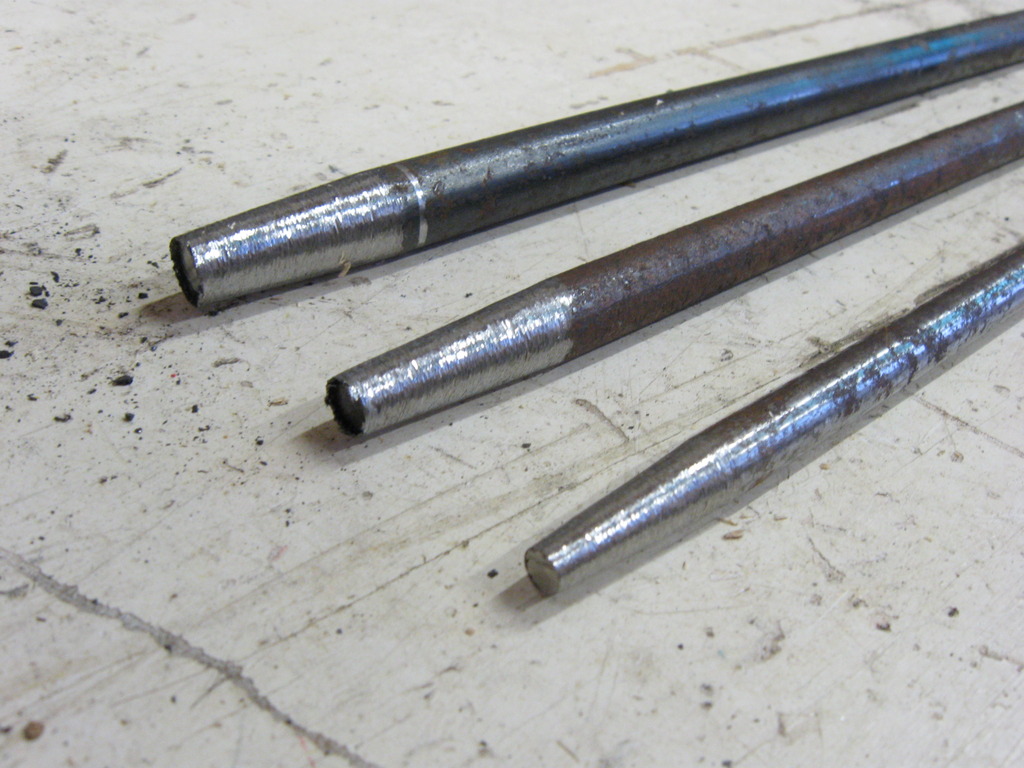
Here are pictures of the rod ends:
...and of the finished tools:


The process step-by-step[]
Once the socket forming tool is ready, it's time do some preparations before lighting up the forge. Each bolthead has two components, a core and a socket. The sockets are formed from ordinary steel pipe of appropriate size with relatively thin (0,5-1,0mm) walls. The core can be made from scrap steel, preferably steel with enough carbon content to allow hardening. The core has to fit snugly inside the pipe (socket). If possible, just use round steel rod, cut it into pieces and fit them inside the pipe. If you don't have round rods of correct size available, you can cut the core pieces from rectangular steel as shown below. The steel used here is spring steel from a leaf spring.
First mark where to cut. Measure carefully to make sure that the resulting pieces fit inside the pipe with minimal grinding. Next cut along all of the marked lines with an angle grinder without cutting all the way through. After this you can finish the cuts one piece at a time. The idea behind this is to allow cutting all the pieces without having to work with small pieces at all. The idea is illustrated in these pictures:


Next cut the pipe (sockets) into pieces of suitable length:
The length depends on whether you want to embed the whole core piece inside the pipe (like below) or if you want to leave a portion of it jutting outside the pipe. In any case the pipe and case should overlap enough (1cm+) to allow strong welding bond between them.
The resulting core pieces and pipes should look like this:

Now, depending on the size of the core pieces you might have to round their corners with a grinder or a file:
After this hammer the core piece into the pipe. Unlike here, you can leave a portion of it outside the pipe, if you want.


Now it's time to weld the whole package together. The idea is to weld through the pipe to the core, so make sure you use a welding machine with enough horsepower. Any cheopo "Stick" welding machine with 1,6-2,5mm sticks is more than enough when pipe walls are ~1mm or less. A consumer-grade MIG machine might not be enough, though.

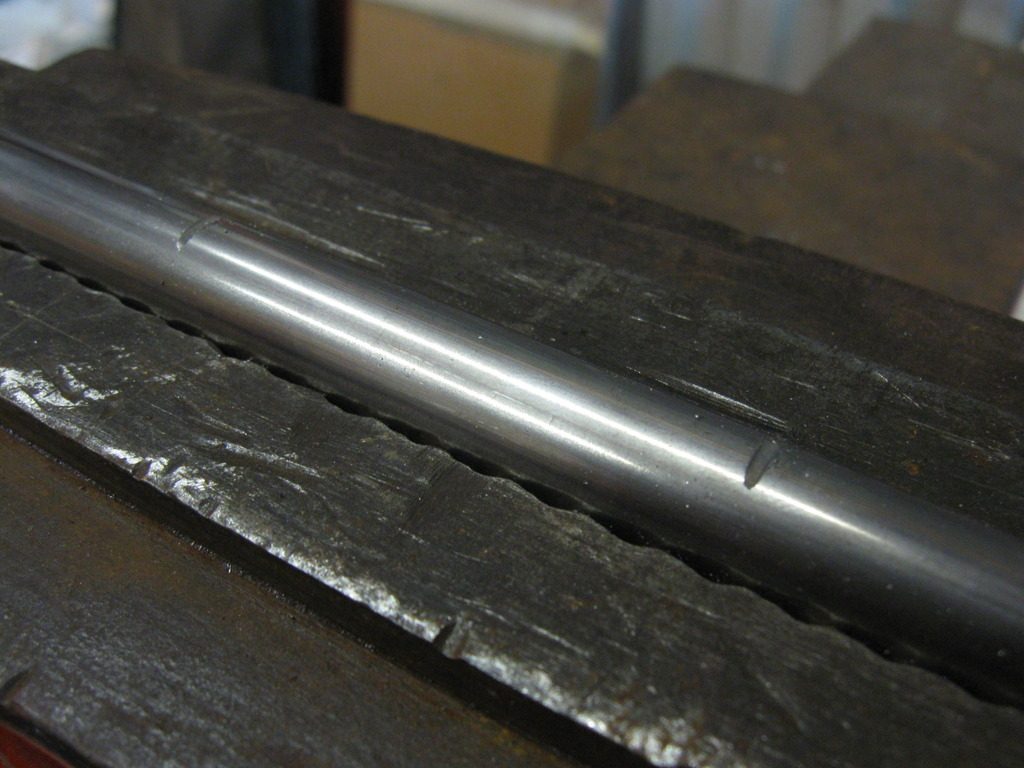
The welded bolthead should look something like this (once polished):

Once you've prepared a bunch of boltheads like described above, you're ready to forge the heads, so light up the forge. Unfortunately I don't have any pictures of the forging process (lack of cameraman), but I'll try to give a textual explanation...
Once the forge is heated, insert a few boltheads (2-4) into it, head down. Monitor their color (=temperature) and when the first one reaches orange-yellow heat, start forging it. The forging process I used was as follows:
- First stick the socket forming tool into the bolthead's socket and lift it out of the forge. Start forging the socket around the socket forming tool. Rotate the tool (and thus the bolthead) continuously while forging, keeping it at the correct angle against the anvil. Stop forging the socket when it's dark red in color - this allow you to move on to forging the head which still has lots of heat left.
- Now forge the head until it looses it's heat. Not much technique is required to forge a four-sided (pyramid) boltheads, so it's best learned by practice. Just make sure the opposite side of the bolthead is at all times tightly against the anvil - otherwise your blows will just bend the head, not form it. You can make the tip shorter and stubbier by moving the hammer towards the socket when striking the bolthead. Similarly, you can make the bolthead longer by moving the hammer towards the tip during the strike.
- Put the head back into the forge, head down, and start working on the next bolthead which should be hot by now.
Repeat this process for each bolthead until both the socket and the head are correctly formed. The goal is to be able to forge the heads with as few heats as possible, so use as large hammer as you possibly can and apply lots of force. I managed to forge my 10mm, 12mm and 15mm heads in two heats after a bit of practice.
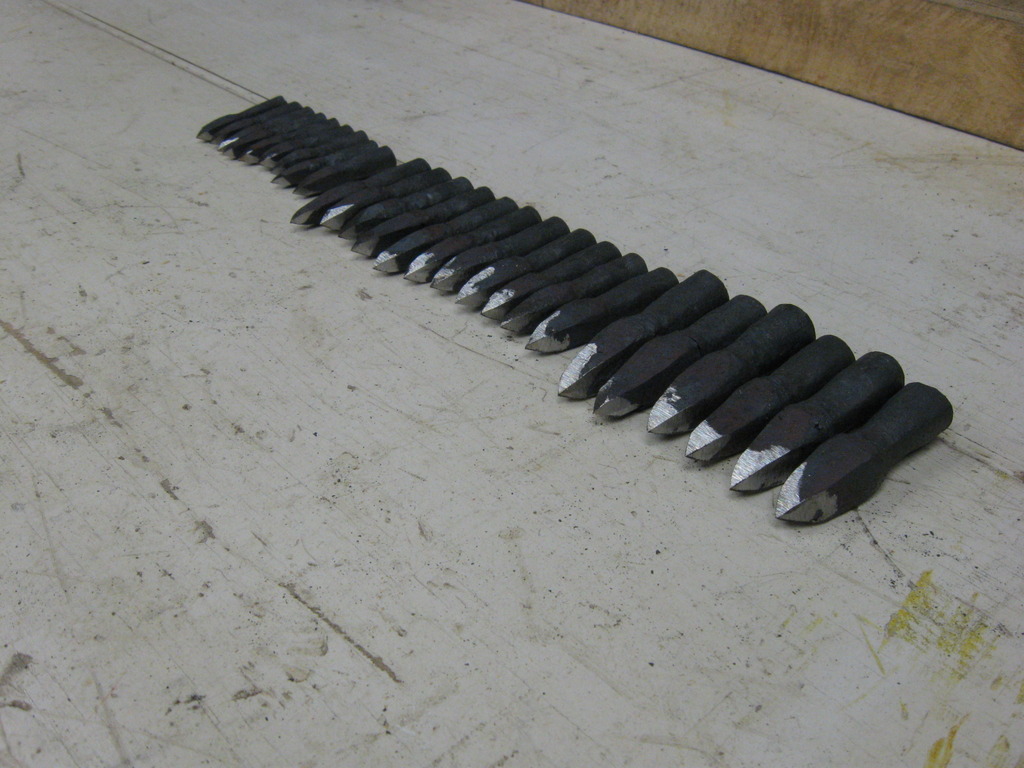
After forging the boltheads should look similar to these:

If you wish to harden and temper the boltheads, this is probably the best time for it. I did not, so I proceeded directly to sharpening the bolt. I used a bench grinder for the job, as some of my boltheads were pretty dull. A file will suffice if your forging is better than mine. The resulting boltheads should look something like this: